Introduction
Short dark red dip nails have become a strong visual element in modern Pinterest ideas due to their clean appearance, durability, and adaptable aesthetic. This nail style combines the richness of deep red tones with the strength of dip powder application, making it suitable for both everyday wear and formal occasions. The focus on shorter nail lengths also aligns with current trends that emphasize practicality and low maintenance while still maintaining a polished look.
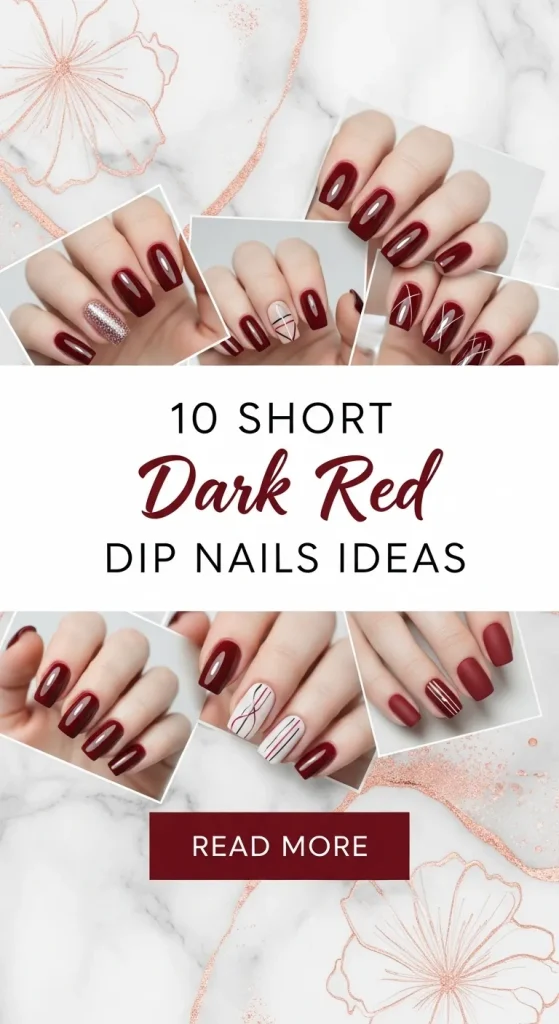
This article explains how to create ten distinct short dark red dip nail designs using clear, step by step methods. Each idea includes practical instructions, materials, and styling direction so the process remains beginner friendly. The goal is to provide creative ideas that can be recreated at home as a DIY project without requiring advanced tools. Readers will also learn preparation techniques, application methods, and finishing steps that ensure consistent results.
This topic is useful because it merges beauty, organization, and creative project planning into one accessible activity. Whether used for personal grooming or as part of a home decor inspired self-care routine, these designs offer structured inspiration that can be adapted easily.
Why This Idea Is Trending or Useful
Short dark red dip nails are trending ideas because they combine aesthetic value with functionality. Pinterest users often look for designs that are visually appealing but also practical for daily routines. Short nails reduce the risk of breakage and are easier to maintain, while dark red tones provide a bold yet classic appearance that works across seasons. This balance makes the style widely accessible.
From a design perspective, dark red fits into both minimalist style and modern design categories. It pairs well with neutral clothing, metallic accents, and seasonal palettes. This versatility increases its relevance across different Pinterest boards focused on fashion, beauty, and home decor aesthetics.
The DIY appeal is another important factor. Dip powder systems are easier to control compared to traditional acrylics, making them suitable for beginners. With simple materials and a structured tutorial approach, users can create salon-quality results at home. This reduces cost and allows more experimentation with creative ideas.
Accessibility also contributes to popularity. Most materials are easy to find, and the process does not require professional training. This makes short dark red dip nails an easy project that aligns with current Pinterest inspiration trends focused on handmade, budget ideas, and personal creativity.
Materials and Preparation
Before starting any dip nail design, proper planning and preparation are essential for achieving consistent results. The basic materials include a dip powder base liquid, activator, top coat, and a finely milled dark red dip powder. Additional tools such as a nail file, buffer, cuticle pusher, and lint-free wipes are also required. These materials ensure smooth application and long-lasting results.
Preparation begins with cleaning the nails thoroughly to remove oils and residue. Cuticles should be gently pushed back to create a clean surface, which helps the dip powder adhere evenly. Filing the nails into a short, uniform shape is important for maintaining the minimalist style that defines this trend. Buffing the nail surface lightly creates texture, improving product bonding.
Planning considerations include selecting the specific shade of dark red and deciding on the design variation before starting. This helps maintain workflow and reduces errors during application. It is also useful to set up a clean workspace with organized tools to avoid interruptions.
Taking time for preparation improves durability and appearance. Proper setup ensures that each design remains consistent, making the process smoother and more efficient for beginners exploring creative project ideas.
Idea 1: Classic Glossy Dark Red
How to Create
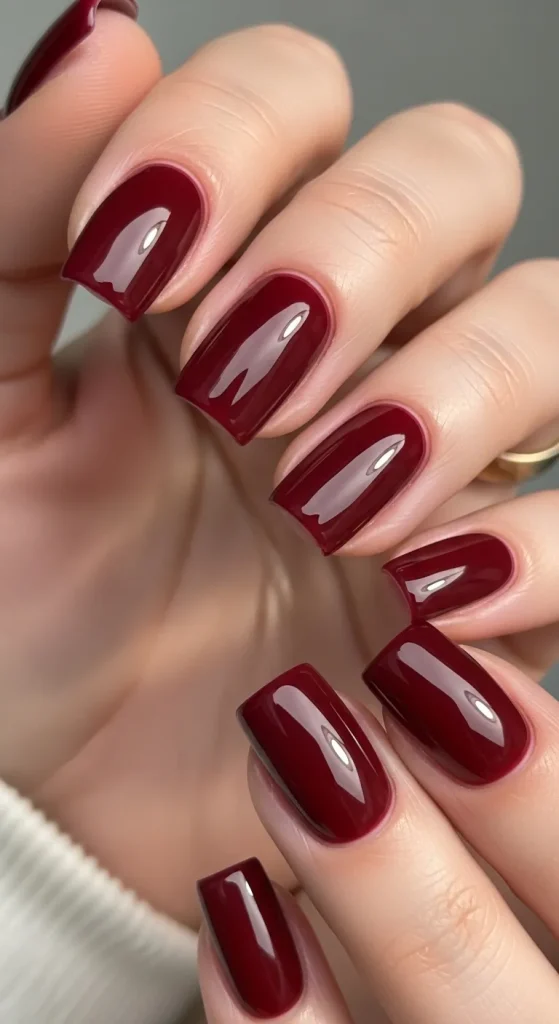
The classic glossy dark red dip nail design focuses on simplicity and precision. This idea represents a foundational style within Pinterest ideas because it highlights the natural beauty of deep red tones without additional decoration. The glossy finish enhances the richness of the color, creating a polished and professional look suitable for both casual and formal settings. Short nail length ensures practicality while maintaining a clean aesthetic.
This design aligns with minimalist style principles by avoiding unnecessary elements. The focus remains on even color distribution, smooth surface texture, and high shine. It is a strong starting point for beginners because it builds essential skills such as controlled application and proper layering. The result is a timeless look that fits modern design preferences and can be easily adapted for different occasions.
To create this look, begin by applying a thin base coat to one nail and immediately dipping it into dark red powder. Tap off excess powder and repeat for full coverage. After completing all nails, apply an activator to harden the layers. Once dry, shape and buff the nails to remove uneven areas. Finish with a glossy top coat for shine.
Allow sufficient drying time between each step to prevent smudging. This step by step process ensures durability and a smooth finish, making it an ideal beginner friendly DIY tutorial.
Idea 2: Matte Dark Red Finish
Step-by-Step Guide
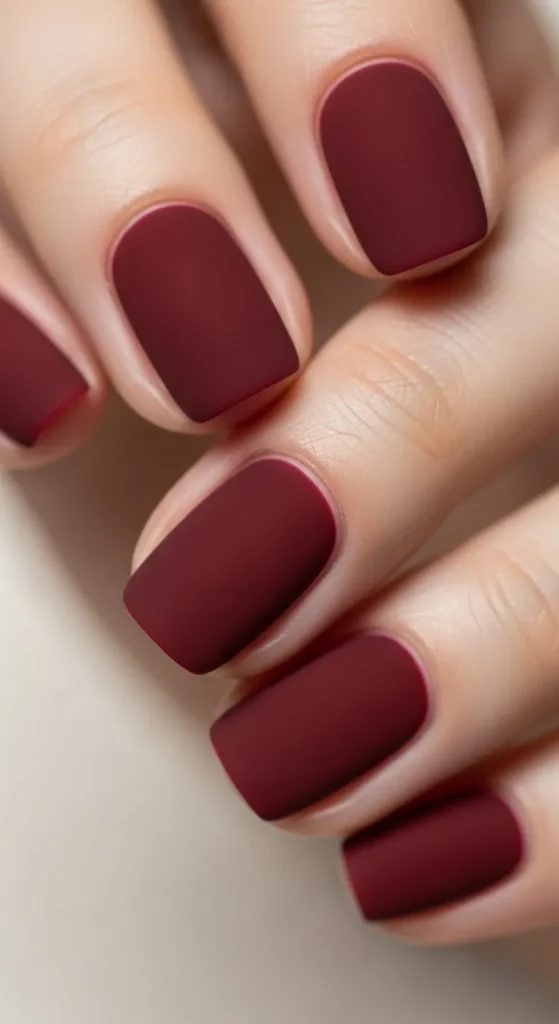
The matte dark red dip nail design offers a modern alternative to traditional glossy finishes. This idea is widely used in Pinterest inspiration boards because it creates a soft, velvety appearance that reduces shine while maintaining color depth. The matte effect adds a subtle sophistication, making it suitable for minimalist and contemporary aesthetics.
Short nails enhance the effect by keeping the design clean and structured. The absence of shine allows the deep red color to appear more muted, which works well with neutral and monochrome styling. This design is practical for those who prefer understated looks while still maintaining a strong visual identity.
To achieve this finish, follow the standard dip powder application process with base coat and powder layers. After applying the activator and shaping the nails, use a matte top coat instead of a glossy one. Ensure even coverage to avoid patchy areas. Allow the matte layer to dry completely without touching the surface.
Proper application technique is important because matte finishes can highlight imperfections. Smooth buffing before the final coat ensures a consistent texture. This easy project demonstrates how small changes in finishing can create entirely different results.
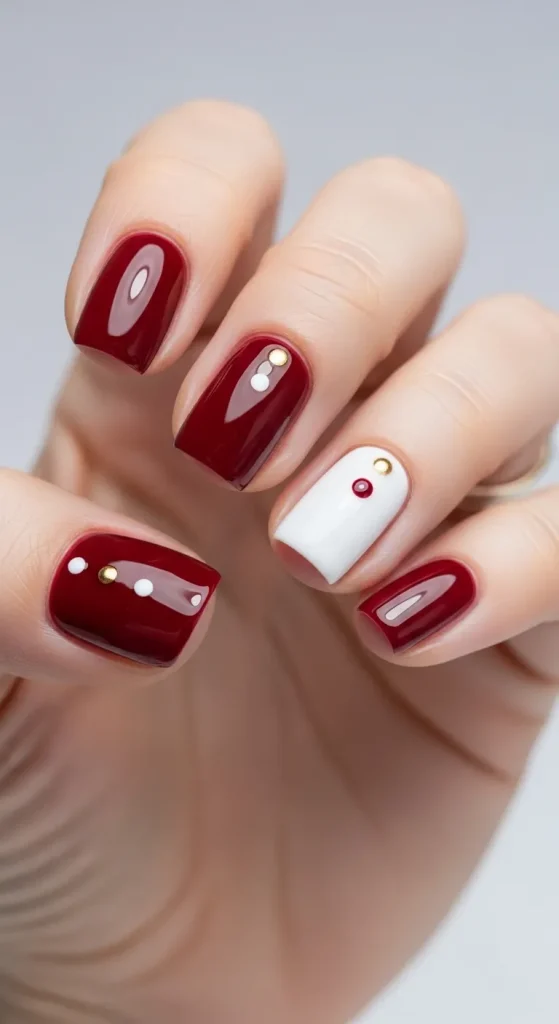
Idea 3: Dark Red with Gold Accent Line
How to Create
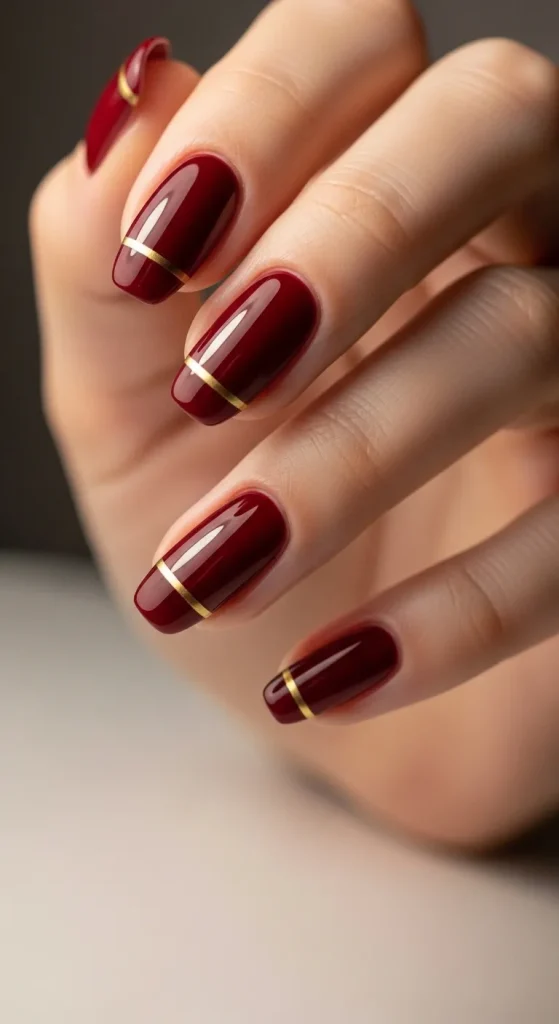
This design introduces a subtle decorative element while maintaining a clean base. A thin gold accent line adds contrast to the dark red background, creating a balanced and refined appearance. This idea fits well within Pinterest ideas that focus on combining simplicity with elegant detailing.
The short nail length ensures that the accent does not overwhelm the design. Instead, it acts as a focal point that enhances the overall aesthetic. This approach works well in modern design contexts where minimal decoration is preferred over complex patterns.
To create this look, apply the dark red dip powder base as usual. After shaping and activating the nails, use a fine nail art brush to apply a thin gold line near the cuticle or across the nail. Seal the design with a top coat to protect the detail.
Precision is important when adding the accent line. Using steady strokes and minimal product ensures clean edges. This step by step process creates a professional result while remaining beginner friendly.
Idea 4: Ombre Dark Red Gradient
Execution Process
The ombre dark red gradient design blends deep red into a lighter tone, creating a smooth transition effect. This style is popular in Pinterest inspiration because it adds visual depth without requiring complex patterns. The gradient effect enhances the appearance of short nails by creating dimension.
This design works well for those exploring creative ideas beyond solid colors. It introduces blending techniques while maintaining a cohesive color palette. The result is a soft, elegant look suitable for both casual and formal settings.
To achieve the gradient, apply a base coat and dip the lower portion of the nail into dark red powder. Use a soft brush to fade the color upward before dipping the tip into a lighter shade. Repeat layering until the blend appears smooth. Apply activator and finish with a top coat.
Blending requires controlled movements and patience. Practicing the transition on a sample surface can improve results. This method expands DIY skills while remaining accessible.

Idea 5: Dark Red with Glitter Tips
How to Make
This design combines solid color with a sparkling accent, creating a balanced contrast. Glitter tips add brightness while maintaining the depth of dark red. This idea fits well within trending ideas that mix classic tones with decorative finishes.
Short nails keep the glitter effect controlled and prevent it from becoming overwhelming. The placement at the tips draws attention while maintaining a structured look. This design works well for events and seasonal styling.
To create this design, apply dark red dip powder to the entire nail. After shaping, apply a base coat to the tips only and dip them into fine glitter powder. Seal with activator and top coat.
Careful placement ensures clean separation between the base color and glitter. This step by step process creates a polished and festive appearance.

Idea 6: Minimal Dot Accent Design
Setup Method
The minimal dot accent design adds a simple decorative element using small dots. This idea aligns with minimalist style trends and provides a subtle variation to solid nails. The dots create visual interest without complicating the design.
Short nails enhance the clarity of the pattern, ensuring that each dot remains visible and balanced. This approach works well for beginners exploring creative project ideas in nail design.
To create this design, apply the dark red base using dip powder. After activation, use a dotting tool to place small contrasting dots near the cuticle or along the edge. Seal with a top coat.
Spacing and consistency are important for achieving a clean result. Practicing dot placement ensures even distribution. This easy project demonstrates how simple details can transform a design.
Idea 7: Dark Red French Tip Variation
How to Create
This variation reinterprets the classic French tip using dark red as the primary color. Instead of white tips, the deep red is applied to the tip area while the base remains neutral or lightly tinted. This modern design aligns with current Pinterest ideas.
Short nails maintain structure and ensure the tip remains proportional. The contrast between base and tip creates a clean and defined appearance.
To achieve this look, apply a neutral base layer first. Then use dip powder or a fine brush to apply dark red to the tips. Seal with activator and top coat.
Precision in shaping the tip line is important. Using guides can help beginners maintain symmetry. This design blends tradition with modern aesthetics.

Idea 8: Textured Dark Red Finish
Execution Process
The textured dark red design introduces a tactile surface effect. This idea is popular in creative ideas sections because it adds dimension without additional colors. The texture enhances the richness of the red shade.
Short nails make the texture manageable and prevent uneven surfaces. This design works well for those exploring advanced variations.
To create this effect, apply dip powder as usual but avoid excessive buffing. Use a specialized top coat that preserves texture instead of smoothing it completely.
Controlled application ensures consistent texture. This method adds variety while maintaining a cohesive style.

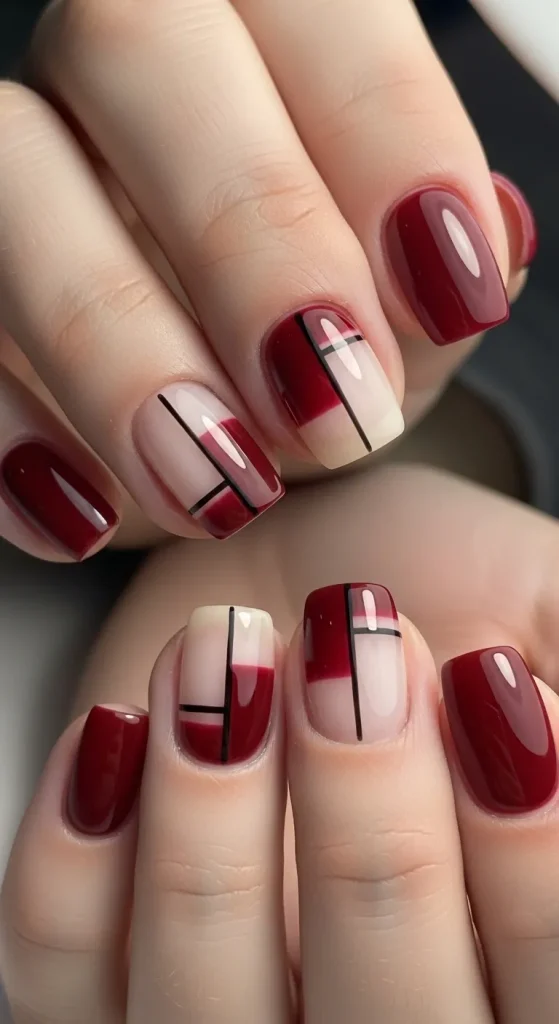
Idea 9: Dark Red with Negative Space
Step-by-Step Guide
Negative space designs leave portions of the nail uncolored, creating contrast. This approach is widely used in modern design and Pinterest inspiration boards. It creates a clean and artistic appearance.
Short nails enhance the clarity of the negative space, making the design more defined. This idea works well for minimalist styling.
To create this look, apply base coat only to selected areas before dipping into powder. Leave certain sections untouched. Seal with activator and top coat.
Careful planning is required to maintain balance. This technique introduces creative flexibility.
Idea 10: Deep Wine Metallic Finish
How to Create
The deep wine metallic design adds a reflective quality to dark red tones. This creates a bold and polished appearance suitable for modern aesthetics. Metallic finishes are trending ideas due to their visual impact.
Short nails keep the design practical while allowing the metallic effect to stand out. This combination creates a balanced look.
To achieve this style, use metallic-infused dip powder or apply a chrome finish over a dark red base. Seal with a top coat for durability.
Smooth application is essential for even reflection. This design adds a high-impact finish to the collection.

Common Beginner Mistakes and How to Avoid Them
One common mistake is applying thick layers of dip powder, which leads to uneven surfaces and cracking. Using thin, controlled layers ensures better adhesion and smoother results. Another issue is skipping nail preparation, which reduces durability. Proper cleaning and buffing improve longevity. Inconsistent shaping can also affect the final appearance, so maintaining uniform nail length is important. Avoid rushing between steps, as drying time is essential for proper bonding. Using clean tools and maintaining an organized workspace helps prevent contamination and improves overall results.
Practical Tips for Better Results
Work in thin layers to maintain control and reduce bulk. Always tap off excess powder to prevent clumping. Use a soft brush to remove loose particles before applying additional layers. Maintain consistent pressure when dipping nails to ensure even coverage. Practice designs on sample surfaces before applying them to nails. Keep materials organized to streamline the process. Applying top coat evenly improves shine and protection. These tips help create professional results in a beginner friendly way.
Styling, Presentation, or Organization Ideas
Short dark red dip nails can be styled with neutral clothing for a balanced aesthetic. Pairing with gold or silver accessories enhances the color depth. For presentation, photograph nails under natural lighting to highlight details. Organizing nail tools in a clean setup improves workflow and supports consistent results. Displaying finished designs as part of a personal inspiration board can help track progress and refine techniques.
Budget or Time Planning
This DIY project is cost-effective because materials can be reused multiple times. Planning sessions in advance reduces wasted time and ensures efficient workflow. Completing a full set typically takes one to two hours depending on complexity. Choosing simple designs saves time while still achieving strong visual results. Budget ideas include purchasing essential tools only and avoiding unnecessary extras. Proper planning ensures consistent and efficient execution.
Creative Expansion and Advanced Inspiration
Once basic techniques are mastered, designs can be expanded by combining multiple elements such as ombre with accents or matte with metallic finishes. Experimenting with different shades of dark red creates variation while maintaining consistency. Advanced inspiration includes layering textures, incorporating fine patterns, or exploring seasonal themes. These creative project ideas allow continuous development while staying aligned with modern Pinterest trends.


Leave a Reply