Introduction
Rhinestone design patterns are a popular Pinterest topic because they combine creativity with accessible DIY techniques. These decorative patterns can be applied to clothing, accessories, and home decor. This article explains practical, beginner-friendly methods to create structured rhinestone designs using simple tools, clear planning, and step-by-step execution.
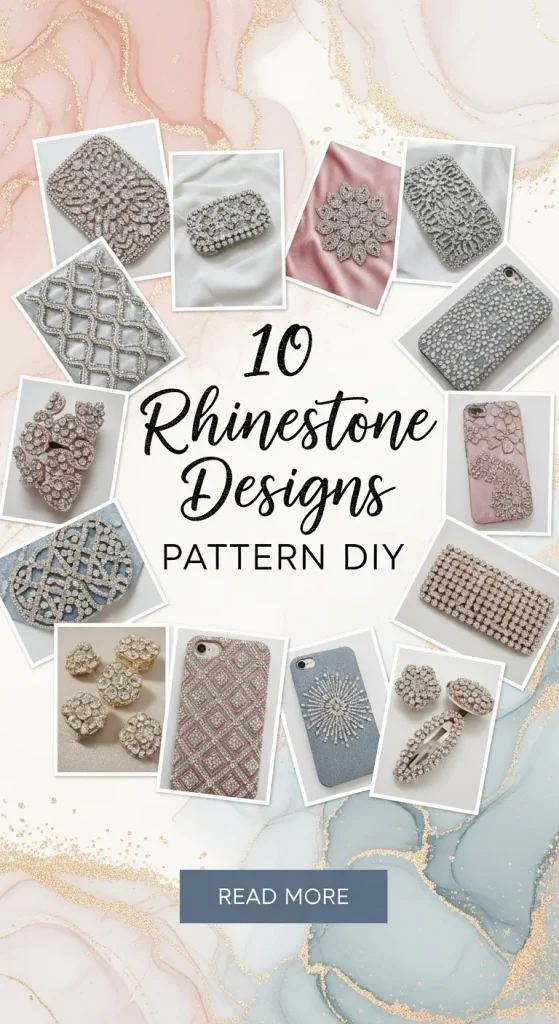
This guide provides detailed inspiration, materials planning, and ten complete DIY rhinestone pattern ideas. Each idea includes clear instructions and realistic methods. Readers will learn how to design, place, and secure rhinestones efficiently while maintaining a clean, aesthetic finish suitable for modern design and handmade decoration projects.
Why This Idea Is Trending or Useful
Rhinestone pattern DIY projects are widely shared across Pinterest ideas boards because they combine visual appeal with practical execution. These designs enhance everyday items such as clothing, phone cases, and wall decor by adding texture and reflective detail. The method requires minimal tools, making it suitable for beginner friendly creative projects.
The popularity also comes from the flexibility of design. Rhinestones can be arranged in geometric layouts, floral motifs, or minimalist styles. This allows users to follow trending ideas while adapting patterns to personal taste. The DIY aspect reduces cost compared to pre-designed embellished products, making it a strong option for budget ideas and home decor upgrades.
Another reason for its relevance is accessibility. Materials are easy to find, and most designs do not require advanced crafting skills. With proper planning and step by step execution, even beginners can achieve clean and professional-looking results. This combination of creativity, affordability, and simplicity makes rhinestone patterns a consistent source of inspiration.
Materials and Preparation
Before starting any rhinestone DIY tutorial, proper preparation ensures a smooth workflow and better results. The primary materials include rhinestones in various sizes, strong adhesive or heat-fix glue, a placement tool or tweezers, and a flat working surface. Additional tools may include a template sheet, pencil for marking, and measuring scale for alignment.
Planning is essential in achieving a balanced design. Begin by selecting a pattern type such as geometric, floral, or abstract. Sketch the layout on paper or directly on the surface using light markings. This helps maintain symmetry and spacing during application. For beginners, using pre-printed templates can simplify the process and reduce mistakes.
Surface preparation is equally important. Clean the base material to remove dust or oil, ensuring proper adhesion. Arrange rhinestones by size and color before starting. This improves workflow and avoids interruptions. Setting up an organized workspace supports better control and accuracy, especially for detailed patterns. Proper planning transforms a simple DIY idea into a structured and visually appealing creative project.
MAIN IDEAS SECTION
Idea 1: Minimalist Grid Rhinestone Pattern
How to Create
A minimalist grid rhinestone pattern focuses on clean lines and structured spacing. This design uses evenly spaced rhinestones arranged in rows and columns, creating a modern design suitable for clothing, notebooks, or wall decoration. The aesthetic depends on precision, making it ideal for those who prefer organized and symmetrical layouts.
To create this pattern, begin by marking a light grid using a ruler and pencil. Ensure equal spacing between each point. Apply a small amount of adhesive at each intersection and place rhinestones carefully using tweezers. Work row by row to maintain alignment. Allow the adhesive to dry completely before handling. This step by step method ensures consistency and produces a polished result suitable for beginner friendly DIY projects.

Idea 2: Floral Rhinestone Motif
Step-by-Step Guide
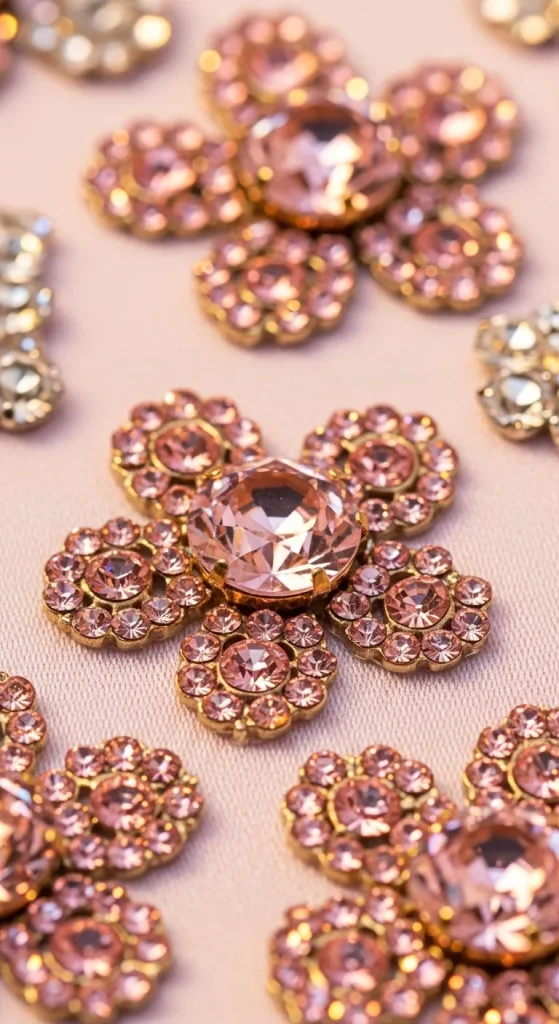
A floral rhinestone pattern uses curved arrangements to mimic petals and natural shapes. This design is commonly used in home decor and clothing embellishment due to its soft and aesthetic appearance. The structure usually includes a central stone surrounded by smaller stones forming petals.
Start by drawing a small circle for the flower center. Place a larger rhinestone in the middle, then arrange smaller stones around it in a circular pattern. Repeat the design to create multiple flowers if needed. Use adhesive carefully to avoid overflow. This method allows flexibility in size and layout, making it an easy project for beginners while still offering creative variation.
Idea 3: Diagonal Line Pattern
How to Make
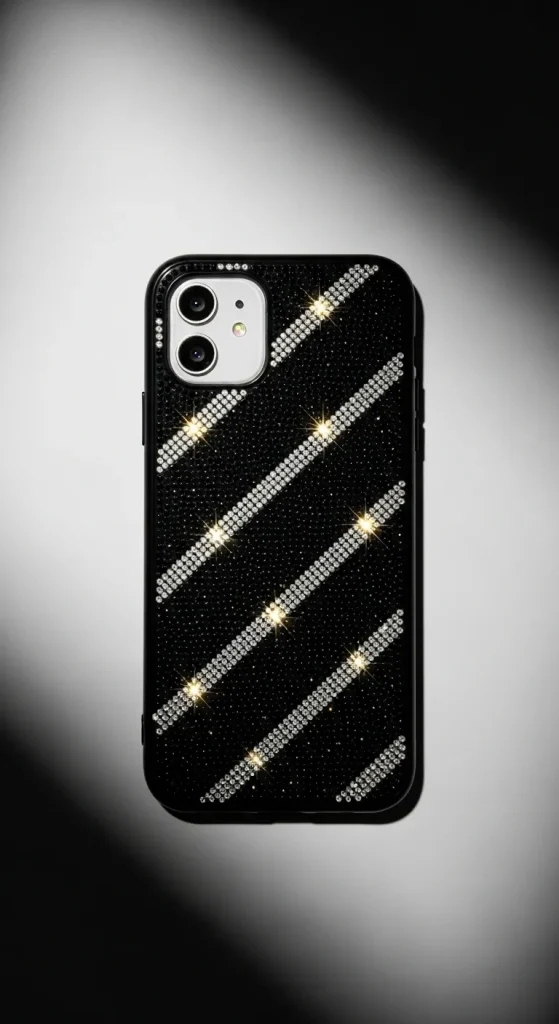
The diagonal rhinestone pattern introduces movement and direction into the design. Unlike grid layouts, this pattern creates a dynamic look suitable for modern decor and fashion items. It works well on surfaces like fabric or phone cases.
Mark diagonal guidelines using a ruler. Maintain equal spacing between lines to ensure balance. Apply adhesive along the guideline and place rhinestones one by one. Continue across the surface while keeping alignment consistent. This simple tutorial approach allows quick execution while maintaining a clean and structured appearance.
Idea 4: Heart Shape Rhinestone Design
Execution Process
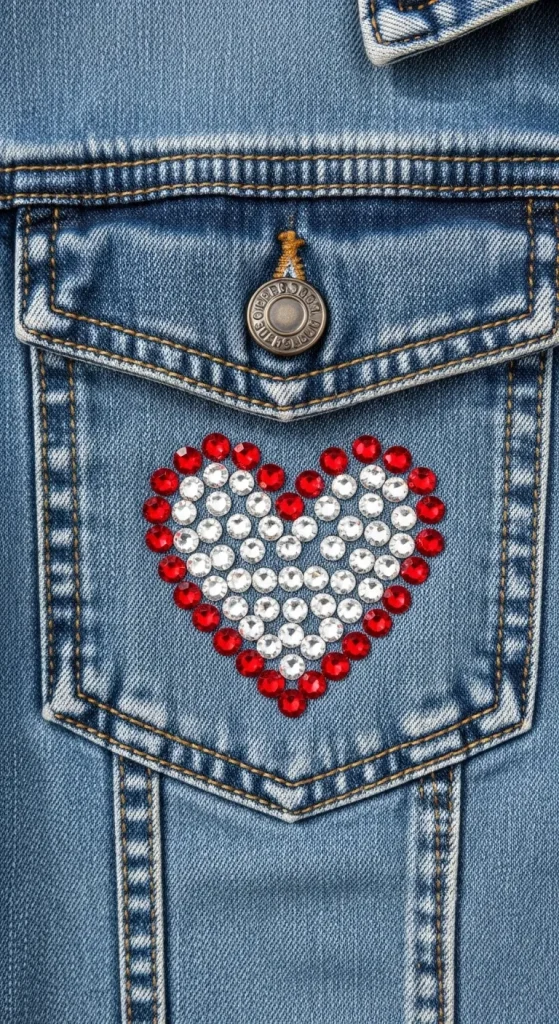
A heart-shaped rhinestone pattern is widely used for personalized decoration. It is suitable for gifts, accessories, and DIY home decor. The design focuses on symmetry and smooth curves to create a recognizable shape.
Sketch the heart outline lightly on the surface. Begin placing rhinestones along the outline, ensuring even spacing. Once the border is complete, fill the inside with smaller stones or leave it hollow for a minimalist style. This method allows flexibility in design while maintaining clarity and structure.
Idea 5: Starburst Rhinestone Pattern
Setup Method
The starburst design radiates outward from a central point, creating a striking visual effect. This pattern is commonly used in decorative art and modern aesthetic projects.
Place a central rhinestone as the focal point. Draw straight lines extending outward like rays. Position rhinestones along each line, gradually increasing spacing toward the edges. This creates a balanced expansion effect. Proper alignment is key to maintaining symmetry in this creative project.

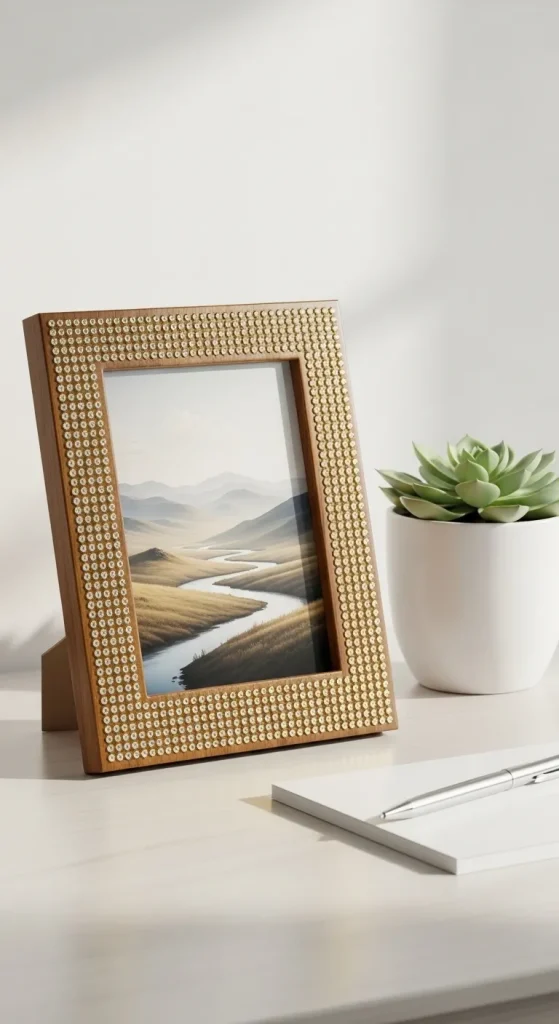
Idea 6: Border Frame Rhinestone Design
How to Create
A rhinestone border frame enhances edges of objects such as mirrors, frames, or notebooks. This design focuses on outlining rather than filling space, making it efficient and budget friendly.
Measure the edges and mark a straight guideline. Apply adhesive along the border and place rhinestones evenly. Corners require careful placement to maintain continuity. This simple DIY idea improves the overall appearance without requiring complex design skills.
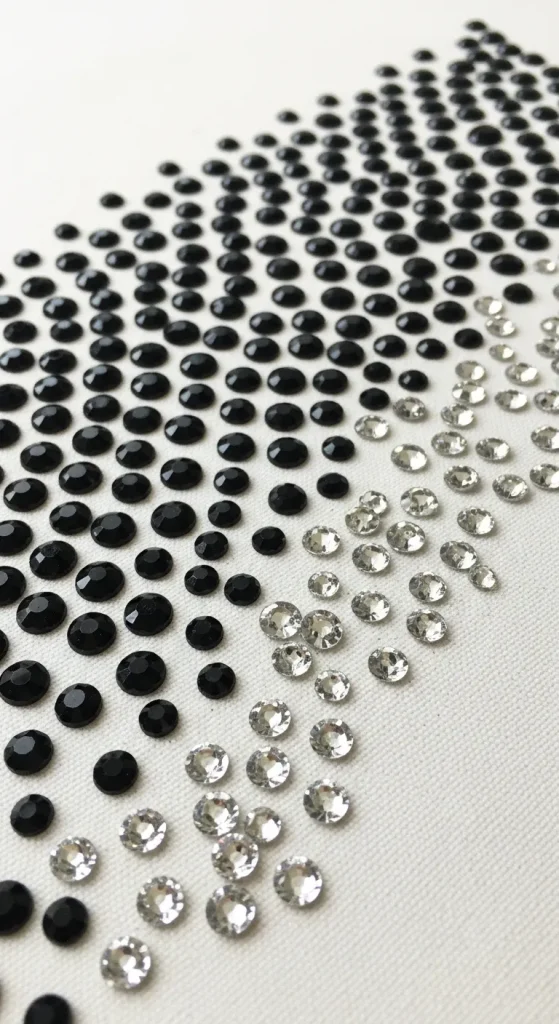
Idea 7: Gradient Rhinestone Pattern
Step-by-Step Guide
A gradient rhinestone pattern uses variation in size or color to create a fading effect. This design adds depth and dimension to surfaces, making it visually engaging.
Arrange rhinestones from largest to smallest or darkest to lightest. Begin placement from one side and gradually transition across the surface. Maintain consistent spacing to avoid irregular gaps. This method requires planning but produces a refined aesthetic suitable for modern decoration.
Idea 8: Abstract Scatter Design
How to Make
An abstract scatter pattern focuses on random placement while maintaining visual balance. This design is flexible and works well for creative expression without strict rules.
Mark a loose layout to avoid overcrowding. Place rhinestones in varying sizes randomly, ensuring distribution across the surface. Avoid clustering too closely. This approach allows freedom while still maintaining a cohesive look when properly spaced.

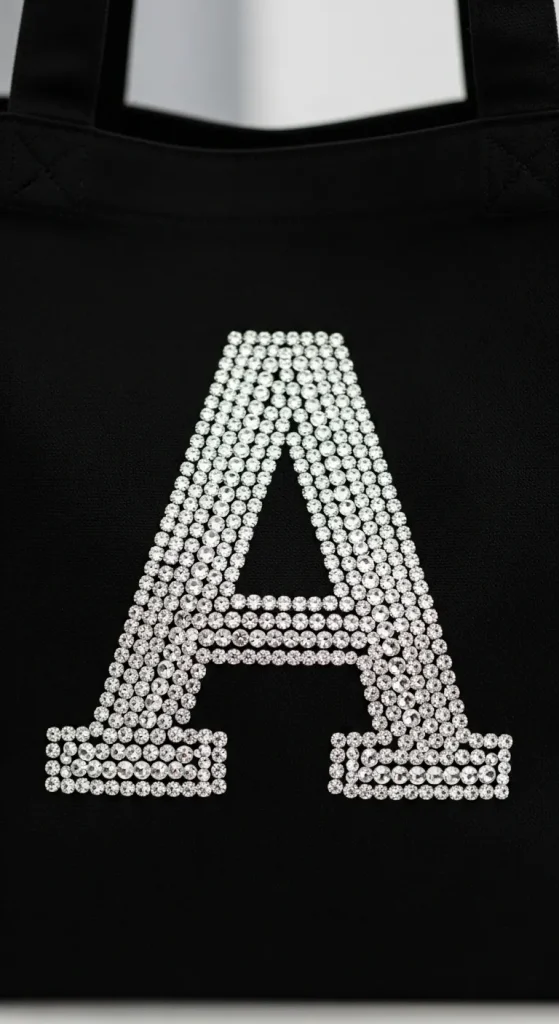
Idea 9: Letter Initial Rhinestone Pattern
Execution Process
This pattern uses rhinestones to form letters, making it suitable for personalization. It is commonly used in clothing and accessories.
Draw the letter outline clearly. Place rhinestones along the lines, following the shape precisely. Fill the interior if a bold effect is desired. Maintain consistent spacing for clarity. This beginner friendly project combines creativity with functional design.
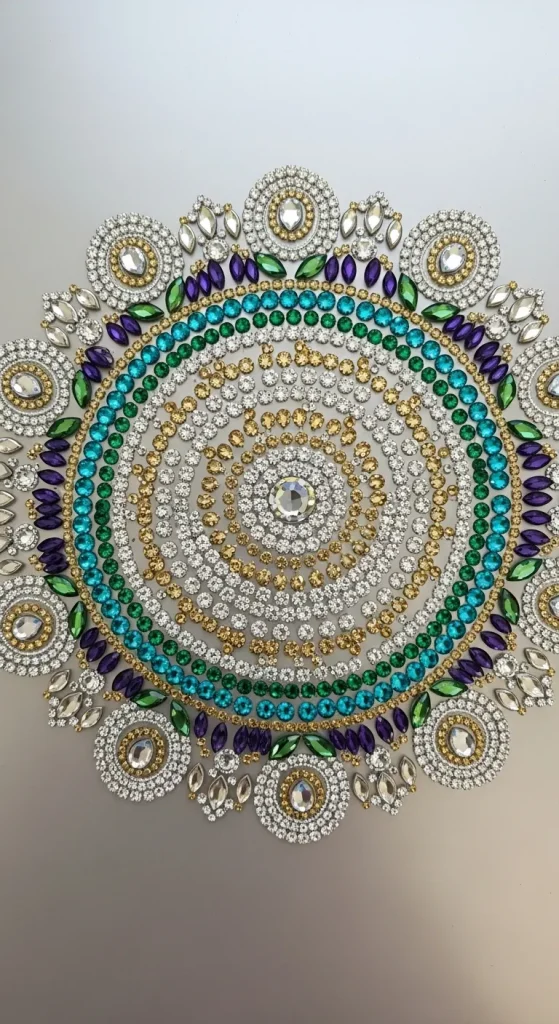
Idea 10: Circular Mandala Rhinestone Design
Setup Method
A mandala rhinestone pattern uses concentric circles and repeating shapes to create a balanced and intricate design. It is widely used in decorative art due to its symmetry.
Start with a central stone and build outward in circular layers. Use a compass or template for accuracy. Place rhinestones evenly along each ring. Maintain spacing consistency to preserve the pattern structure. This design requires patience but produces a detailed and visually appealing result.
Common Beginner Mistakes and How to Avoid Them
One common mistake in rhinestone DIY projects is uneven spacing. This affects the overall appearance and reduces design clarity. To avoid this, always mark guidelines before placement. Another issue is using excessive adhesive, which can spread and dull the aesthetic finish. Applying small, controlled amounts improves precision.
Skipping surface preparation can also lead to weak adhesion. Always clean the surface before starting. Rushing the process often results in misalignment. Working slowly and following a step by step method ensures better results. Beginners should also avoid overly complex designs initially. Starting with simple patterns builds confidence and skill gradually.
Practical Tips for Better Results
Using a placement tool instead of fingers improves accuracy and prevents smudging. Organizing materials before starting saves time and maintains workflow efficiency. Working under proper lighting helps identify alignment issues early.
Testing adhesive on a small area ensures compatibility with the surface. Consistent spacing is easier to maintain when working in sections rather than randomly placing stones. Allowing proper drying time prevents displacement. These practical adjustments significantly improve the quality of any rhinestone creative project.
Styling, Presentation, or Organization Ideas
Rhinestone designs can be styled to match different themes such as minimalist style, modern decor, or decorative aesthetics. Combining patterns with neutral backgrounds enhances visibility. For home decor, placing rhinestone designs on frames, trays, or wall panels creates structured visual interest.
Organizing designs in symmetrical layouts improves presentation. Using consistent color palettes maintains a cohesive look. Layering patterns with other DIY elements such as paint or fabric textures adds depth. Proper styling transforms simple designs into visually appealing decorative elements.
Budget or Time Planning
Rhinestone DIY projects are cost-effective when materials are used efficiently. Buying mixed packs reduces cost per piece. Planning the design in advance prevents material waste. Simple patterns require less time and are ideal for quick projects.
Dividing the work into stages helps manage time effectively. For example, marking guidelines first, then placing stones in sections. This structured approach reduces errors and speeds up execution. Budget ideas can be achieved by reusing materials and focusing on smaller designs with high visual impact.
Creative Expansion and Advanced Inspiration
Once basic patterns are mastered, more advanced designs can be explored. Combining multiple pattern styles in one project creates layered effects. Using different rhinestone sizes adds texture and depth. Incorporating color gradients enhances visual complexity.
Advanced inspiration includes integrating rhinestone designs into larger home decor projects such as wall art or furniture accents. Experimenting with mixed materials like beads or metallic elements expands creative possibilities. These variations allow continuous growth while maintaining the core DIY approach and structured design planning.
Leave a Reply