Introduction
Wall decoration has expanded beyond traditional paint and frames, with stickers becoming a flexible and creative solution for modern interiors. These designs offer a simple way to transform empty surfaces into expressive visual elements. This article explores unusual and imaginative sticker concepts that bring personality and originality into everyday spaces.
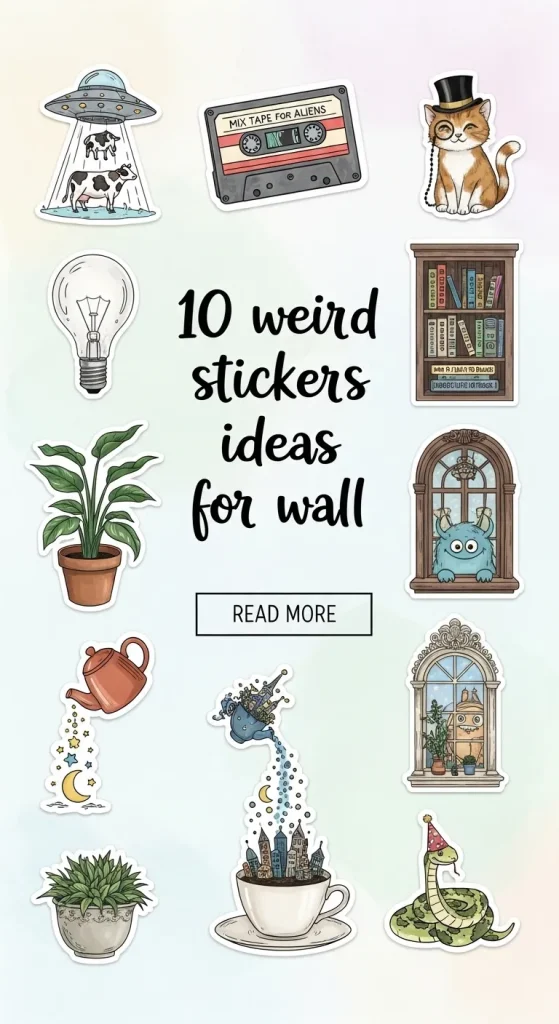
Readers will learn how to design, prepare, and apply ten distinct sticker ideas using clear, practical methods. Each concept focuses on achievable DIY techniques with accessible materials. The goal is to provide inspiration and structured guidance so anyone can create visually engaging wall decoration without complex tools or advanced experience.
Why This Idea Is Trending or Useful
Unconventional wall sticker designs are gaining attention in Pinterest ideas because they combine creativity with ease of execution. Unlike permanent wall treatments, stickers allow experimentation without long-term commitment. This makes them ideal for renters, students, and anyone interested in flexible home decor solutions. The growing popularity of DIY culture also supports this trend, as people seek ways to personalize spaces using simple materials and step-by-step methods.
These ideas are especially relevant in modern design environments where individuality and minimalist style coexist. Instead of filling walls with heavy decoration, unusual stickers act as focal points that add character without clutter. Their accessibility makes them beginner friendly, while their visual impact aligns with current aesthetic trends. With minimal cost and effort, these creative ideas offer a practical approach to transforming living or working areas into organized, visually appealing environments.
Materials and Preparation
Before starting any wall sticker project, preparation ensures a clean and lasting result. Basic materials include adhesive vinyl sheets, removable sticker paper, scissors or a precision cutter, measuring tape, a level, and a soft cloth. Optional tools such as transfer tape and a smoothing card help achieve cleaner application. For DIY approaches, printed paper, markers, and clear adhesive film can also be used to create handmade designs.
Preparation begins with cleaning the wall surface to remove dust and grease, ensuring proper adhesion. Measuring and planning the layout is essential, especially for larger or patterned designs. Sketching the concept on paper allows adjustments before applying it to the wall. It is also important to test a small piece of material on the surface to confirm compatibility. Proper planning reduces mistakes and supports a smoother execution process, making the entire creative project more efficient and visually consistent.
Idea 1: Floating Object Illusion Stickers
How to Create
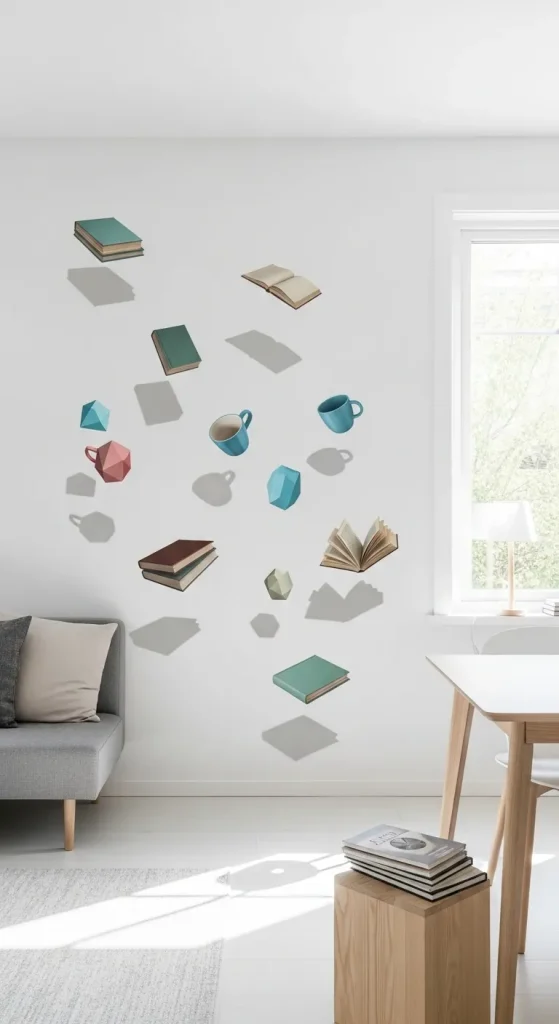
This concept focuses on creating the illusion that objects are floating off the wall surface. It uses layered sticker placement and shadow detailing to simulate depth. The design often includes everyday objects such as books, cups, or geometric shapes arranged in a slightly offset pattern. By placing a darker outline or shadow layer behind the main sticker, the visual effect creates dimension, making the objects appear suspended in space. This idea fits well with modern design and minimalist style interiors where subtle but striking details are preferred.
To execute this idea, begin by selecting or designing shapes that can easily convey depth. Cut two versions of each shape: one in the main color and one in a darker tone for the shadow. Apply the shadow layer slightly offset behind the main piece. Use a level to maintain alignment across multiple elements. Press firmly with a smoothing tool to remove air bubbles. This step-by-step approach ensures consistency and enhances the illusion effect, making the final decoration appear refined and intentional.
Idea 2: Dripping Paint Effect Stickers
Step-by-Step Guide
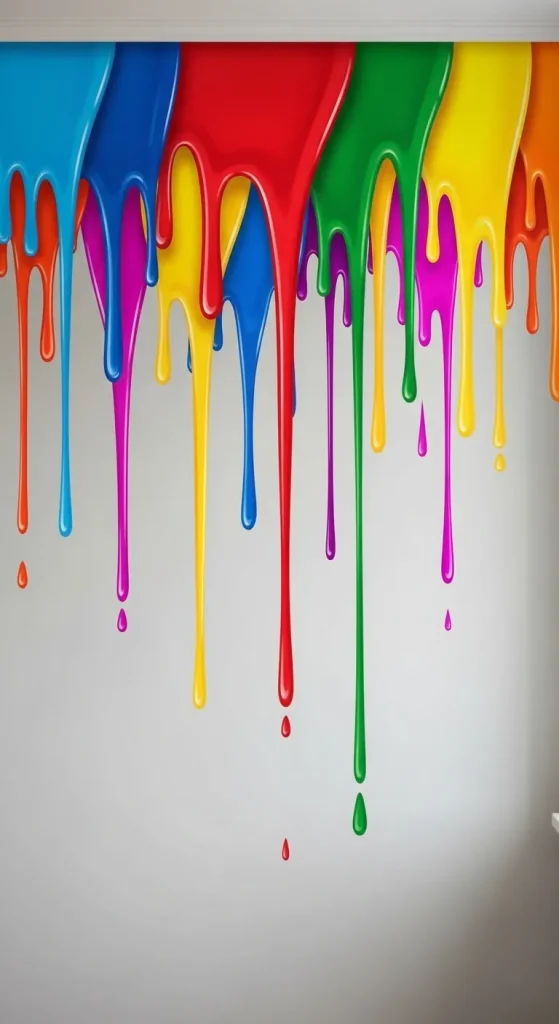
Dripping paint stickers create the impression of liquid color flowing down the wall. This design works well for artistic spaces or creative corners where bold visual expression is desired. The shapes mimic irregular paint drips with varying lengths and widths, creating a dynamic and slightly chaotic appearance. This approach aligns with trending ideas in Pinterest inspiration that emphasize movement and organic forms in wall decoration.
Start by sketching drip patterns on sticker material, ensuring variation for a natural look. Cut out the shapes carefully, maintaining smooth edges. Choose colors that complement the room’s palette. Apply the stickers from the top edge downward, allowing the drips to extend naturally. Use spacing techniques to avoid overcrowding. This easy project relies on careful placement rather than complex tools, making it suitable for beginners while still achieving a visually impactful result.
Idea 3: Broken Wall Illusion Stickers
How to Make
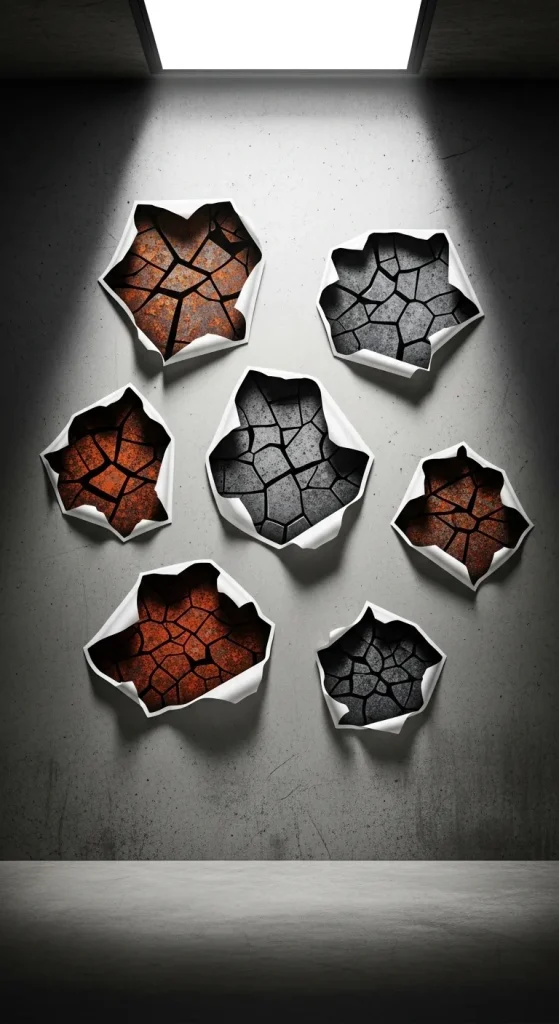
This design creates the illusion that the wall surface is cracked or broken, revealing a different layer underneath. It often incorporates geometric fractures or irregular tear patterns that simulate damage while remaining decorative. The concept adds depth and intrigue, making it a strong focal point in home decor setups.
To create this effect, design crack patterns with sharp, uneven lines. Cut these shapes from dark or contrasting material. For added realism, include a second layer representing the “inner surface” using a different color or texture. Apply the inner layer first, then overlay the crack shapes slightly offset. Ensure alignment while maintaining randomness in the pattern. This method enhances realism and creates a striking visual contrast that transforms a plain wall into an artistic feature.
Idea 4: Oversized Minimalist Symbols
Execution Process
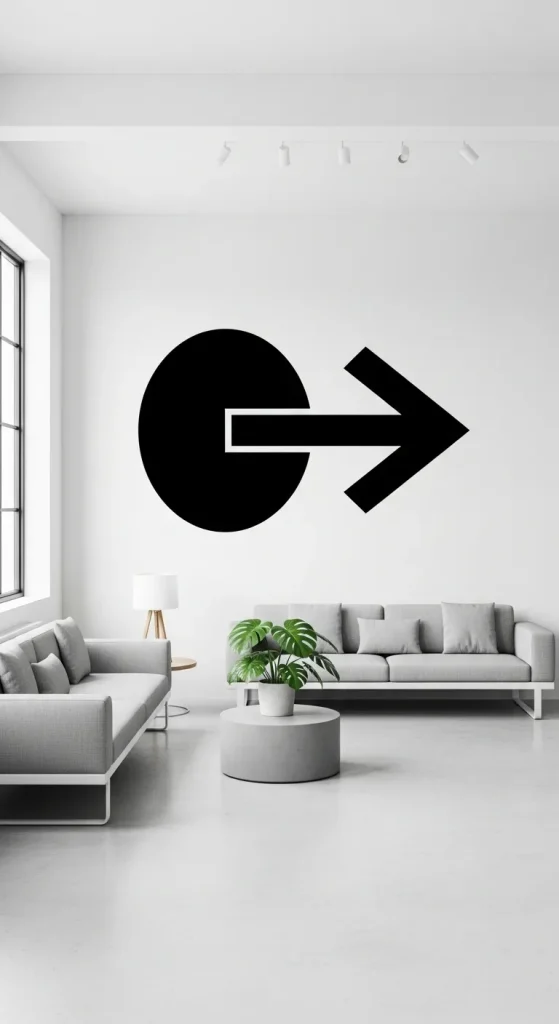
Oversized symbols focus on simple shapes such as arrows, circles, or abstract icons scaled significantly larger than typical stickers. This approach emphasizes minimalist style while maintaining strong visual presence. It works well in organized spaces where clutter is minimized but design impact is still desired.
To execute, select one or two simple shapes and scale them proportionally to fit the wall. Use measuring tools to center or align the design according to the room layout. Cut the shapes from solid-colored material and apply them carefully to avoid wrinkles. Keep spacing intentional and avoid adding too many elements. This method ensures a clean and balanced result, aligning with modern design principles and maintaining a structured aesthetic.
Idea 5: Optical Illusion Line Art
How to Create
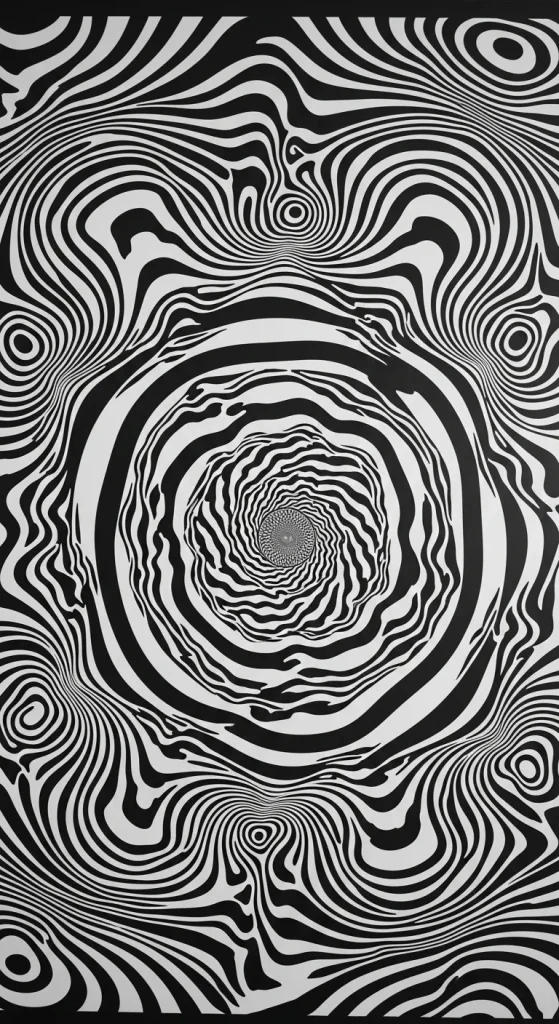
Optical illusion stickers use repeated lines and patterns to create movement or depth effects. These designs often include spirals, waves, or grid distortions that visually shift depending on viewing angle. This concept fits well within creative project trends that focus on interactive visual experiences.
Begin by selecting a pattern that creates a clear illusion effect. Print or draw the design onto sticker material, ensuring precision in line spacing. Cut and apply the sticker carefully, maintaining alignment to preserve the illusion. Use a smoothing tool to prevent distortions during application. This approach requires attention to detail but remains beginner friendly when executed with patience and proper planning.
Idea 6: Nature-Inspired Abstract Forms
Setup Method
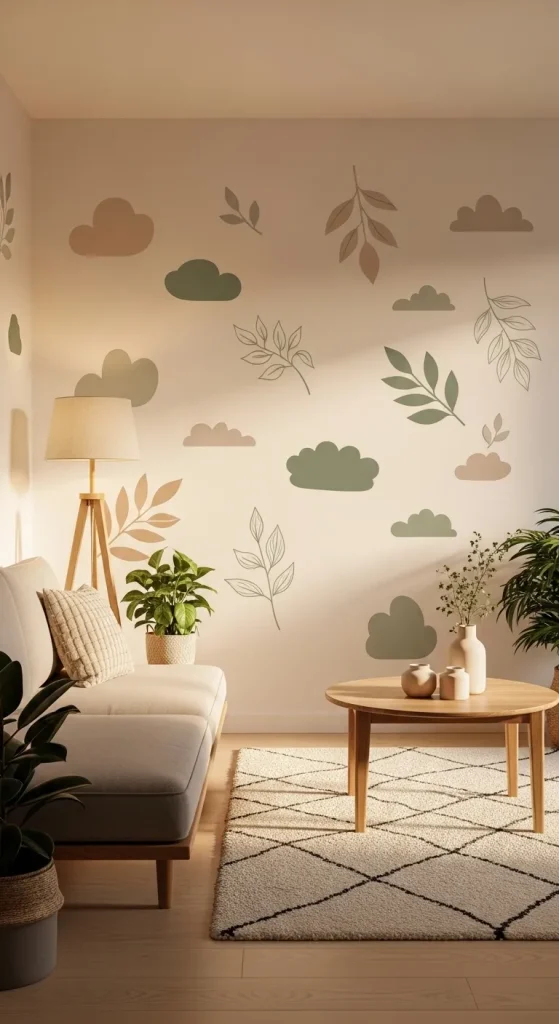
This idea transforms natural elements such as leaves, clouds, or water shapes into abstract sticker designs. Instead of realistic representations, the focus is on simplified forms that capture the essence of nature while maintaining a modern aesthetic. These designs are commonly seen in Pinterest inspiration related to calming and balanced interiors.
To implement, sketch abstract versions of natural shapes and cut them from adhesive material. Choose soft, neutral tones for a cohesive look. Arrange the shapes in a flowing pattern across the wall, maintaining consistent spacing. Apply each piece carefully, adjusting placement as needed. This method creates a harmonious visual effect that enhances the overall atmosphere without overwhelming the space.
Idea 7: Random Text Fragment Stickers
How to Make
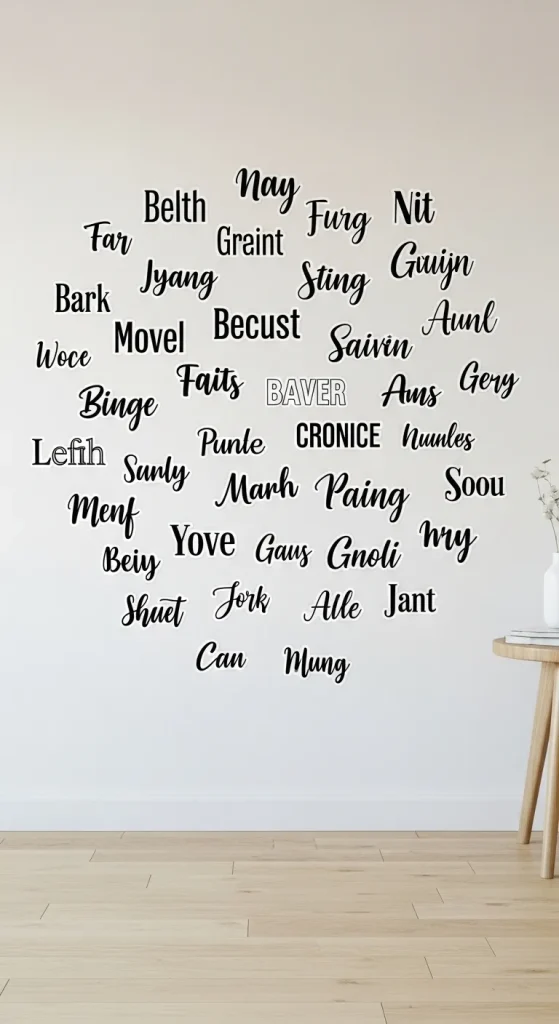
This concept uses scattered words or phrases arranged in a non-linear format across the wall. Instead of forming complete sentences, the fragments create a layered and unconventional visual effect. This style aligns with creative ideas that focus on expressive and personalized decoration.
Select meaningful words or short phrases and design them in varying sizes and orientations. Cut each piece individually and plan the layout before application. Place the stickers randomly but maintain visual balance. Use spacing to prevent overcrowding and ensure readability. This technique allows for customization while maintaining an organized appearance.
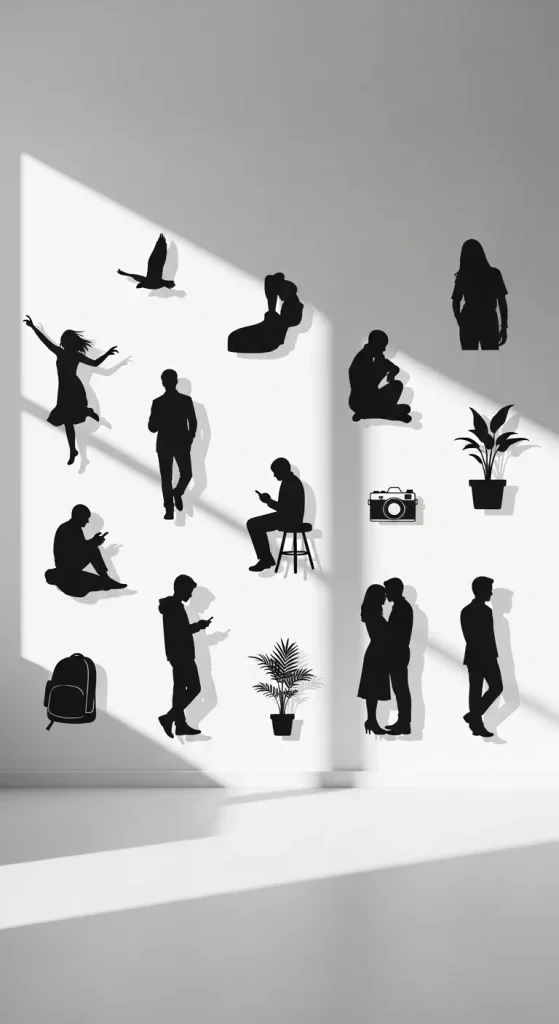
Idea 8: Shadow Silhouette Figures
Step-by-Step Guide
Shadow silhouette stickers depict figures or objects using solid shapes paired with subtle shadow effects. This creates a dramatic and visually engaging look without requiring detailed imagery. It works well in both minimalist and themed interiors.
Design simple silhouettes and cut them from dark material. Create a secondary lighter shape for the shadow effect. Apply the main figure first, then position the shadow slightly offset. Ensure consistent direction for all shadows to maintain realism. This method enhances depth and adds a unique visual layer to the wall.
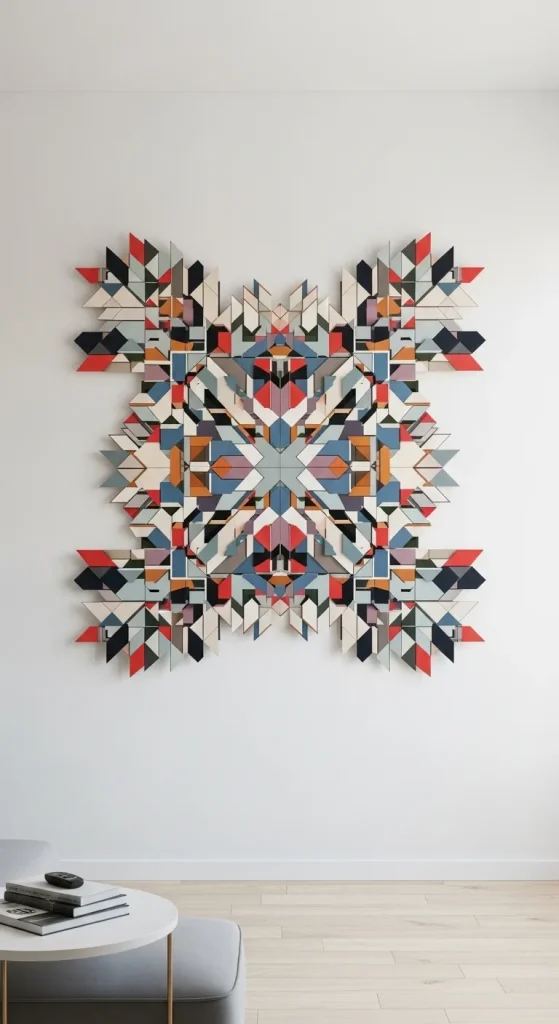
Idea 9: Geometric Fragment Collage
Execution Process
Geometric fragment stickers involve assembling small shapes into a larger cohesive design. This collage approach creates texture and complexity while remaining structured. It is commonly used in modern home decor to add visual interest without excessive detail.
Cut multiple geometric shapes in varying sizes and colors. Plan the overall composition before applying the pieces. Start from the center and work outward, maintaining balance. Use a level to align edges when necessary. This approach requires careful planning but results in a visually dynamic and organized design.
Idea 10: Inverted Negative Space Stickers
How to Create
Negative space stickers focus on using empty areas to form shapes instead of solid designs. This technique creates subtle and sophisticated visuals that integrate seamlessly with the wall surface. It aligns with minimalist style and modern design trends.
To create this effect, cut shapes out of a larger sticker sheet, leaving the negative space as the design. Apply the sheet carefully, ensuring alignment. Remove the cut-out sections to reveal the wall beneath. This method requires precision but produces a clean and refined result that enhances the overall aesthetic.

Common Beginner Mistakes and How to Avoid Them
One common mistake is applying stickers to unclean surfaces, which reduces adhesion and causes peeling. Cleaning the wall thoroughly before starting prevents this issue. Another frequent problem is poor alignment due to lack of planning. Measuring and marking guidelines ensures accurate placement. Using low-quality materials can also affect durability and appearance, so selecting appropriate sticker material is essential. Rushing the application process often leads to air bubbles and wrinkles. Applying stickers slowly and using smoothing tools improves results. Avoid overcrowding designs, as excessive elements reduce visual clarity. Maintaining balance and spacing helps achieve a professional finish.
Practical Tips for Better Results
For improved results, always test a small section before full application. This confirms compatibility with the wall surface. Use a level and measuring tape to maintain alignment, especially for geometric or repeated patterns. Applying stickers in sections rather than all at once allows better control. Working in a well-lit area helps identify imperfections during installation. Keeping extra material on hand ensures quick corrections if needed. Consistent pressure during application prevents bubbles and uneven adhesion. Planning the layout in advance supports a smoother workflow and reduces errors.
Styling, Presentation, or Organization Ideas
Styling wall stickers effectively enhances their visual impact. Position designs at eye level for better visibility and balance. Pair sticker arrangements with simple furniture to maintain a cohesive look. Use symmetry for structured designs or asymmetry for a more dynamic appearance. Group related elements together to create focal points. Incorporating negative space around the design prevents clutter and improves readability. Matching sticker colors with existing decor elements ensures consistency. Organized placement contributes to a clean and intentional presentation.
Budget or Time Planning
Wall sticker projects are cost-effective compared to other decoration methods. Using basic materials and DIY techniques reduces expenses significantly. Planning the design in advance minimizes waste and saves time. Simple designs can be completed within a few hours, while more detailed projects may require a full day. Breaking the process into stages, such as preparation, cutting, and application, improves efficiency. Reusing leftover materials for smaller projects helps maximize value. Setting a clear timeline ensures the project remains manageable and organized.
Creative Expansion and Advanced Inspiration
Once basic techniques are mastered, more advanced variations can be explored. Combining multiple sticker styles in one space creates layered visual effects. Integrating lighting elements enhances depth and highlights design features. Experimenting with textures such as matte and glossy finishes adds complexity. Creating themed walls based on specific concepts allows for deeper personalization. Expanding designs across multiple surfaces, such as corners or ceilings, introduces new dimensions. These advanced approaches build on foundational skills and encourage continued exploration of creative ideas in wall decoration.
Leave a Reply