Introduction
Chalk flower art has become a popular category within Pinterest ideas due to its simplicity, flexibility, and strong visual appeal. This creative project focuses on drawing and designing floral patterns using chalk on various surfaces such as sidewalks, chalkboards, or paper. Readers will learn how to create structured, aesthetic, and beginner friendly floral designs using easy methods and accessible materials.
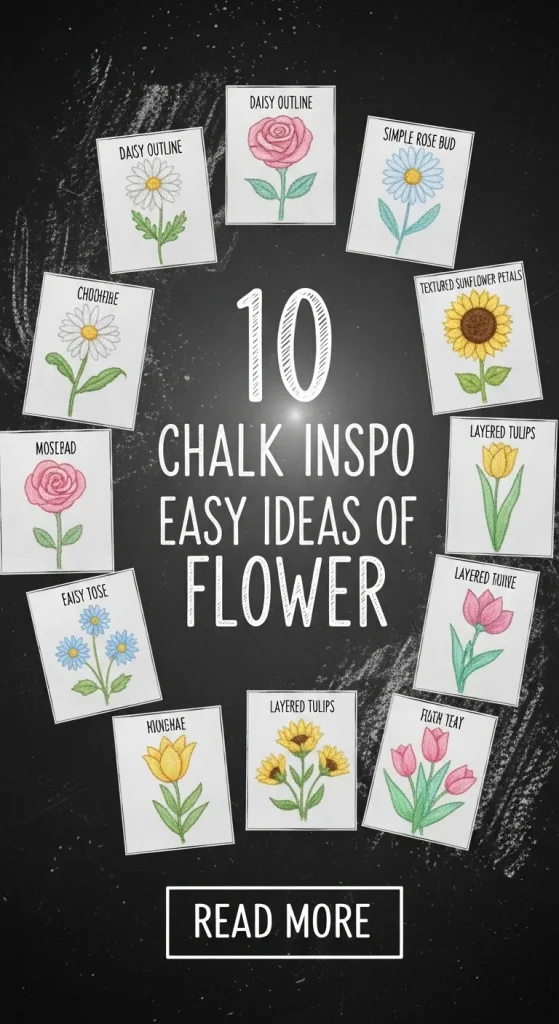
This article provides a complete guide to 10 chalk-inspired flower ideas with clear step by step methods. Each idea explains both the design concept and the execution process. The goal is to help readers develop practical skills in DIY chalk art while creating visually balanced and modern design compositions suitable for decoration and creative expression.
Why This Idea Is Trending or Useful
Chalk flower designs are trending because they combine artistic expression with accessibility. Unlike other forms of art that require specialized tools, chalk art uses simple materials and allows for easy correction, making it ideal for beginners. This aligns with the growing demand for DIY and budget ideas that can be completed at home without technical expertise.
The visual appeal of floral patterns also contributes to their popularity in Pinterest inspiration boards. Flowers naturally fit into home decor, seasonal decoration, and minimalist style aesthetics. Chalk art allows users to experiment with colors, shapes, and layouts without long-term commitment. This makes it a practical creative project for both temporary decoration and skill-building exercises.
Materials and Preparation
Creating chalk flower designs requires basic materials that are widely available and affordable. Essential materials include colored chalk sticks, a flat drawing surface such as pavement or chalkboard, a soft cloth for blending, and optional items like water for enhancing color intensity. Using high-quality chalk improves color visibility and smooth application.
Preparation involves selecting a clean and dry surface to ensure proper chalk adhesion. Lightly sketching the layout with white chalk helps in planning the design before adding colors. It is important to decide the flower type, size, and placement in advance to maintain balance. Beginners should start with simple shapes and gradually add details. Proper planning ensures consistency and reduces the need for corrections during execution.
Idea 1: Simple Daisy Bloom
How to Create
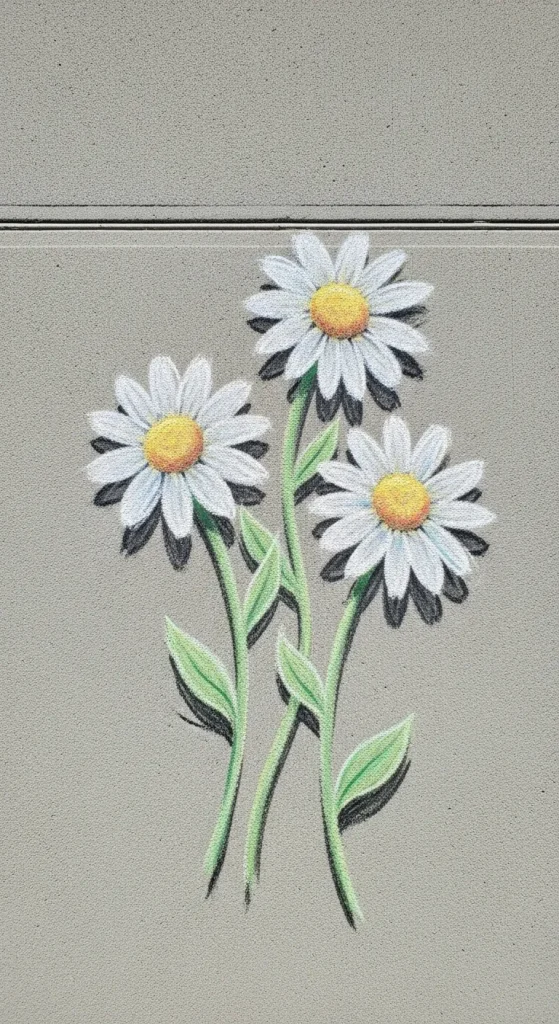
A daisy design is one of the most beginner friendly chalk flower ideas. It features a circular center surrounded by evenly spaced petals, making it ideal for learning symmetry and spacing. This design fits well into minimalist style compositions and can be used as a base pattern for more complex arrangements. The simplicity of the daisy makes it a strong starting point for understanding floral structure in chalk art.
To create this design, start by drawing a small circle for the center using yellow chalk. Then, draw elongated oval petals radiating outward. Maintain equal spacing between petals for balance. Fill each petal with white chalk and lightly blend for a soft effect. Add a green stem and simple leaves. Use a cloth to smooth edges and enhance the aesthetic finish. This step by step method helps beginners develop control and consistency.
Idea 2: Layered Rose Design
Step-by-Step Guide
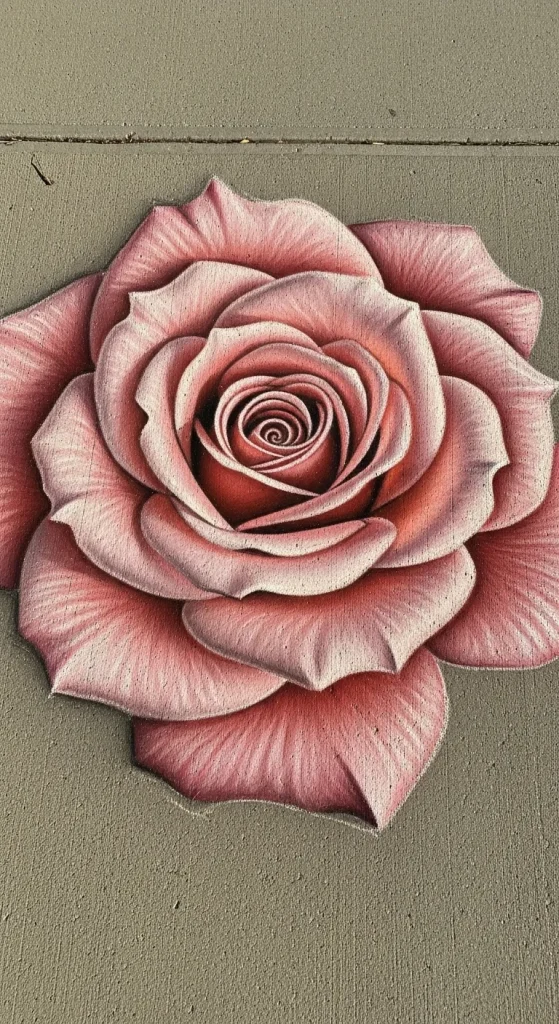
A layered rose design introduces depth and structure into chalk art. Unlike simple flowers, roses are built using curved lines that spiral inward, creating a realistic and detailed look. This design is commonly used in Pinterest inspiration boards due to its elegant and decorative appearance. It helps in understanding how to build complexity using basic shapes.
Begin by drawing a small spiral in the center using red or pink chalk. Gradually add curved lines around the spiral to form petals. Each layer should slightly overlap the previous one to create depth. Blend the edges gently to soften transitions between layers. Add darker shades near the center for contrast. Finish by drawing leaves and a stem. This process demonstrates how to transform simple lines into a detailed floral design.
Idea 3: Tulip Trio Arrangement
How to Make
Tulips are structured flowers with smooth, curved petals that make them ideal for clean and modern design layouts. A trio arrangement creates visual balance and symmetry, making it suitable for home decor or chalkboard decoration. This design emphasizes alignment and spacing rather than intricate detailing.
Start by drawing three vertical stems evenly spaced. At the top of each stem, sketch a cup-shaped outline for the tulip petals. Use soft colors such as pink, yellow, or purple to fill the petals. Add subtle shading on one side to create dimension. Draw long, narrow leaves along the stems. Keep the lines clean and consistent. This easy project focuses on maintaining proportion and alignment while achieving an aesthetic finish.

Idea 4: Sunflower Focus Piece
Execution Process
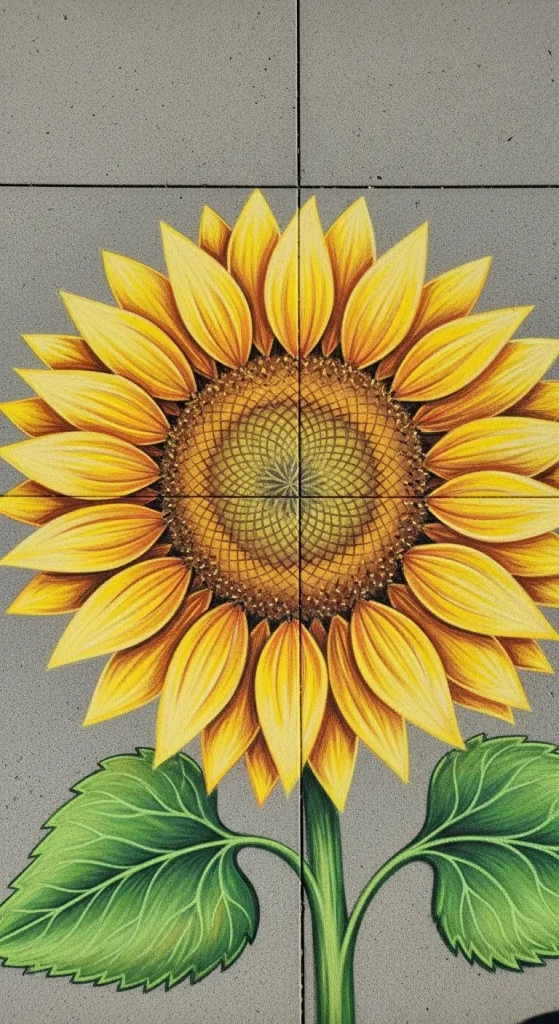
Sunflowers are bold and visually striking, making them a popular choice in chalk art. Their large size and strong contrast between the center and petals create a focal point in any design. This idea is ideal for creating standout decoration pieces.
Begin by drawing a large circle for the center using brown chalk. Add texture by filling it with small dots or rough strokes. Draw long, pointed petals around the circle using yellow chalk. Layer a second row of petals behind the first for added depth. Use orange shading near the base of each petal. Add thick green stems and wide leaves. This step by step approach builds a strong and balanced composition.
Idea 5: Wildflower Scatter Design
Setup Method
A wildflower scatter design focuses on creating a natural and unstructured layout. This style is inspired by organic growth patterns and works well for filling larger spaces. It is a flexible creative project that allows variation in flower types and sizes.
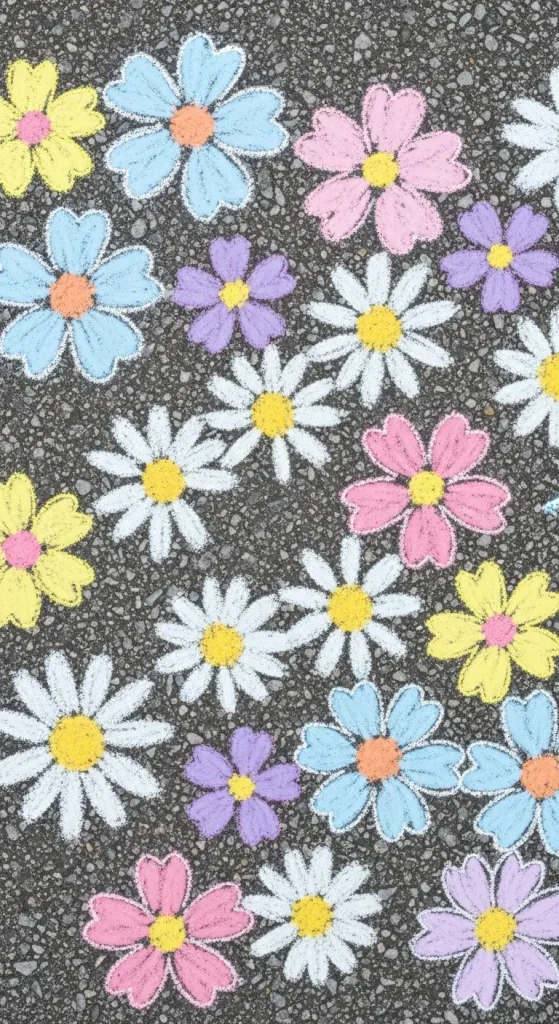
Start by lightly marking random positions for flowers across the surface. Draw small flowers such as daisies, dots, and simple blooms in different colors. Vary sizes to create depth and interest. Add thin stems and small leaves connecting the flowers. Use soft blending to unify the design. This method encourages experimentation while maintaining visual harmony.
Idea 6: Floral Border Pattern
How to Create
A floral border pattern is used for framing spaces such as chalkboards or pathways. It provides structure and enhances presentation. This idea is commonly used in organization and decorative layouts.
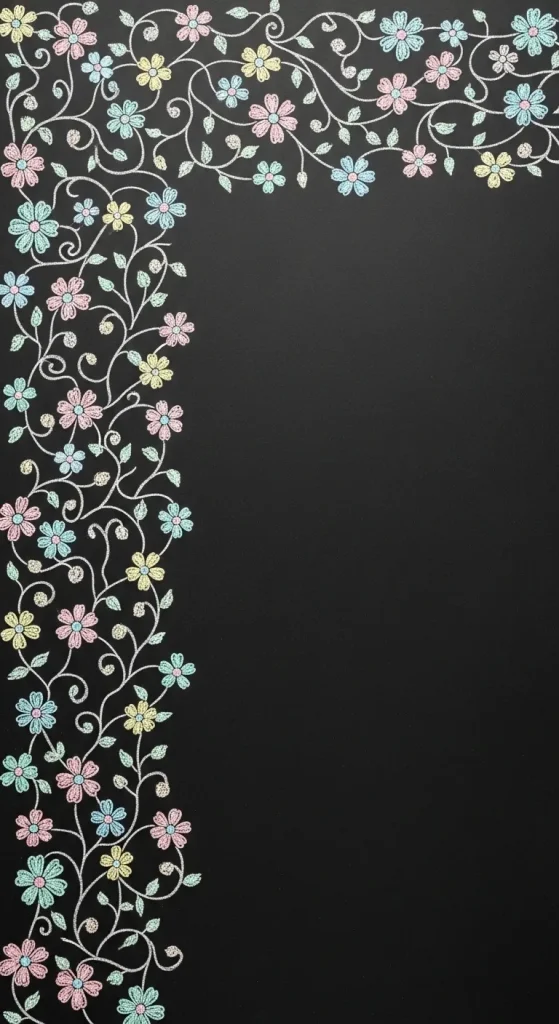
Draw a straight guideline along the edge of the surface. Place small flowers at regular intervals along the line. Connect them with vines or stems. Use repeating colors and shapes to maintain consistency. Add leaves to fill gaps and create continuity. This step by step process ensures a clean and organized design suitable for framing purposes.
Idea 7: Mandala Flower Design
Step-by-Step Guide
Mandala flower designs combine symmetry and repetition to create intricate patterns. This style is widely used in Pinterest ideas for its detailed and meditative appearance. It helps improve precision and control.
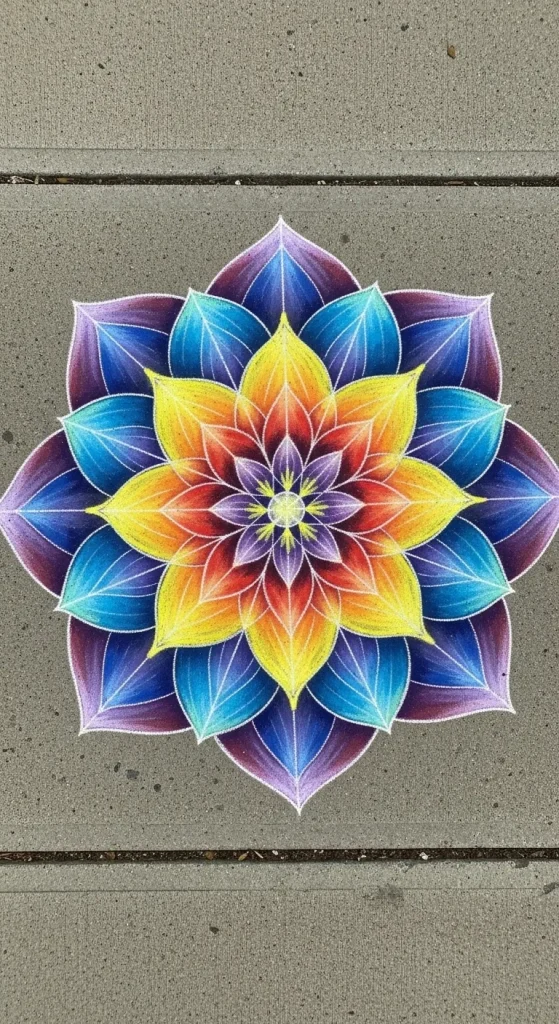
Start with a central circle and build layers of petals around it. Each layer should follow a consistent pattern. Use different colors for each ring to enhance visual separation. Maintain symmetry by dividing the circle into equal sections. Add fine details using thin chalk strokes. This method requires patience but produces a highly aesthetic result.
Idea 8: Minimalist Line Flower
How to Make
Minimalist line flowers focus on simplicity and clean outlines. This style aligns with modern design trends and is suitable for subtle decoration. It uses fewer colors and emphasizes form over detail.
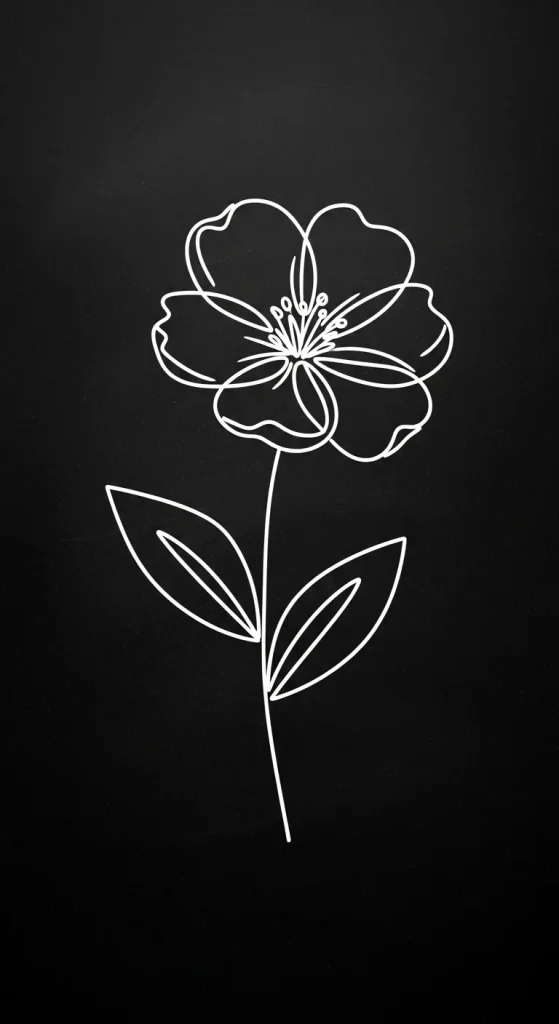
Draw a continuous line to form a simple flower shape. Avoid excessive detailing. Use a single color or limited palette. Add a thin stem and one or two leaves. Keep spacing minimal and balanced. This easy project is ideal for beginners who prefer clean and understated designs.
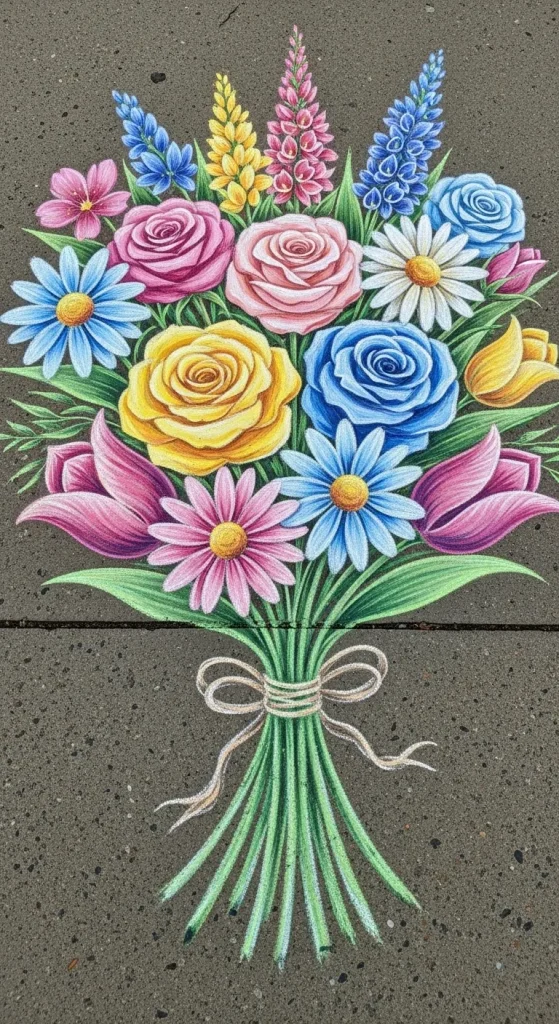
Idea 9: Chalk Bouquet Composition
Execution Process
A bouquet composition combines multiple flowers into a single arrangement. This design mimics real floral arrangements and is suitable for larger decorative pieces. It allows combining different styles into one cohesive layout.
Start by sketching the overall bouquet shape. Place larger flowers at the center and smaller ones around them. Add stems converging at the base. Use varied colors to differentiate each flower. Fill gaps with leaves and small details. Blend lightly to unify the composition. This method builds complexity while maintaining structure.
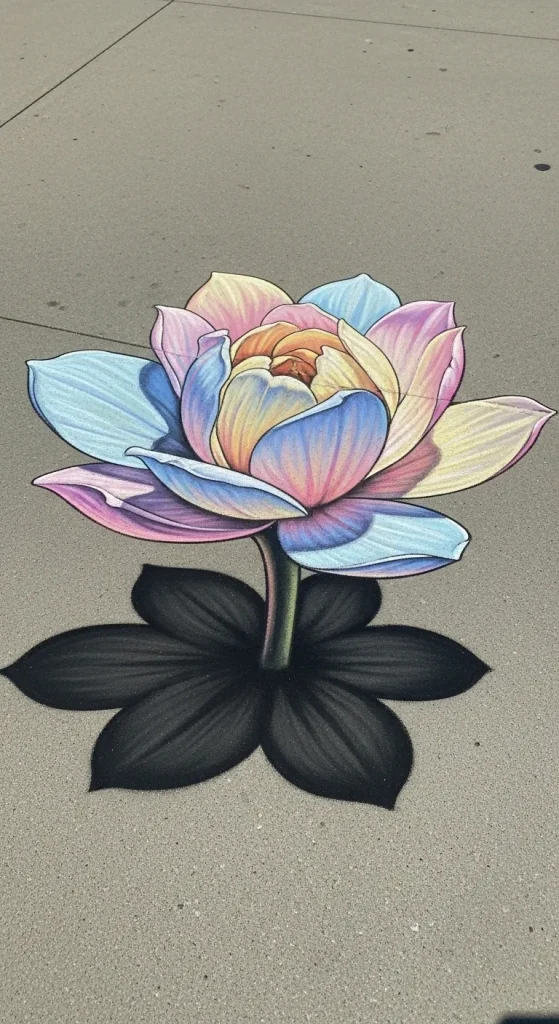
Idea 10: 3D Shadow Flower Effect
How to Create
A 3D shadow effect adds depth and realism to chalk flower designs. This technique uses shading and highlights to create a lifted appearance. It is a more advanced but still achievable creative idea.
Draw the flower shape using a base color. Add a darker shade on one side to represent shadow. Use white chalk to add highlights on the opposite side. Blend carefully to create smooth transitions. Add a faint shadow beneath the flower to enhance the 3D effect. This step by step process improves dimensional understanding.
Common Beginner Mistakes and How to Avoid Them
Beginners often apply too much pressure when using chalk, which results in uneven lines and difficulty in blending. Using light strokes allows better control and smoother transitions. Another common mistake is skipping the planning stage, leading to unbalanced designs. Light sketching before final drawing helps maintain proportion and alignment.
Overusing colors without a clear palette can reduce visual clarity. Limiting the number of colors ensures a cohesive look. Ignoring spacing between elements can make designs appear cluttered. Maintaining consistent gaps improves readability and aesthetic balance. Correcting these mistakes improves overall quality and confidence in chalk art projects.
Practical Tips for Better Results
Using layered shading techniques enhances depth and realism in chalk flower designs. Applying colors gradually instead of all at once allows better blending. Keeping a cloth or tissue nearby helps in smoothing edges and correcting mistakes efficiently.
Working in sections prevents smudging and maintains clarity. Choosing the right surface also impacts the final result, as smoother surfaces provide better control. Practicing basic shapes regularly improves precision. These practical tips support consistent improvement and help achieve professional-looking results in DIY chalk projects.
Styling, Presentation, or Organization Ideas
Arranging chalk flowers in structured layouts enhances their visual impact. Using borders, frames, or central focal points creates organization within the design. Grouping similar flowers together improves consistency and readability.
Combining chalk art with surrounding elements such as furniture or outdoor spaces enhances presentation. Aligning designs with seasonal themes adds relevance. Maintaining clean edges and balanced spacing ensures a polished look. Proper styling transforms simple drawings into visually appealing decoration pieces.
Budget or Time Planning
Chalk flower projects are cost-effective because they require minimal materials. Basic chalk sets and simple tools are sufficient for most designs. Planning the design in advance reduces time spent on corrections and adjustments.
Breaking the project into smaller sections allows efficient time management. Simple designs can be completed within a short period, while complex patterns may require multiple sessions. Setting realistic goals ensures completion without unnecessary delays. This approach supports both beginners and experienced creators.
Creative Expansion and Advanced Inspiration
Once basic techniques are mastered, chalk flower designs can be expanded into larger compositions. Combining multiple styles, such as mandala and bouquet designs, creates unique visual effects. Experimenting with color gradients and textures adds complexity.
Advanced inspiration includes integrating chalk art with mixed media, such as paint or markers. Creating themed designs for events or seasonal decoration enhances versatility. Exploring different surfaces also expands creative possibilities. Continuous experimentation leads to skill development and more refined artistic expression.


Leave a Reply