Introduction
Floor to ceiling shower curtain ideas are a growing trend in modern bathroom design, especially across Pinterest inspiration boards focused on minimalist style, functionality, and visual impact. These full-length curtains extend from the ceiling down to the floor, creating a seamless vertical line that enhances the perceived height of the space while offering practical water containment. This approach works in both small and large bathrooms, making it a versatile solution for homeowners, renters, and DIY enthusiasts. In this article, you will learn how to plan, design, and implement ten distinct shower curtain ideas using a structured, step-by-step method. Each idea focuses on practical execution, materials, and achievable results. The content emphasizes beginner friendly techniques, budget ideas, and creative project planning without relying on complex tools. Floor to ceiling setups also align with current home decor trends that prioritize clean lines, simple organization, and aesthetic clarity. By following these methods, readers can create a visually cohesive and functional bathroom upgrade that fits modern design expectations while remaining accessible for DIY implementation.

Why This Idea Is Trending or Useful
Floor to ceiling shower curtains are trending because they combine aesthetic appeal with functional benefits in a way that suits modern interior design preferences. One key reason for their popularity is the ability to visually increase ceiling height, which makes bathrooms feel larger and more open. This is especially valuable in compact spaces where design efficiency matters. Another factor is their compatibility with minimalist style layouts, where clean vertical lines and uncluttered surfaces are prioritized. These curtains also support better water containment compared to standard mid-height options, reducing splashing and simplifying cleaning routines. From a DIY perspective, this is an easy project that does not require permanent structural changes, making it ideal for renters and beginners. Pinterest ideas frequently highlight this concept due to its strong visual transformation with minimal materials and effort. Additionally, the flexibility in fabric choices, colors, and textures allows for endless creative ideas that match different themes, from modern design to soft aesthetic decoration. Overall, this approach offers practical value, accessibility, and strong visual results, which explains its consistent presence among trending ideas.
Materials and Preparation
Before starting any floor to ceiling shower curtain project, proper planning and preparation are essential to ensure accurate installation and long-lasting results. Begin by measuring the full height from the ceiling to the floor, as precision is critical for achieving the intended seamless look. The primary materials include a ceiling-mounted curtain rod or track system, a full-length waterproof curtain liner, and an outer fabric curtain if layering is desired. Hooks or rings compatible with the chosen rod system are also necessary. For tools, basic items such as a drill, measuring tape, level, and anchors for ceiling installation are required. Preparation should also include selecting fabric types that balance durability and aesthetic value, such as polyester blends for water resistance or cotton for decorative layering. Planning considerations involve deciding whether the curtain will fully enclose the shower area or act as a partial divider. It is also important to consider ventilation to prevent moisture buildup. By organizing materials in advance and following a clear step-by-step setup plan, this DIY project becomes manageable and efficient, even for beginners.
Idea 1: Minimalist White Full-Length Curtain
How to Create
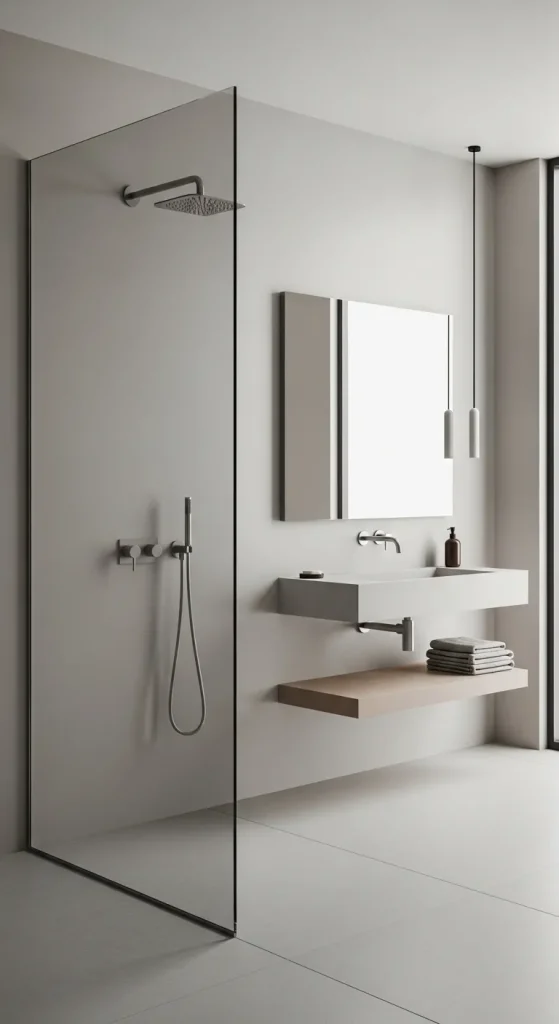
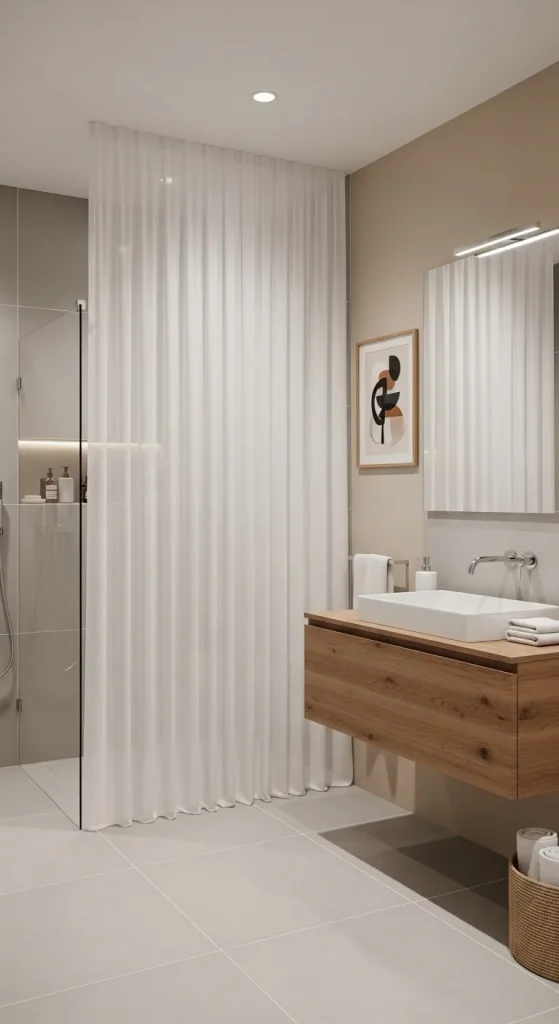
A minimalist white floor to ceiling shower curtain focuses on simplicity, brightness, and clean visual lines. This design uses a solid white curtain that extends fully from the ceiling to the floor, creating a seamless and uninterrupted look. The purpose of this concept is to reflect light evenly across the bathroom, making the space appear larger and more open. This approach aligns with modern design principles where clutter is minimized and visual clarity is emphasized. White fabric also provides flexibility in matching existing bathroom elements such as tiles, fixtures, and flooring. The aesthetic result is a calm and organized environment that works well in both small and large bathrooms. This idea is especially suitable for those seeking a neutral base that can later be enhanced with subtle decorative elements.
To create this setup, begin by installing a ceiling-mounted rod using proper anchors to ensure stability. Measure the exact height to avoid gaps at the top or bottom. Choose a waterproof liner as the inner layer and a high-quality white fabric curtain as the outer layer. Attach both using evenly spaced hooks to maintain a straight fall. Ensure the curtain slightly touches the floor for a complete look without dragging excessively. Keep the surrounding area uncluttered to maintain the minimalist style. This step by step process ensures a clean, functional, and visually balanced result.

Idea 2: Sheer Layered Curtain Design
How to Create
A sheer layered floor to ceiling shower curtain introduces depth and softness while maintaining functionality. This design combines a transparent or semi-transparent outer layer with a waterproof inner liner. The sheer fabric diffuses light, creating a soft aesthetic that enhances the overall atmosphere of the bathroom. This approach works particularly well in spaces with natural light, as it allows brightness to pass through while still providing privacy when layered correctly. The combination of textures adds visual interest without overwhelming the space, making it a popular Pinterest inspiration choice for modern home decor.
To implement this idea, start by installing a dual curtain rod system or a track that supports two layers. Measure and cut both the liner and sheer fabric to full ceiling height. Attach the liner to the inner rod and the sheer curtain to the outer rod. Ensure both layers move smoothly and independently. Use lightweight materials for the outer layer to maintain flow and avoid bulk. Position the liner fully inside the shower area and let the sheer layer hang slightly outside for visual effect. This setup method ensures proper water containment while achieving a soft and elegant finish.

Idea 3: Bold Pattern Statement Curtain
How to Create
A bold pattern floor to ceiling shower curtain serves as a focal point within the bathroom. This idea uses large-scale prints, geometric designs, or high-contrast patterns to create visual impact. The full-length installation amplifies the design, making it more prominent compared to standard curtain sizes. This concept is effective in bathrooms with neutral walls and fixtures, where the curtain becomes the main decorative element. It reflects creative ideas often seen in Pinterest trends where one statement piece defines the entire space.
To execute this design, select a patterned fabric that aligns with your desired theme. Ensure the print scale matches the height of the curtain to avoid distortion. Install a sturdy ceiling-mounted rod to support the weight of thicker fabric if necessary. Attach a waterproof liner behind the patterned curtain to protect the material. Align the pattern carefully when hanging to maintain symmetry. Keep other decorative elements minimal to avoid visual overload. This step by step approach ensures a balanced and striking result.

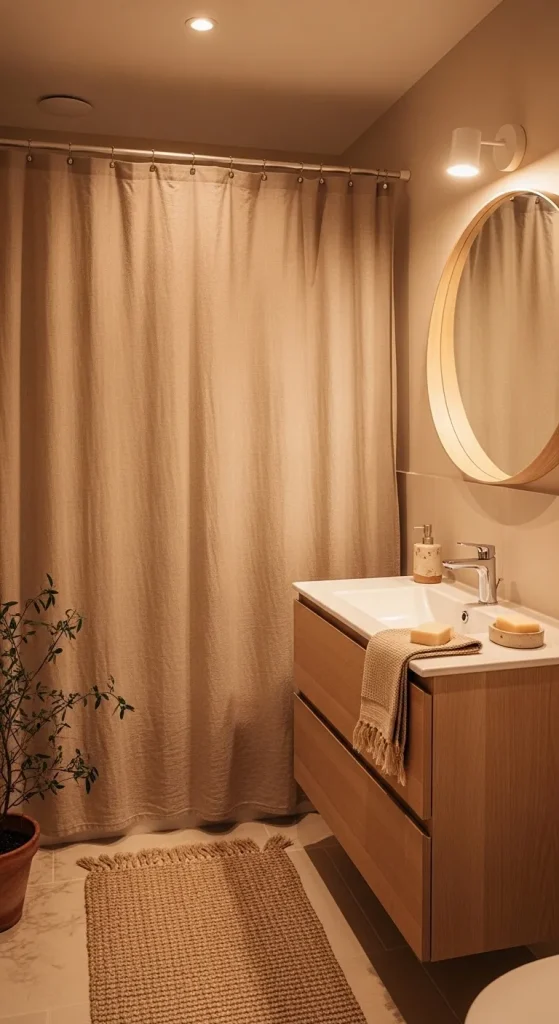
Idea 4: Neutral Linen Texture Curtain
How to Create
A neutral linen floor to ceiling curtain introduces texture and warmth into the bathroom without relying on strong colors. Linen-style fabrics provide a natural look that complements modern and minimalist interiors. This design emphasizes subtle detail through material choice rather than bold patterns. The result is a calm and cohesive environment that aligns with aesthetic and handmade decor trends.
To create this look, choose a linen or linen-blend fabric that is durable and easy to maintain. Install a ceiling-mounted rod and attach a waterproof liner behind the fabric. Ensure the curtain length is precise to maintain a clean finish. Allow the fabric to hang naturally without excessive tension to highlight its texture. This setup method creates a soft and refined appearance.
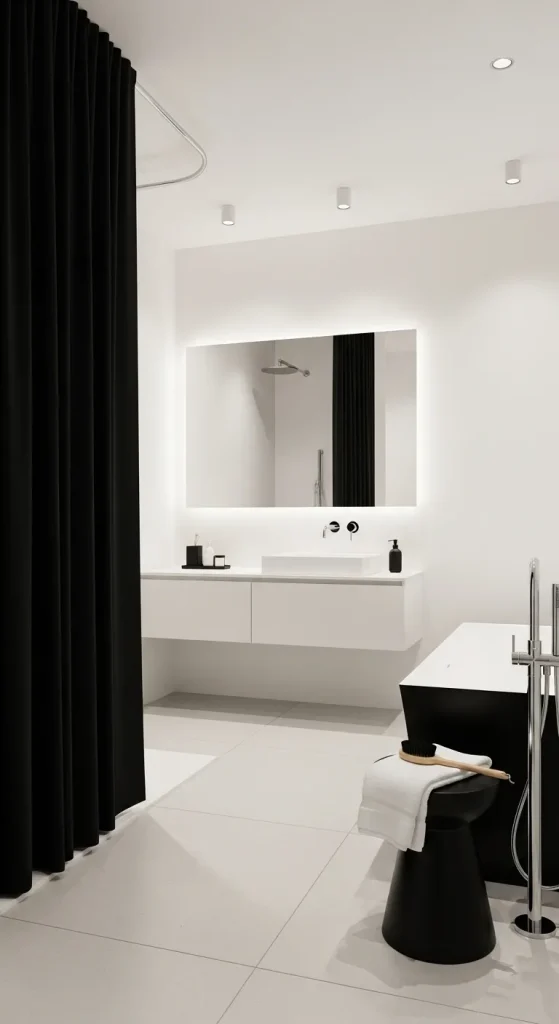
Idea 5: Monochrome Black Curtain Design
How to Create
A monochrome black floor to ceiling curtain creates a strong contrast and modern visual statement. This idea works well in bathrooms with white or light-colored elements, providing a sharp and defined look. The full-length design enhances vertical lines and adds depth to the space.
To implement this, select a matte black fabric and pair it with a dark liner. Install a ceiling rod and ensure secure mounting. Hang the curtain evenly and maintain a slight floor touch. Keep surrounding decor simple to emphasize contrast. This approach delivers a bold and structured design.
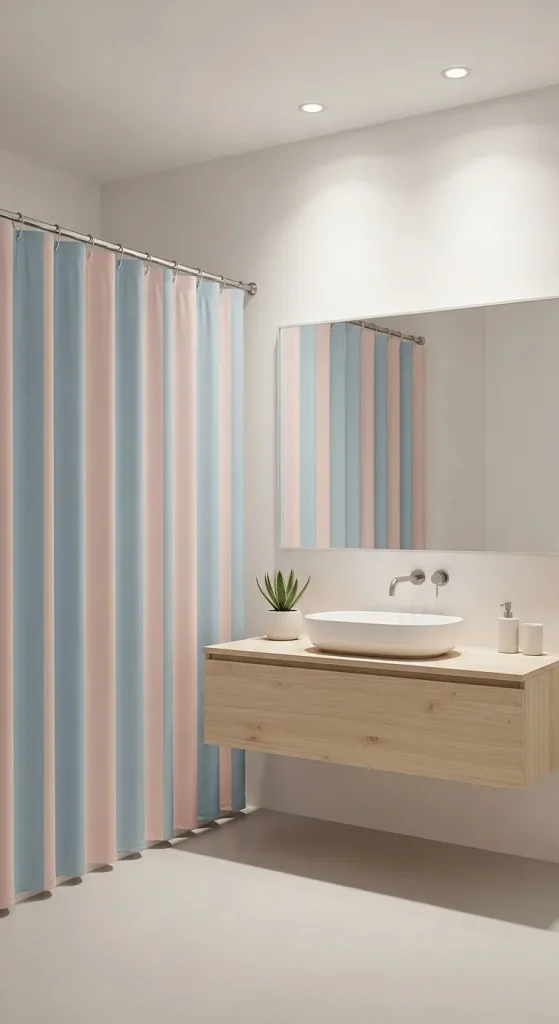
Idea 6: Soft Pastel Color Curtain
How to Create
Soft pastel curtains offer a gentle and calming aesthetic suitable for modern bathrooms. Colors such as light blue, beige, or blush create a soothing environment. The floor to ceiling length enhances the softness by creating continuous color flow.
To create this design, choose a pastel fabric and pair it with a neutral liner. Install a ceiling-mounted rod and ensure accurate measurements. Hang the curtain evenly and avoid wrinkles. This setup ensures a smooth and relaxing appearance.
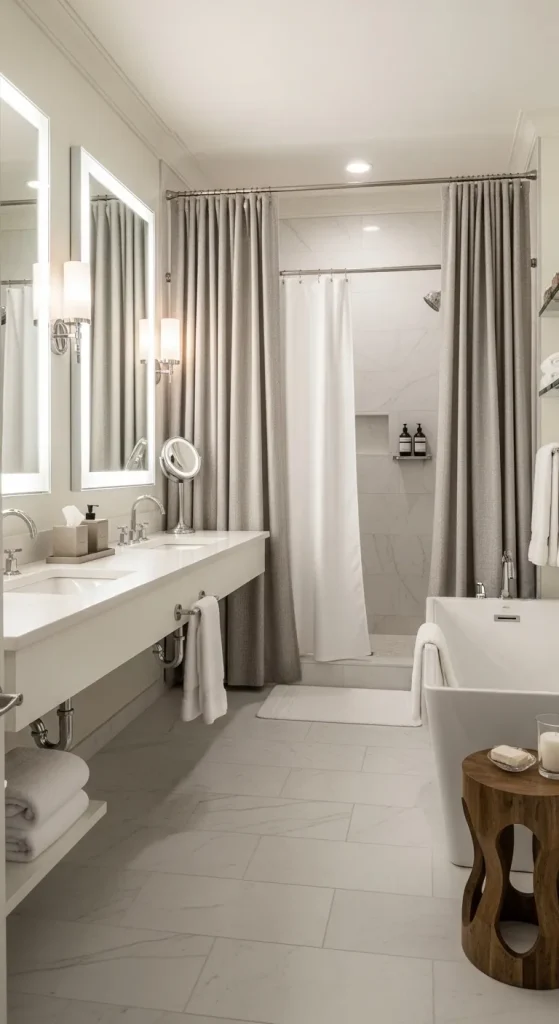
Idea 7: Double Curtain Hotel Style
How to Create
This idea replicates hotel-style bathrooms using dual layers for functionality and design. The inner liner handles water protection while the outer curtain provides aesthetic appeal. The full-length design enhances luxury and organization.
Install a double rod system and attach both layers separately. Ensure smooth movement and proper alignment. This method creates a structured and practical setup.
Idea 8: Transparent Modern Curtain
How to Create
A transparent curtain creates an open and modern look while maintaining basic functionality. It works best in minimalist bathrooms where visual continuity is important.
Use a clear waterproof curtain and install it from ceiling to floor. Ensure proper sealing within the shower area. This creates a clean and unobtrusive design.
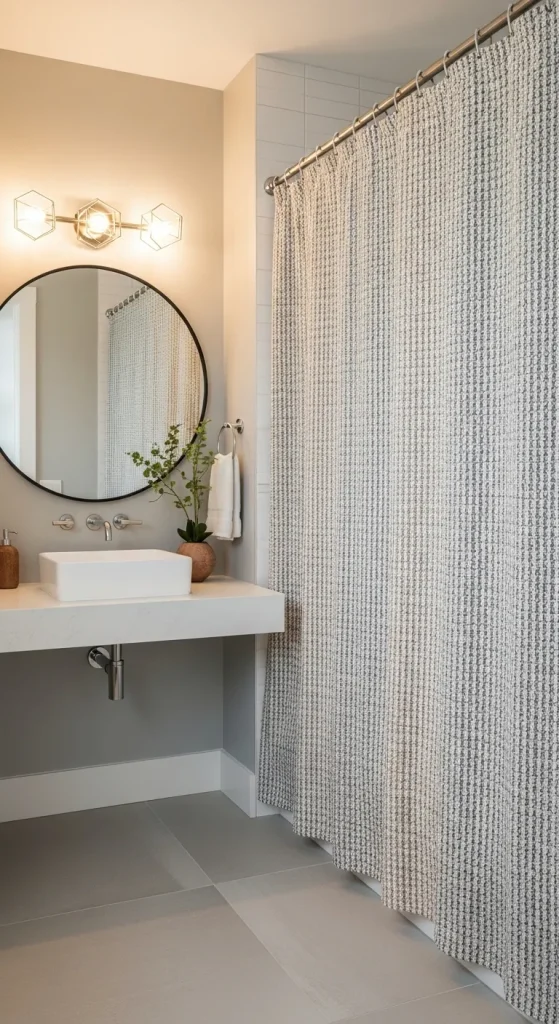
Idea 9: Textured Pattern Fabric Curtain
How to Create
Textured fabrics add depth without relying on bold colors. This idea focuses on subtle raised patterns or woven designs that enhance visual interest.
Choose textured fabric and pair with a liner. Install securely and allow natural draping. This creates a refined and balanced look.
Idea 10: Floor to Ceiling Divider Curtain
How to Create
This idea uses the curtain as a full bathroom divider, separating wet and dry areas. It improves organization and space efficiency.
Install a ceiling track that spans the required width. Use a full-length waterproof curtain. Ensure smooth sliding for easy access. This setup enhances functionality and layout control.
Common Beginner Mistakes and How to Avoid Them
One common mistake is incorrect measurement, which leads to curtains that are too short or excessively long. Always measure from ceiling to floor carefully. Another issue is weak installation, where rods are not securely mounted, causing instability. Using proper anchors and tools prevents this. Many beginners also overlook the importance of a waterproof liner, which can result in water damage. Choosing the right materials is essential. Poor fabric selection can also affect durability and maintenance. Avoid heavy fabrics without proper support systems. Finally, ignoring ventilation can lead to moisture buildup, so ensure airflow is maintained.
Practical Tips for Better Results
Use a level when installing rods to ensure straight alignment. Select materials that balance durability and aesthetic value. Keep the design consistent with overall bathroom decor. Regular cleaning helps maintain appearance and hygiene. Test curtain movement before final installation. Use simple tools for efficiency and accuracy. Focus on small details such as hook spacing for better results.
Styling, Presentation, or Organization Ideas
Pair curtains with matching towels or accessories for a cohesive look. Use neutral tones for minimalist style or bold designs for contrast. Keep surrounding areas uncluttered to highlight the curtain. Arrange items neatly to enhance organization. Lighting plays a key role, so ensure proper illumination.
Budget or Time Planning
This project can be completed within a few hours with basic tools. Budget planning should include materials, rods, and tools. Choosing affordable fabrics reduces cost without affecting quality. Planning ahead prevents delays and unnecessary expenses.
Creative Expansion and Advanced Inspiration
Advanced variations include motorized curtain tracks, layered color combinations, or integrating lighting effects. Experiment with different textures and patterns for unique results. Combine multiple ideas for a customized design. This allows continuous improvement and creative exploration.


Leave a Reply