Introduction
Pink Minecraft floor ideas offer a creative way to enhance interior builds with soft tones and visually balanced patterns. These designs combine aesthetic appeal with practical layout concepts. This article explains multiple approaches, materials, and step by step methods to help create structured, cohesive flooring for different build styles.
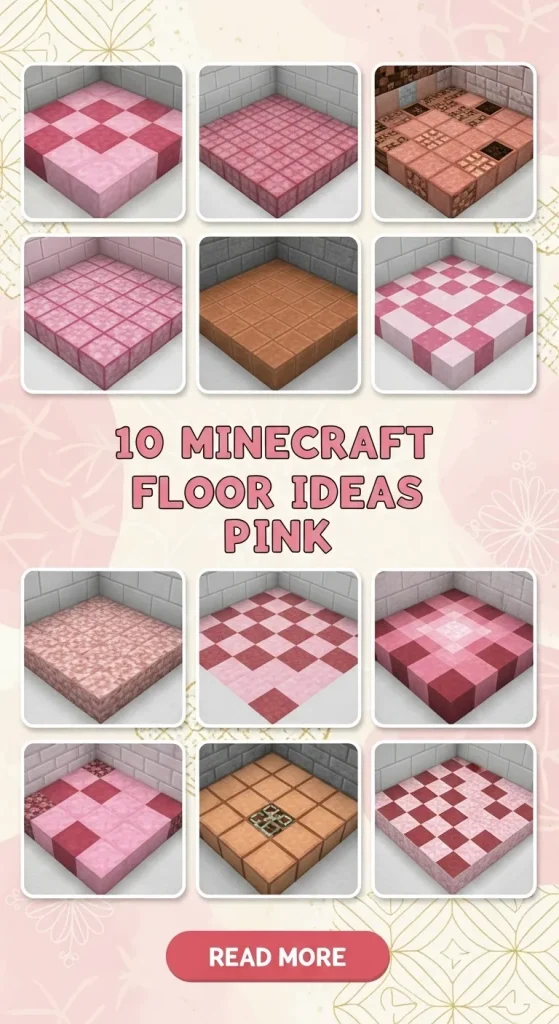
The guide covers beginner friendly techniques, material planning, and design execution. It also explores how pink tones can fit modern design, minimalist style, and decorative builds. Each idea focuses on clear methods, making it easier to apply these Pinterest ideas in both small and large Minecraft spaces.
Why This Idea Is Trending or Useful
Pink floor designs have become popular due to their ability to create visually calm and structured interiors in Minecraft builds. Soft color palettes align with modern design trends, especially those focused on minimalist style and aesthetic balance. These designs are widely used in bedrooms, lounges, and decorative builds where subtle color coordination improves overall visual harmony. Pinterest ideas frequently highlight pink tones because they provide contrast without overwhelming the space, making them suitable for both large builds and compact interiors.
The practical value of these designs lies in their flexibility and accessibility. Most pink-themed floors use blocks such as pink wool, terracotta, or concrete, which are relatively easy to obtain in survival mode. This makes them suitable for beginner friendly DIY projects. Additionally, these creative ideas allow players to experiment with patterns, symmetry, and organization while improving building skills. The step by step nature of these designs also makes them ideal for learning layout planning and improving interior detailing techniques.
Materials and Preparation
Before starting any pink Minecraft floor design, proper planning ensures consistent results and reduces unnecessary rebuilding. Common materials include pink concrete, pink wool, pink terracotta, white concrete, quartz blocks, and polished diorite. These materials help create contrast and depth while maintaining a cohesive color palette. Supporting blocks such as slabs and stairs can also add dimension and variation to the floor pattern. Lighting elements like glowstone or sea lanterns can be embedded to enhance visual impact.
Preparation begins with clearing and leveling the floor area to ensure an even surface. Measure the space and decide on a pattern scale, especially for symmetrical or repeating designs. Sketching the layout or visualizing it in sections helps maintain accuracy during placement. Organizing materials in advance improves efficiency during the building process. It is also important to test small sections of the design before completing the entire floor, as this helps identify alignment or color balance issues early in the project.
Idea 1: Pink and White Checkerboard Floor
How to Create
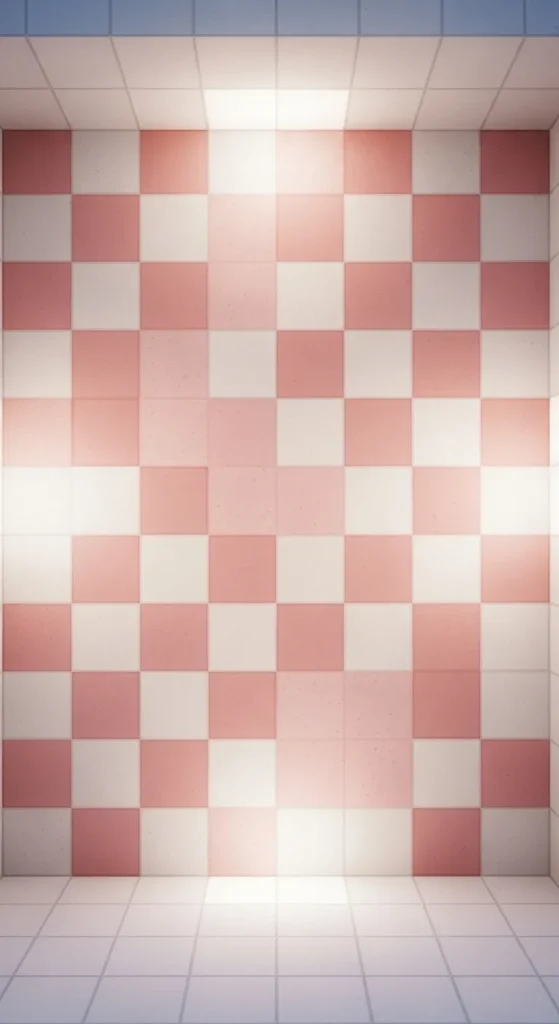
This design uses alternating pink and white blocks to form a classic checkerboard pattern. It is widely used in modern home decor builds due to its clean and structured appearance. The contrast between pink concrete and white concrete creates a balanced visual rhythm that works well in both large and small rooms. This pattern supports minimalist style interiors while still adding a decorative element to the space. It is especially effective in open areas where symmetry enhances the layout.
To create this floor, begin by marking a grid layout across the entire surface. Place pink blocks in the first square, followed by white blocks in the adjacent square, continuing the alternating pattern across the floor. Maintain consistent alignment to avoid pattern distortion. For better organization, build the floor in rows and double-check placement after each row. This step by step method ensures accuracy and keeps the design uniform. The materials required are simple, making this an easy project for beginners.
Idea 2: Soft Pink Gradient Floor
Step-by-Step Guide
A gradient floor uses different shades of pink to create a smooth color transition across the surface. This design is ideal for aesthetic builds where visual depth is important. By combining pink wool, pink terracotta, and magenta blocks, the floor gradually shifts in tone, creating a layered effect. This concept reflects modern design inspiration often seen in Pinterest ideas and helps elevate simple builds into more refined spaces.
To execute this design, divide the floor into sections based on color intensity. Start with the lightest pink shade on one side and gradually introduce darker shades as you move across the floor. Blend transitions by alternating blocks between sections. This method prevents harsh color changes and maintains a smooth gradient. Careful planning is essential to achieve a balanced look. This DIY tutorial works best in larger spaces where the gradient effect can be fully appreciated.

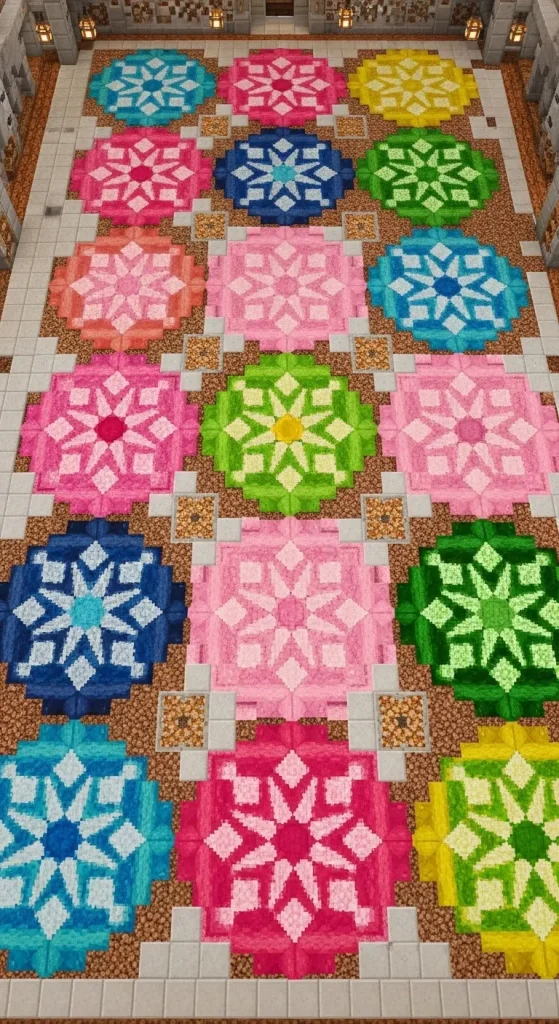
Idea 3: Pink Floral Pattern Floor
How to Make
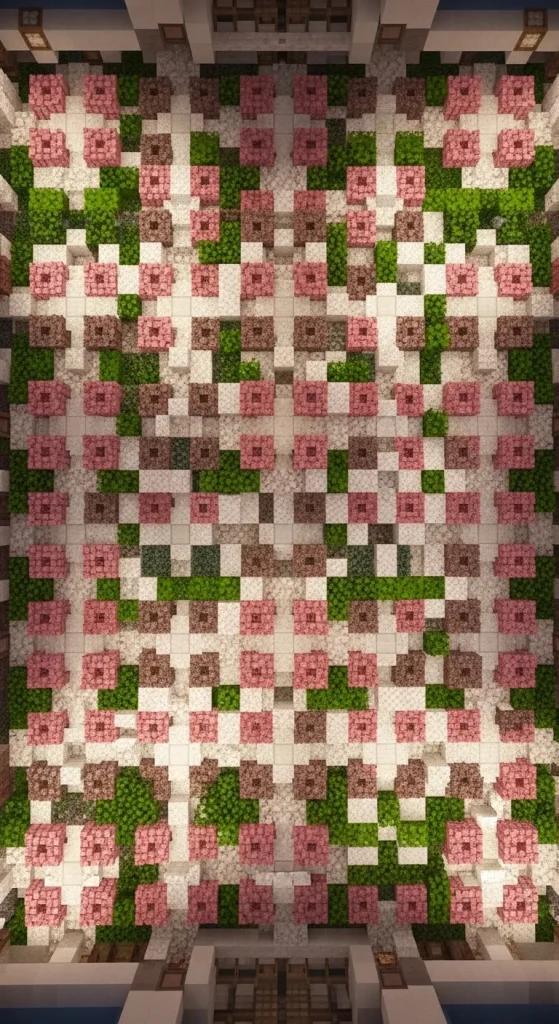
A floral pattern floor incorporates decorative shapes inspired by flowers, using pink tones as the primary color. This design adds detail and complexity to interior builds while maintaining a soft and cohesive aesthetic. White or green accents can be added to represent petals and leaves, creating a more dynamic layout. This idea is often used in decorative rooms or garden-themed builds where natural elements are emphasized.
To build this pattern, start by marking the center points where each floral design will be placed. Use pink blocks to form circular or petal-like shapes, then fill surrounding areas with a neutral base such as white or light gray blocks. Repeat the pattern evenly across the floor. This step by step process requires attention to spacing to maintain symmetry. The result is a decorative yet organized floor that enhances overall design quality.
Idea 4: Pink Marble Style Floor
Execution Process
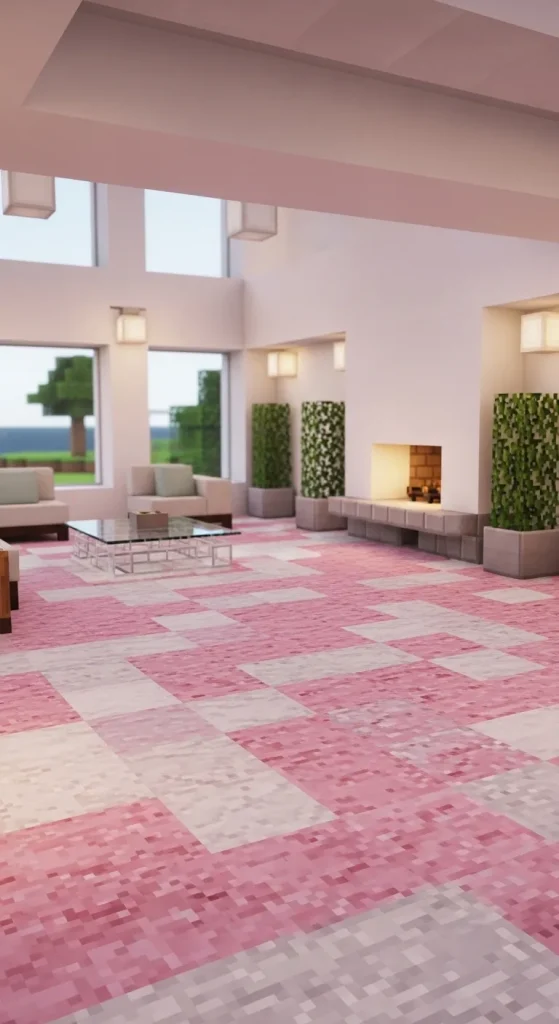
A marble-style floor mimics natural stone textures using a mix of pink, white, and light gray blocks. This design creates a polished and refined look often associated with luxury interiors. The irregular placement of blocks adds variation, making the floor appear more natural. This approach is suitable for large halls, entryways, or modern home decor builds that require a sophisticated touch.
To create this effect, randomly place pink blocks among white and gray blocks while maintaining an overall balanced distribution. Avoid repeating patterns, as randomness is key to achieving a realistic marble appearance. Work in small sections and adjust block placement as needed. This method requires patience but remains beginner friendly due to its flexible nature. The final result is a visually rich floor that complements modern design themes.
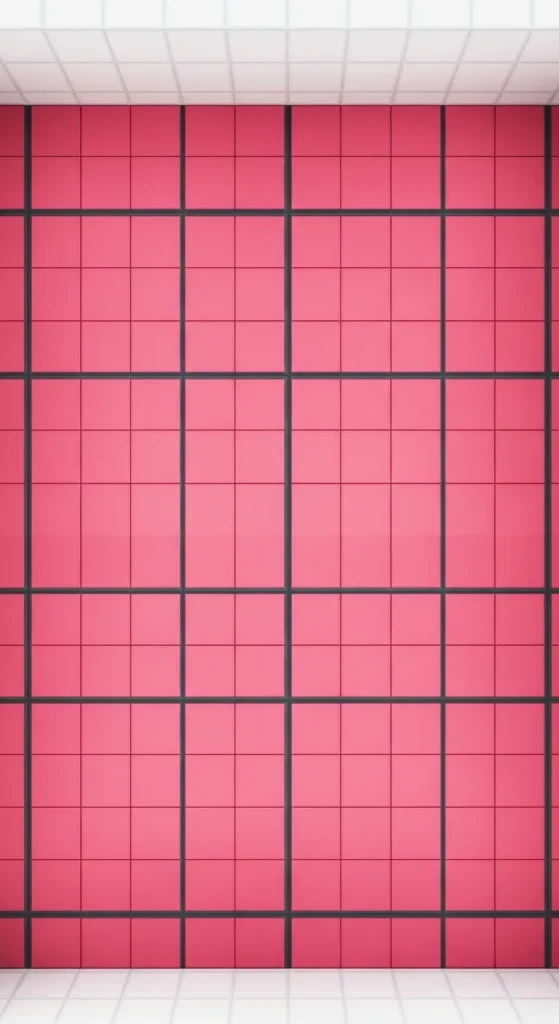
Idea 5: Pink Tile Grid Floor
How to Create
A tile grid floor uses evenly spaced lines to create square sections filled with pink blocks. This design emphasizes structure and organization, making it ideal for modern interiors. The grid lines can be created using darker blocks such as blackstone or gray concrete, while the inner tiles use lighter pink shades. This contrast enhances clarity and makes the pattern visually appealing.
Begin by outlining the grid using the chosen border block, ensuring equal spacing between lines. Fill each section with pink blocks, maintaining consistency throughout the design. This step by step approach simplifies the building process and ensures accuracy. The design is highly adaptable, allowing adjustments in tile size and spacing based on room dimensions. It is a practical and easy project suitable for beginners.
Idea 6: Pink Heart Pattern Floor
Step-by-Step Guide
A heart pattern floor introduces a playful and decorative element using pink blocks arranged in heart shapes. This design is commonly used in themed rooms or creative builds focused on aesthetic expression. The repetition of heart shapes across the floor creates a cohesive pattern while maintaining visual interest.
To build this design, outline a heart shape using darker pink blocks and fill the interior with lighter shades. Repeat the pattern across the floor, maintaining equal spacing between each shape. Use a neutral background to enhance contrast. Careful alignment ensures consistency and prevents distortion. This DIY project is simple yet visually impactful, making it suitable for beginners.

Idea 7: Pink Spiral Floor Design
How to Make
A spiral floor design uses curved patterns that radiate from a central point. This creates a dynamic visual effect that draws attention to the center of the room. Pink tones enhance the aesthetic quality of the spiral, making it a strong focal point in decorative builds.
Start by marking the center of the floor and gradually build outward in a spiral pattern using alternating shades of pink. Maintain consistent spacing between layers to preserve the shape. This process requires careful planning but remains achievable with a step by step approach. The design works best in circular or open spaces.

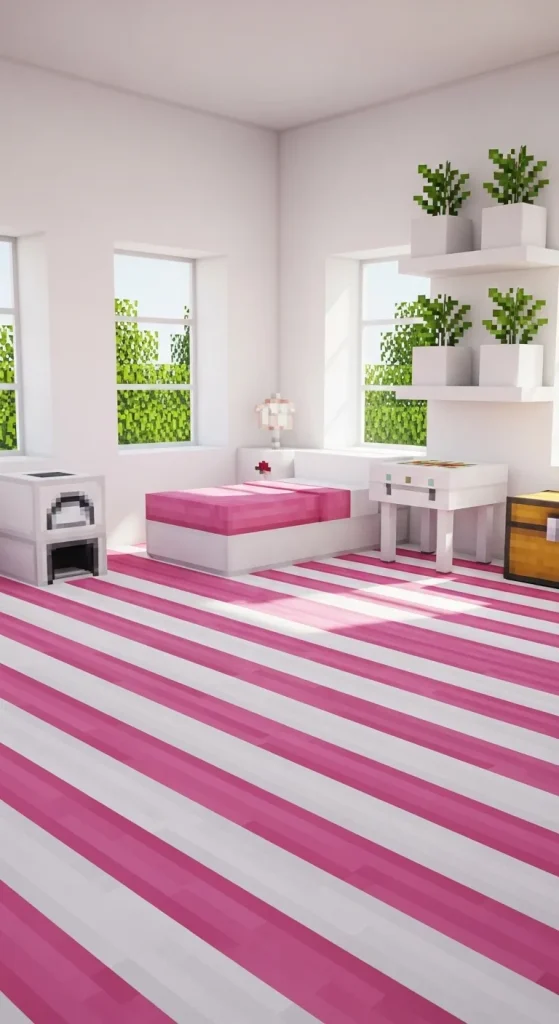
Idea 8: Pink Minimalist Stripe Floor
Execution Process
A striped floor uses parallel lines of pink and neutral blocks to create a clean and organized look. This design aligns with minimalist style principles and is suitable for modern interiors. The simplicity of the pattern makes it highly accessible for beginners.
To create this floor, place rows of pink blocks alternating with white or gray blocks. Ensure consistent width for each stripe to maintain balance. Build row by row, checking alignment as you progress. This easy project requires minimal materials and offers a structured result.
Idea 9: Pink Mosaic Floor
How to Create
A mosaic floor combines multiple pink shades and complementary colors to form intricate patterns. This design focuses on creativity and detail, making it suitable for advanced decorative builds. The use of small sections creates a visually rich surface.
Begin by dividing the floor into small segments and filling each with different color combinations. Arrange blocks to form geometric or abstract patterns. This step by step method allows flexibility and experimentation. Careful planning ensures cohesion across the design.
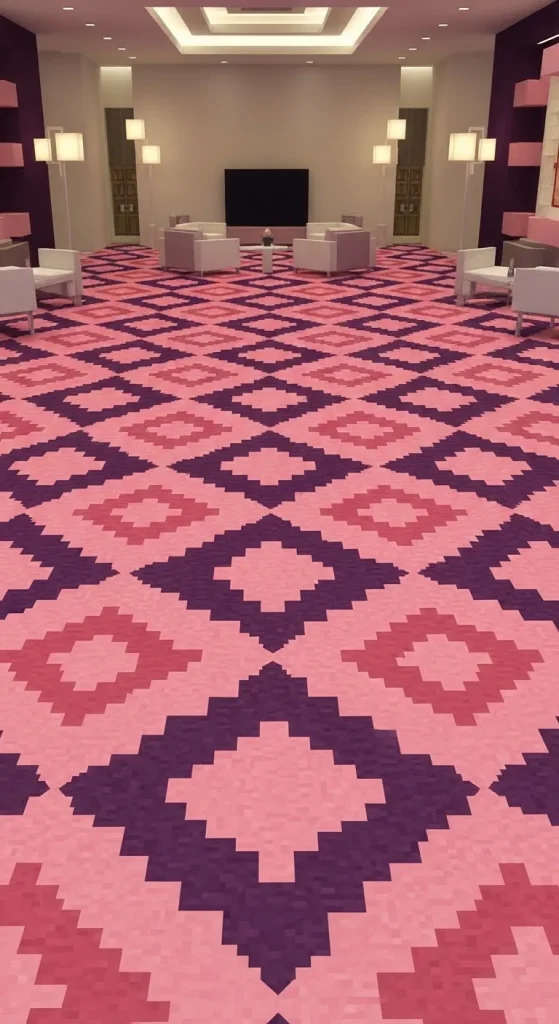
Idea 10: Pink Diamond Pattern Floor
Step-by-Step Guide
A diamond pattern floor uses diagonal shapes to create a repeating geometric layout. Pink blocks form the primary shape, while contrasting blocks outline the diamonds. This design adds depth and complexity to interior spaces.
To build this pattern, mark diagonal lines across the floor to form diamond shapes. Fill each shape with pink blocks and outline them with a contrasting color. Maintain consistent spacing to preserve the pattern. This beginner friendly tutorial provides a structured yet decorative result.
Common Beginner Mistakes and How to Avoid Them
One common mistake is inconsistent block placement, which disrupts patterns and reduces visual clarity. This often happens when layouts are not planned in advance. Measuring the floor and marking guidelines before building helps maintain accuracy. Another issue is poor color balance, where too many shades are used without structure. Limiting the palette to two or three tones ensures cohesion.
Rushing through the building process also leads to alignment errors. Working in small sections and reviewing progress regularly prevents mistakes from spreading across the entire design. Ignoring lighting can also reduce the visual impact of the floor. Proper placement of light sources enhances color visibility and improves overall aesthetics.
Practical Tips for Better Results
Using reference grids improves precision and helps maintain symmetry in complex patterns. Testing small sections before completing the full floor allows adjustments without major rework. Keeping materials organized reduces interruptions and speeds up the building process.
Combining textures, such as concrete and terracotta, adds depth without complicating the design. Consistency in spacing and alignment ensures a clean finish. Practicing simple patterns before attempting complex designs builds confidence and improves overall results.
Styling, Presentation, or Organization Ideas
Pairing pink floors with neutral walls enhances contrast and keeps the space balanced. Furniture placement should complement the floor pattern rather than hide it. Open layouts allow designs to remain visible and impactful.
Using matching decorative elements such as carpets or lighting fixtures reinforces the overall theme. Organized layouts improve readability of patterns and maintain visual harmony. Consistent design choices create a cohesive interior environment.
Budget or Time Planning
Most pink floor designs use easily obtainable materials, making them suitable for budget ideas in survival mode. Planning material quantities in advance prevents unnecessary resource gathering. Simple patterns require less time, while detailed designs may need extended building sessions.
Breaking the project into smaller sections improves efficiency and prevents fatigue. Setting clear time goals for each section helps maintain progress. Choosing beginner friendly designs ensures completion within a reasonable timeframe.
Creative Expansion and Advanced Inspiration
Advanced variations can include layered flooring, combining patterns with elevation changes. Integrating lighting within the floor adds depth and highlights design features. Mixing pink tones with metallic or stone textures creates more complex visuals.
Exploring larger layouts allows for combining multiple patterns into a single cohesive design. Experimenting with symmetry and asymmetry adds variety and uniqueness. These creative ideas provide inspiration for expanding basic concepts into more detailed and advanced builds.
Leave a Reply