
Introduction
Fairy gardens combine miniature design, natural materials, and creative storytelling to build small-scale outdoor or indoor landscapes. These Pinterest ideas focus on large fairy garden setups that offer more space for detail, structure, and layered decoration while remaining accessible as a DIY creative project for beginners and experienced creators.
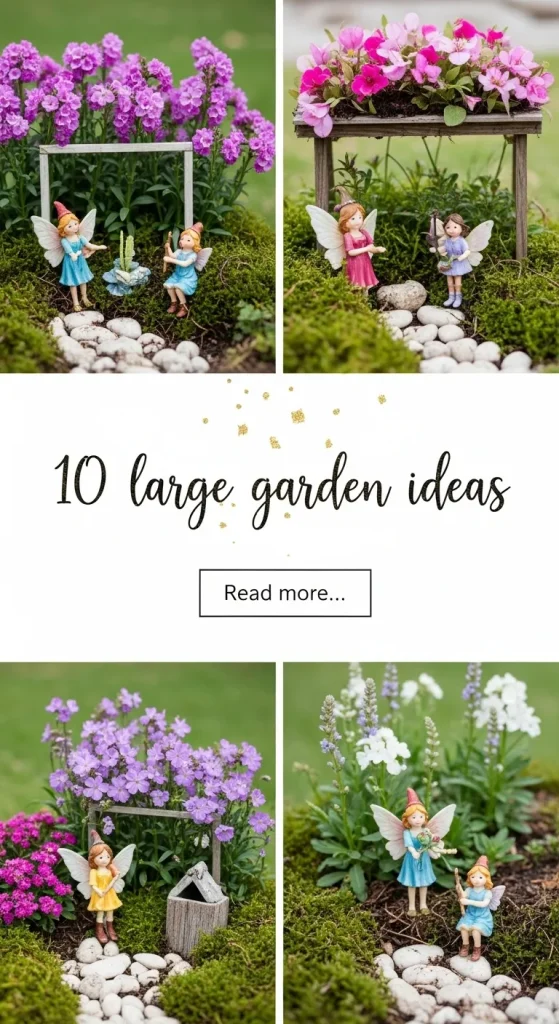
This article explains how to design, plan, and build large fairy gardens using practical step by step methods. Readers will learn materials, layout strategies, and creative ideas that improve both visual appeal and functionality while maintaining a cohesive, aesthetic, and organized miniature environment suitable for modern home decor inspiration.
Why This Idea Is Trending or Useful
Large fairy gardens have become popular because they combine DIY creativity with decorative functionality. Unlike small container gardens, larger layouts allow for more storytelling, detailed pathways, layered greenery, and structured design elements. This makes them highly shareable on Pinterest and visually engaging in real spaces such as patios, balconies, and indoor corners. The trend also aligns with modern design preferences that emphasize natural textures, minimalist style, and personalized decoration.
Another reason for their popularity is accessibility. These projects are beginner friendly and can be created using affordable materials such as stones, wood pieces, recycled containers, and basic plants. The process encourages planning, organization, and creativity without requiring advanced tools. Large fairy gardens also serve multiple purposes, including relaxation, home decor enhancement, and creative expression, making them practical and adaptable for different living spaces and budgets.
Materials and Preparation
Creating a large fairy garden requires proper planning and preparation to ensure a cohesive and durable result. Basic materials include a large base such as a wooden box, ceramic container, or outdoor garden bed. Soil, small plants, moss, gravel, and decorative stones are essential for building the landscape. Additional items like miniature houses, pathways, fences, and lighting elements help define the aesthetic and structure of the garden.
Preparation begins with selecting the location, either indoors near natural light or outdoors in a shaded area. The base should have proper drainage to maintain plant health. Planning the layout is important before placing materials. Sketching the design or arranging elements temporarily helps visualize spacing and balance. Tools such as small trowels, scissors, and glue can assist in assembly. Organizing materials in advance improves efficiency and ensures a smooth step by step process.
Idea 1: Layered Woodland Fairy Garden
How to Create
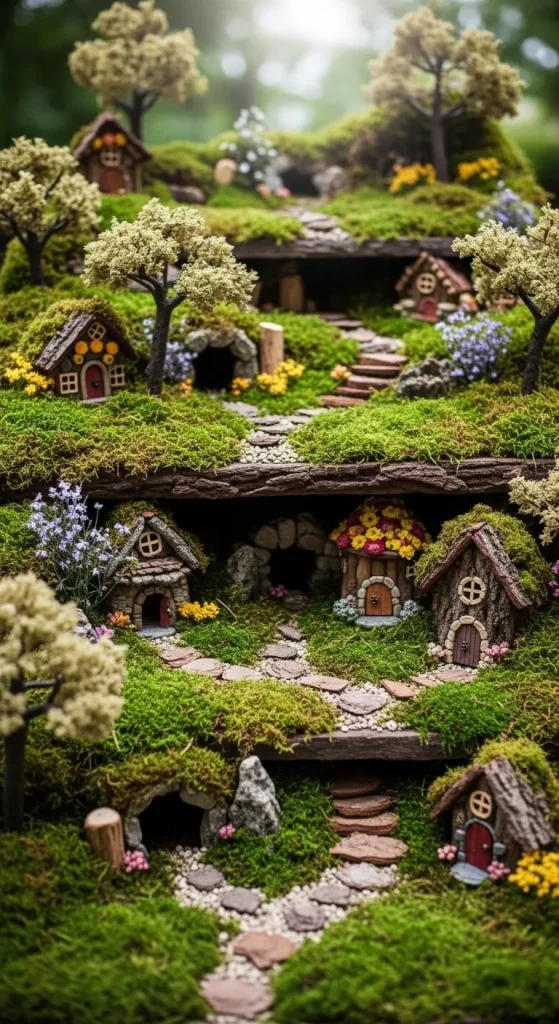
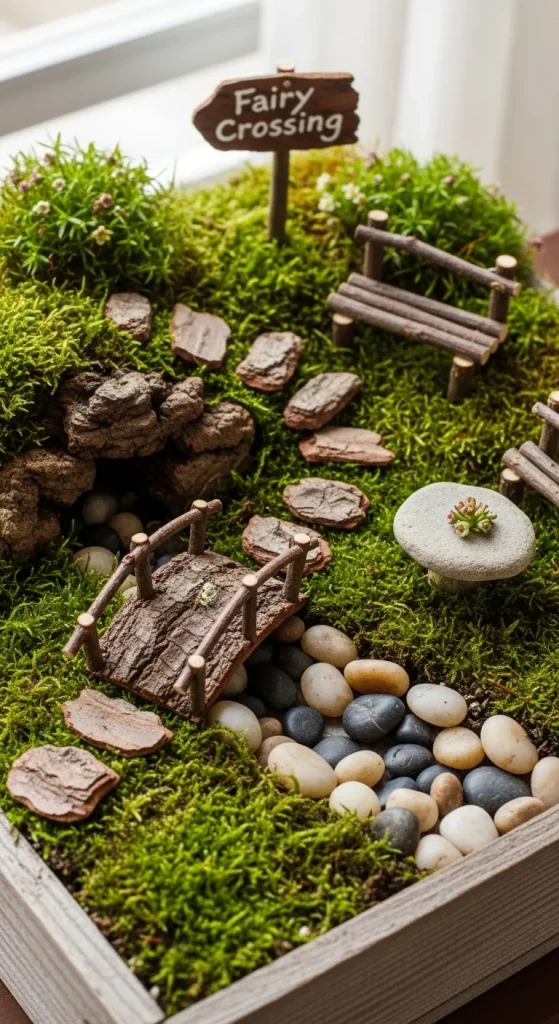
This concept focuses on building a natural forest-inspired fairy garden using layered textures and varied heights. The design includes moss-covered surfaces, small shrubs, bark pieces, and miniature trees to replicate a woodland environment. The goal is to create depth and realism by combining multiple natural elements in a structured way. This type of creative project works well for larger containers because it allows space for pathways, hidden corners, and detailed decoration.
To create this garden, start by placing a soil base and forming small mounds to simulate terrain variation. Add moss and small plants across different levels to create a layered effect. Use bark pieces as natural bridges or platforms. Arrange miniature houses between greenery for a hidden look. Gravel pathways can connect different sections. Maintain spacing between elements to avoid clutter and ensure a clean, aesthetic layout.
Idea 2: Mini Village Fairy Garden
Step-by-Step Guide
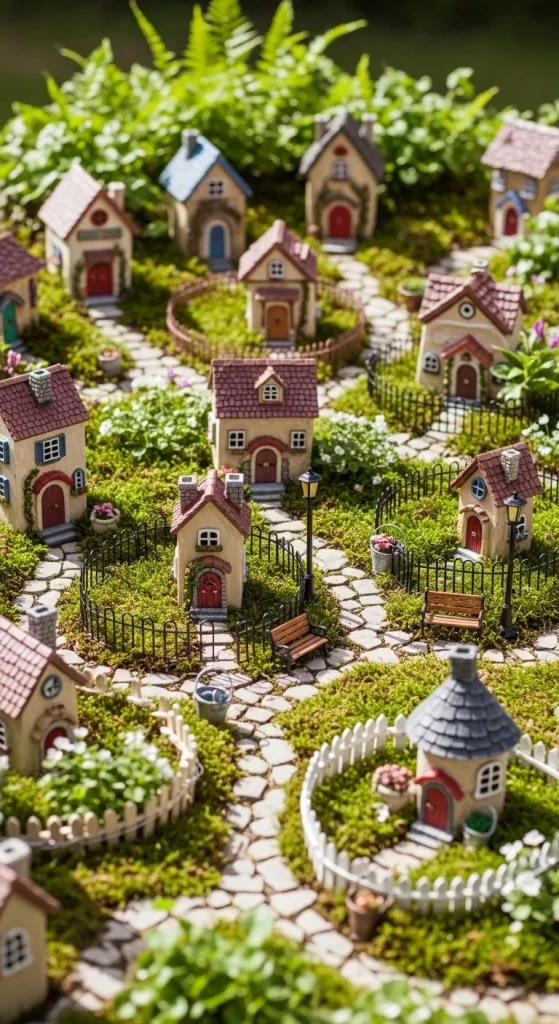
A mini village fairy garden focuses on building a structured layout that resembles a small community. It includes multiple miniature houses, defined pathways, and organized sections. This idea emphasizes symmetry, order, and visual clarity, making it suitable for modern design preferences. It is ideal for those who enjoy organization and structured creative ideas.
Begin by dividing the base into sections for houses, pathways, and decorative zones. Use small stones or sand to create roads connecting each house. Place houses evenly to maintain balance. Add fences or borders to define areas. Small plants can be placed around the houses to enhance realism. Keep spacing consistent to avoid overcrowding and maintain a clean, organized look.
Idea 3: Water Feature Fairy Garden
How to Make
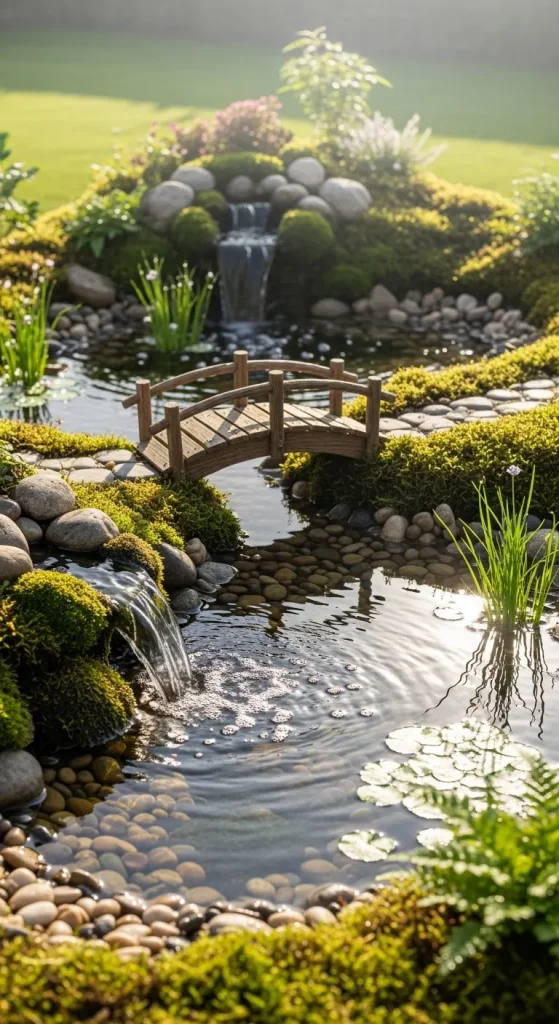
This fairy garden includes a small water element such as a pond or stream, adding movement and visual interest. Water features enhance the aesthetic and create a calming effect. This design works well in larger setups where there is enough space to incorporate a safe and controlled water section.
To build this, use a shallow container or waterproof lining to create the pond area. Surround it with stones and plants to blend it naturally into the garden. Add a small bridge or stepping stones for decoration. Ensure the water feature is stable and does not leak. Keep the rest of the garden balanced around the central water element.
Idea 4: Tree Base Fairy Garden
Execution Process
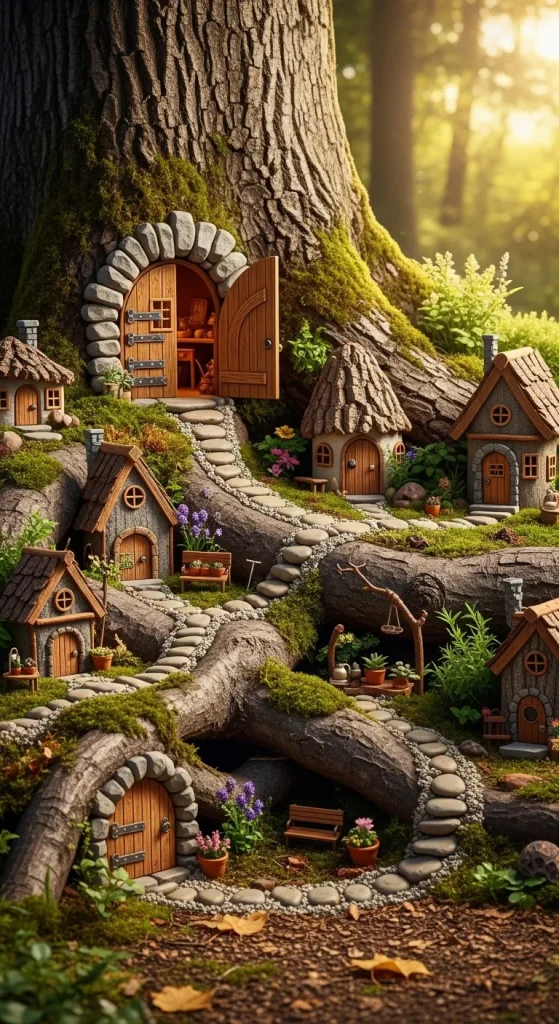
This idea uses the base of a real or artificial tree as the focal point. The design creates a natural anchor for the fairy garden, making it visually strong and cohesive. It works well outdoors where a tree already exists.
Start by clearing the area around the tree base. Add soil and small plants to create a surrounding garden. Place miniature houses against the trunk to create a built-in look. Add pathways and stones leading outward. Keep the design balanced around the tree to maintain a natural flow.
Idea 5: Desert Style Fairy Garden
Setup Method
A desert-themed fairy garden uses sand, succulents, and minimal decoration to create a clean, modern aesthetic. This minimalist style aligns with trending Pinterest ideas focused on simplicity and texture.
Use sandy soil and arrange succulents in spaced clusters. Add small rocks and pathways using fine gravel. Keep decoration minimal to maintain the theme. Avoid overcrowding and focus on clean lines and open space.

Idea 6: Multi-Level Fairy Garden
How to Create
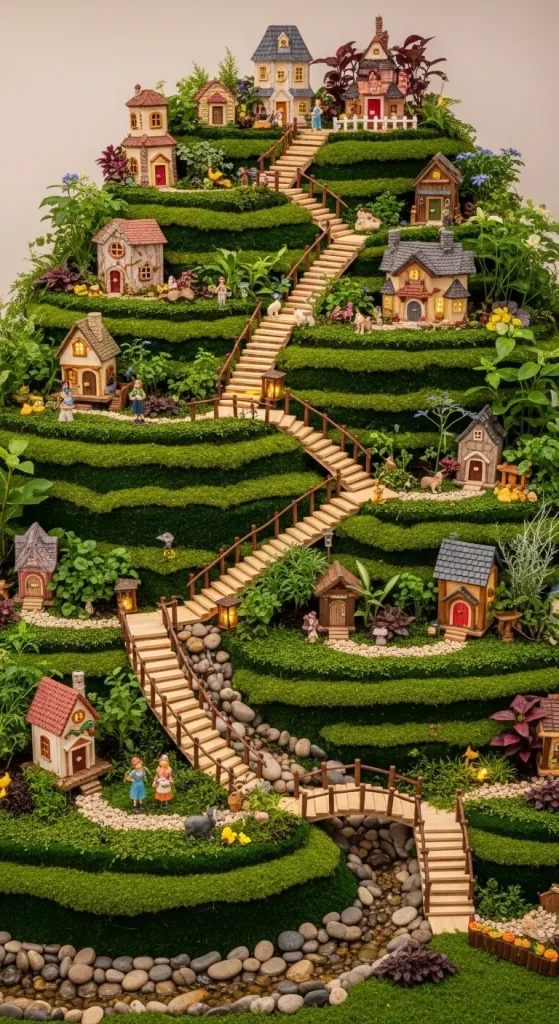
This idea focuses on building vertical layers to maximize space and visual depth. It is ideal for large containers where height variation can be used effectively.
Create levels using stones, wood, or stacked containers. Place plants and decorations on each level. Connect levels with steps or pathways. Ensure stability to prevent shifting.
Idea 7: Indoor Shelf Fairy Garden
Step-by-Step Guide
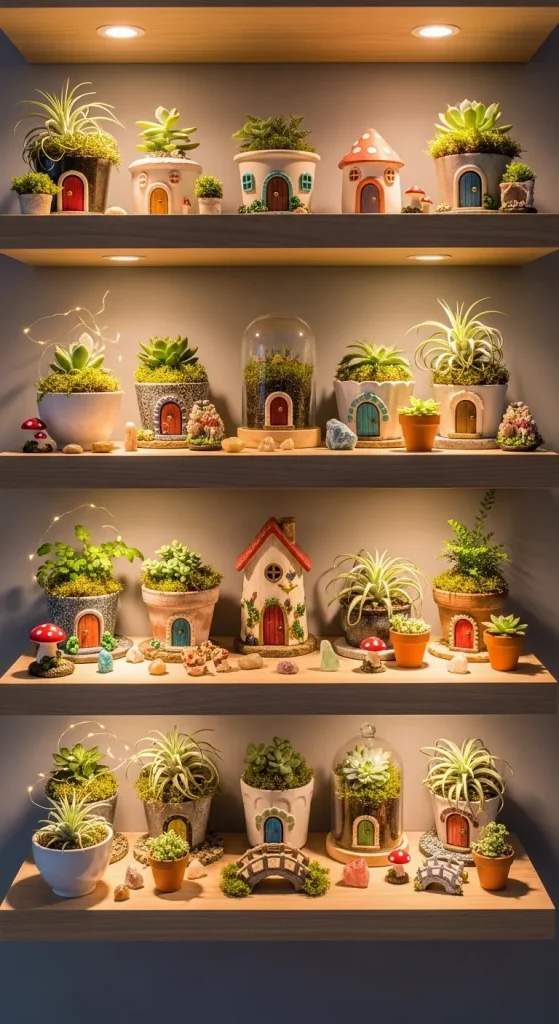
This design adapts fairy gardens for indoor spaces using shelves or trays. It allows easy maintenance and controlled conditions.
Use shallow containers and arrange elements neatly. Keep plants suitable for indoor lighting. Maintain organization by separating sections.
Idea 8: Pathway-Focused Fairy Garden
How to Make
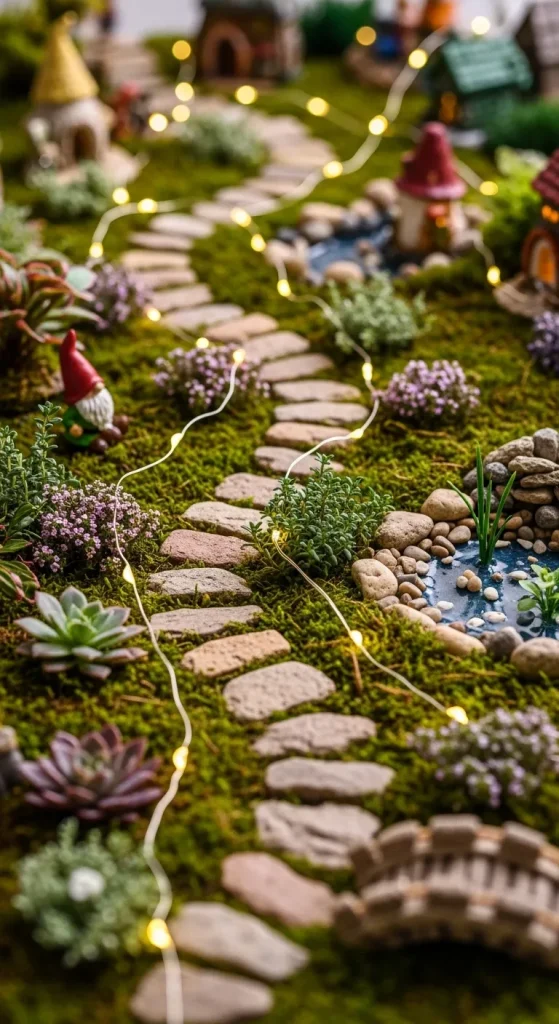
This concept highlights pathways as the main design feature, guiding the viewer through the garden.
Use gravel, stones, or tiles to create defined paths. Arrange decorations along the route. Keep paths clear and continuous.
Idea 9: Seasonal Fairy Garden
Execution Process
This garden changes based on seasons, offering ongoing inspiration and variety.
Use removable decorations and adaptable plants. Update elements regularly to match seasonal themes.

Idea 10: Rustic Container Fairy Garden
Setup Method
This idea uses wooden boxes or recycled containers for a rustic aesthetic.
Prepare the container with soil and drainage. Add natural materials like wood and stones. Keep the design simple and cohesive.
Common Beginner Mistakes and How to Avoid Them
One common mistake is overcrowding the garden with too many elements, which reduces clarity and aesthetic balance. Beginners often add excessive decorations without planning spacing, leading to a cluttered appearance. Another issue is poor material selection, such as using items that do not suit outdoor conditions or lack durability. This can cause damage over time and reduce the quality of the project.
To avoid these issues, start with a clear layout plan and limit the number of decorative elements. Focus on balance and spacing rather than quantity. Choose materials suitable for the environment, especially if the garden is placed outdoors. Ensure proper drainage and plant care to maintain longevity. Following a structured step by step approach improves results significantly.
Practical Tips for Better Results
Improving a fairy garden requires attention to detail and consistency in design. Use a limited color palette to maintain harmony and avoid visual distraction. Combine textures such as moss, stone, and wood to create depth without adding unnecessary complexity. Keeping the design aligned with a central theme improves overall presentation and clarity.
Regular maintenance is also important. Trim plants, clean pathways, and adjust elements as needed. Lighting can enhance the aesthetic, especially for indoor setups. Soft lighting creates a more defined and appealing look. Organizing tools and materials before starting helps streamline the process and reduces errors during the build.
Styling, Presentation, or Organization Ideas
Styling a fairy garden involves arranging elements in a way that enhances visibility and flow. Place larger items such as houses or trees as focal points. Smaller decorations should complement rather than dominate the design. Maintain consistent spacing to create a structured and organized layout.
Presentation also depends on placement. Position the garden where it can be easily viewed, such as near windows or outdoor seating areas. Use borders or frames to define the garden space. Keeping the layout clean and uncluttered improves the overall aesthetic and makes the design more visually appealing.
Budget or Time Planning
Fairy gardens can be created efficiently with proper planning. Start by setting a budget and selecting materials that are affordable and accessible. Recycled items can reduce costs while maintaining creativity. Prioritize essential materials first before adding decorative elements.
Time planning is equally important. Break the project into steps such as preparation, layout, and decoration. Completing each stage separately helps maintain focus and reduces mistakes. Simple designs can be completed quickly, while more complex setups may require multiple sessions. Planning ensures a smooth and manageable process.
Creative Expansion and Advanced Inspiration
Once the basic fairy garden is complete, it can be expanded with additional features and creative ideas. Adding lighting, moving elements, or interactive features enhances the overall experience. Multi-theme gardens can combine different styles within one layout for a more dynamic design.
Advanced projects may include custom-built structures or detailed landscapes. Experimenting with scale and proportion can improve realism. Expanding the garden over time allows continuous improvement and creativity. These enhancements provide long-term inspiration and keep the project engaging.





Leave a Reply