Introduction
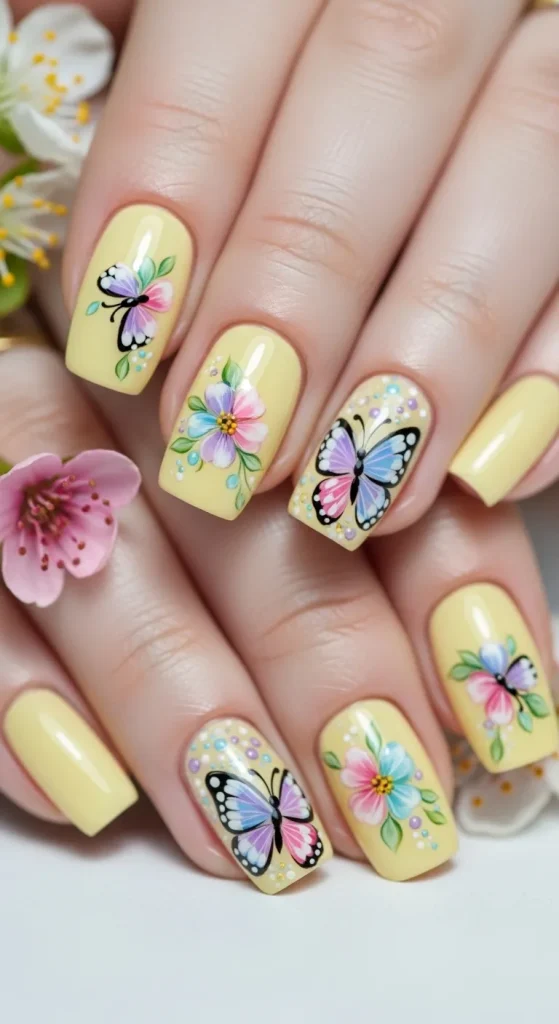
Butter yellow nails with butterfly accents combine soft color tones with delicate artistic detail, creating a balanced aesthetic suitable for modern nail design trends. This Pinterest idea blends pastel shades with nature-inspired elements, making it ideal for both casual styling and special occasions while remaining accessible for DIY enthusiasts.
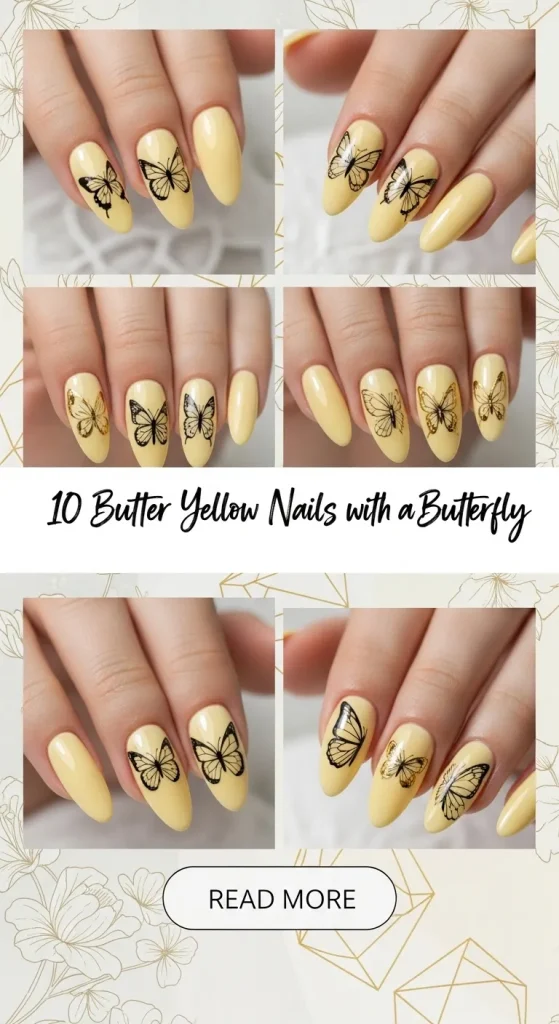
This article explains how to create butter yellow nails with butterfly designs using beginner friendly techniques and simple materials. Readers will learn step by step methods, creative variations, and practical tips to achieve clean, aesthetic results while exploring trending ideas in nail decoration and minimalist style.
Why This Idea Is Trending or Useful
Butter yellow nails paired with butterfly designs are widely recognized among trending ideas due to their soft visual appeal and adaptability across seasons. The muted yellow tone works well within modern design aesthetics, especially in minimalist style and subtle home decor-inspired color palettes. Butter yellow complements neutral outfits and enhances a clean, polished appearance without appearing overly bold, making it suitable for daily wear and social occasions alike. Butterfly elements add symbolic and decorative value, representing transformation and lightness, which aligns with current Pinterest inspiration themes focused on nature and personal expression.
This nail concept is also highly practical as a DIY creative project. It does not require advanced skills or expensive materials, making it beginner friendly. With simple tools and basic planning, individuals can replicate salon-quality results at home. The design allows flexibility, meaning users can adjust the number, size, and placement of butterflies depending on preference. This accessibility, combined with aesthetic value, explains why this idea remains consistently popular in Pinterest ideas collections and continues to inspire creative experimentation.
Materials and Preparation
To create butter yellow nails with butterfly designs, preparation is essential for achieving a smooth and durable finish. Begin by gathering essential materials such as a butter yellow nail polish, a neutral base coat, and a protective top coat. Additional tools include fine nail art brushes, dotting tools, nail stickers or decals for butterflies, and optional glitter or rhinestones for decoration. A clean workspace with good lighting ensures accuracy during the process and helps maintain organization throughout the project.
Before applying polish, nails must be properly prepared. Start by trimming and shaping the nails using a file to create a consistent length and form. Clean the nail surface to remove oils or residue, then apply a base coat to protect the natural nail and improve polish adhesion. Planning the butterfly placement in advance is recommended to avoid overcrowding the design. This step by step preparation ensures the final result looks balanced and professional. Taking time to organize materials and plan the layout contributes to a more efficient and successful creative project.
Idea 1: Soft Pastel Butterfly Accent Nails
How to Create
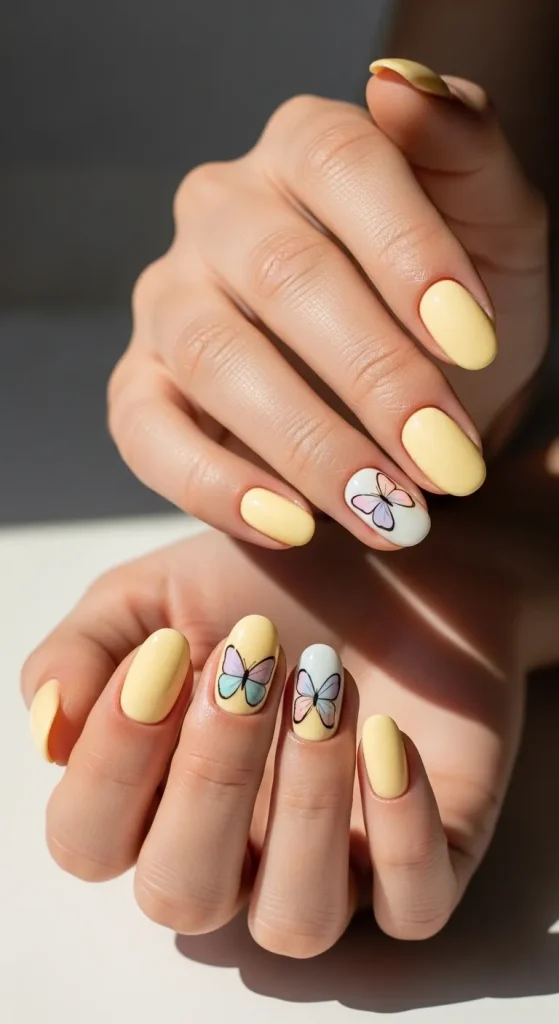
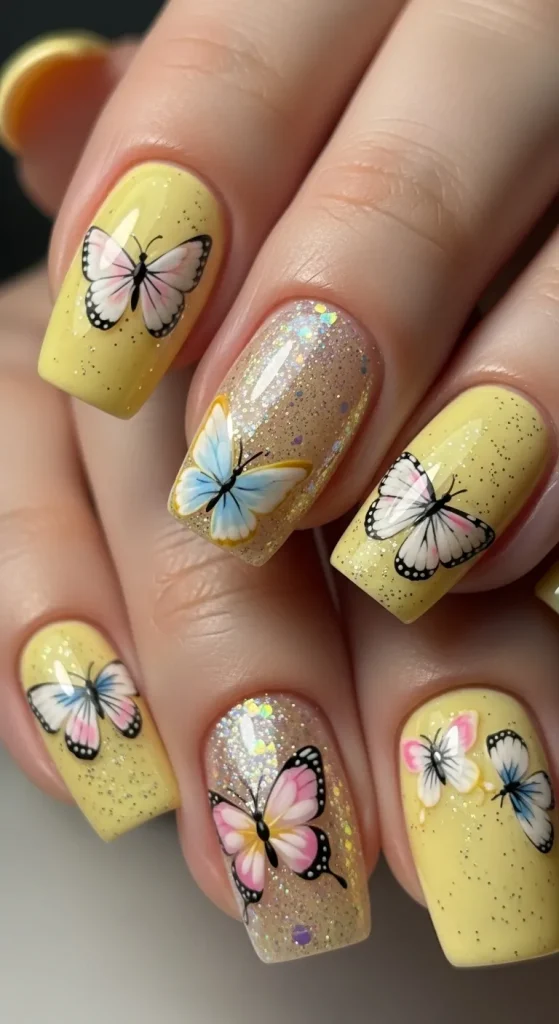
This idea focuses on maintaining a minimalist style while incorporating subtle butterfly details on a butter yellow base. The design uses soft pastel tones for butterflies to create contrast without overwhelming the overall aesthetic. The key concept is to keep most nails solid butter yellow while featuring one or two accent nails with delicate butterfly art. This approach supports clean, modern design principles and ensures the look remains balanced and wearable for everyday settings.
To create this design, apply two coats of butter yellow polish evenly across all nails and allow them to dry completely. On selected accent nails, use a fine brush to draw small butterfly shapes using pastel colors such as white, lavender, or pale pink. Beginners can use butterfly stickers as an alternative for precision. Seal the design with a top coat to protect the artwork and enhance shine. This step by step process ensures a beginner friendly result while maintaining a professional finish.
Idea 2: Minimalist Single Butterfly Design
Step-by-Step Guide
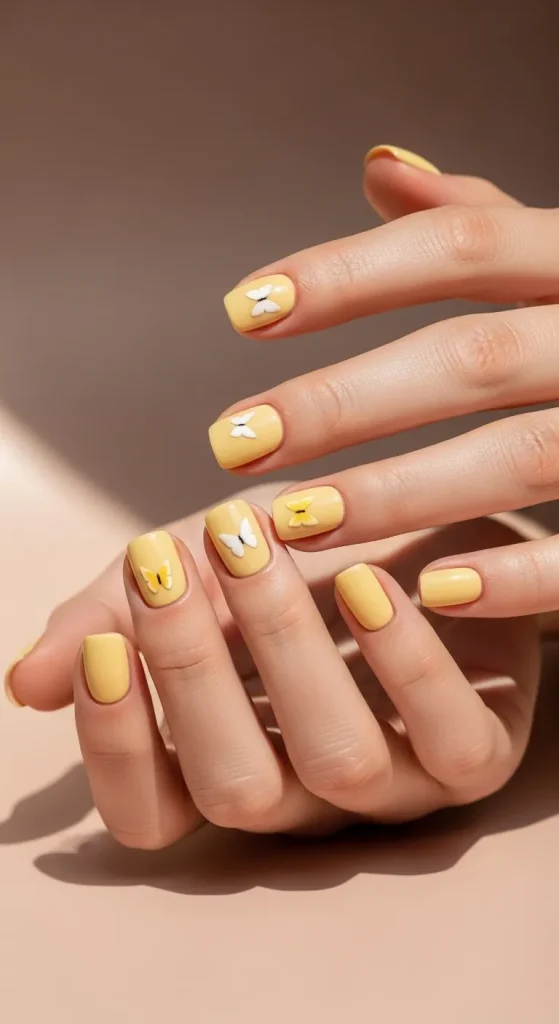
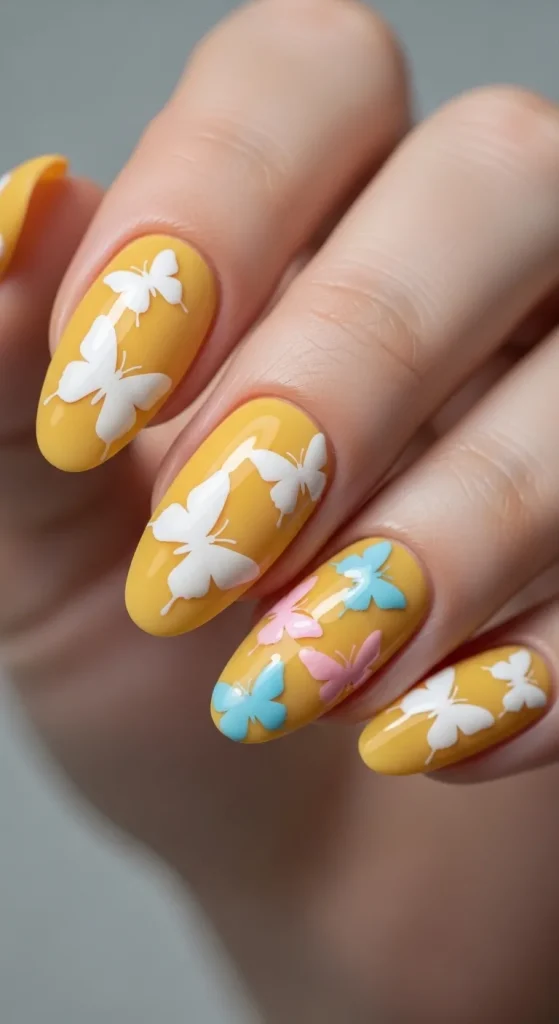
This design emphasizes simplicity by placing a single butterfly on each nail or only one nail. The concept relies on negative space and careful placement, which aligns with modern minimalist style trends. The butter yellow background provides a soft base that allows the butterfly detail to stand out without additional decoration. This approach is ideal for those seeking subtle yet creative ideas.
Begin by applying a base coat followed by two layers of butter yellow polish. Once dry, use a thin nail art brush to create one small butterfly near the edge or center of the nail. Keep lines fine and controlled to maintain a clean appearance. Alternatively, use a pre-made butterfly decal for accuracy. Finish with a glossy top coat. This easy project requires minimal materials and is highly accessible for beginners.
Idea 3: Butterfly French Tip Nails
How to Make
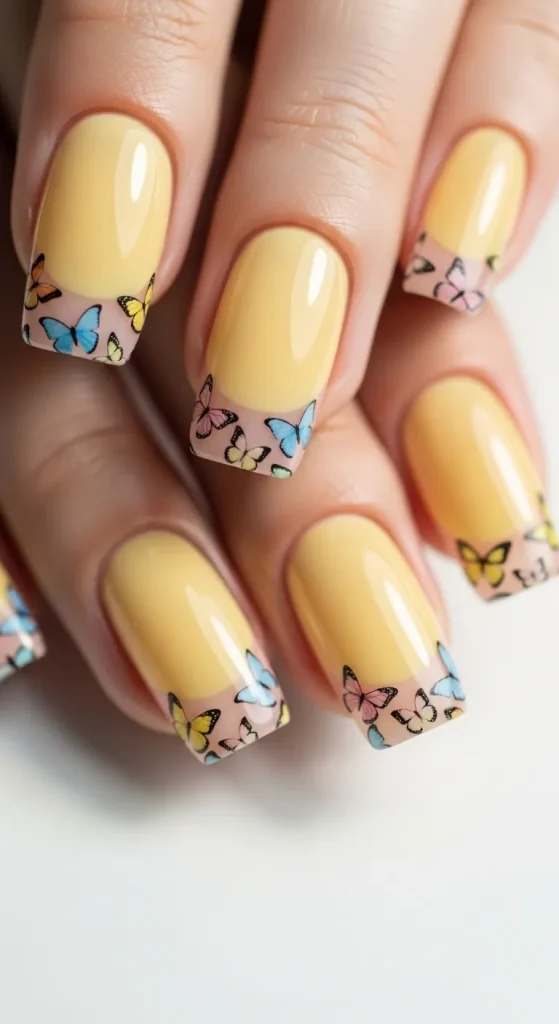
This idea combines the classic French tip design with butterfly accents, creating a refined and elegant look. Instead of traditional white tips, butter yellow is used for the base while butterfly designs replace or decorate the tip area. This variation introduces a fresh interpretation of a well-known style, making it suitable for both casual and formal occasions.
Start by applying a neutral base coat and allowing it to dry. Apply butter yellow polish as the primary color. Use a fine brush to draw butterfly shapes along the tips of the nails, or apply butterfly decals precisely at the edge. Keep the design consistent across nails for a cohesive appearance. Finish with a top coat to secure the design. This method offers a structured yet creative approach to nail decoration.
Idea 4: Glitter Butterfly Overlay
Execution Process
This design incorporates glitter elements to enhance the butterfly details while maintaining the butter yellow base. The concept focuses on layering textures, combining matte or glossy polish with subtle sparkle for added dimension. It is suitable for those who want a slightly more decorative yet controlled aesthetic.
Apply butter yellow polish evenly and let it dry completely. Use a fine brush or decal to create butterfly shapes, then lightly apply glitter polish over or around the butterfly wings. Keep the glitter application controlled to avoid overpowering the design. Seal everything with a top coat. This method creates visual depth while remaining beginner friendly and manageable.
Idea 5: Matte Butter Yellow with Butterfly Art
How to Create
This idea explores texture by using a matte finish instead of a glossy one. Matte butter yellow nails create a soft, muted background that enhances the visibility of butterfly designs. This approach aligns with modern design trends that favor understated elegance and tactile variation.
After applying butter yellow polish, use a matte top coat to achieve the desired finish. Once dry, add butterfly designs using a slightly glossy polish for contrast. The difference in texture helps the butterflies stand out without requiring bold colors. This technique is simple yet effective for creating a sophisticated aesthetic.
Idea 6: Gradient Yellow Butterfly Nails
Step-by-Step Guide
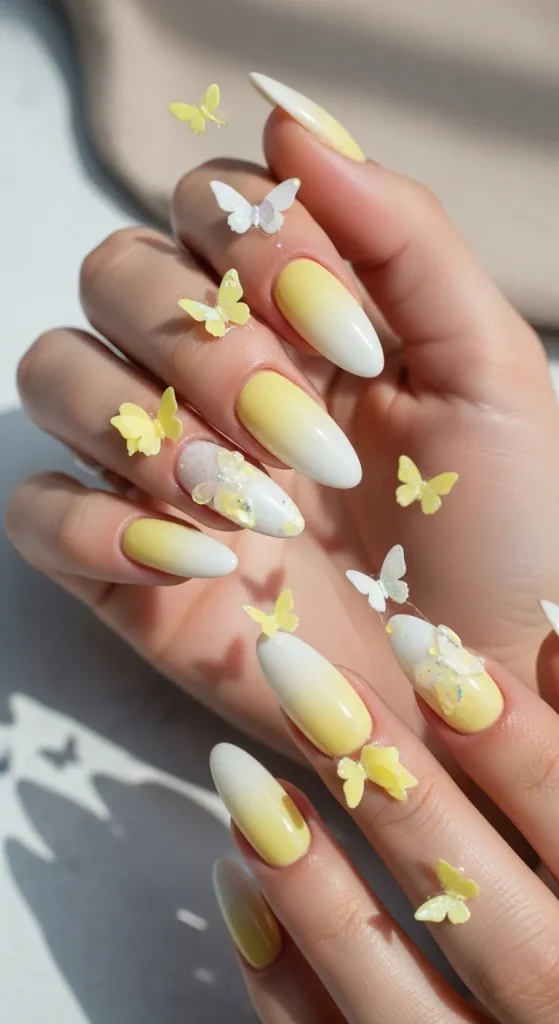
This design introduces a gradient effect, blending butter yellow with lighter or slightly darker shades. The gradient adds depth and visual interest while maintaining a cohesive color palette. Butterfly elements are placed strategically to enhance the transition between shades.
Create the gradient using a sponge technique, blending two yellow tones across the nail. Allow the gradient to dry before adding butterfly details with a fine brush or decals. Keep butterfly placement balanced across nails. Finish with a top coat. This approach adds complexity while remaining achievable for beginners.
Idea 7: Tiny Butterfly Pattern Nails
How to Make
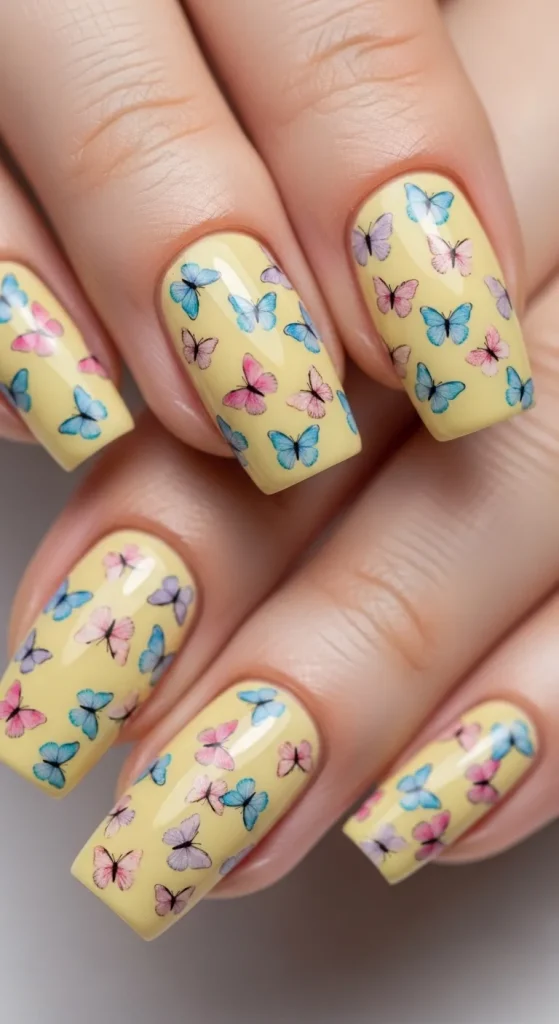
This idea focuses on repetition by creating multiple small butterflies across the nails. The pattern creates a playful yet controlled aesthetic that works well for those seeking more detailed decoration without overwhelming the design.
Apply butter yellow polish as the base. Use a dotting tool and fine brush to create multiple tiny butterflies evenly spaced across the nail surface. Maintain consistency in size and spacing for a neat appearance. Seal with a top coat. This design requires patience but remains accessible with practice.
Idea 8: Butterfly and Floral Combination
Setup Method
This design combines butterflies with small floral elements to create a nature-inspired aesthetic. The combination enhances visual interest while maintaining harmony through consistent color choices. It reflects common Pinterest inspiration themes centered around natural beauty.
Start with a butter yellow base and allow it to dry. Add small floral details using a dotting tool, then incorporate butterfly designs near the flowers. Keep colors soft and complementary. Finish with a top coat. This method creates a cohesive and balanced decorative effect.
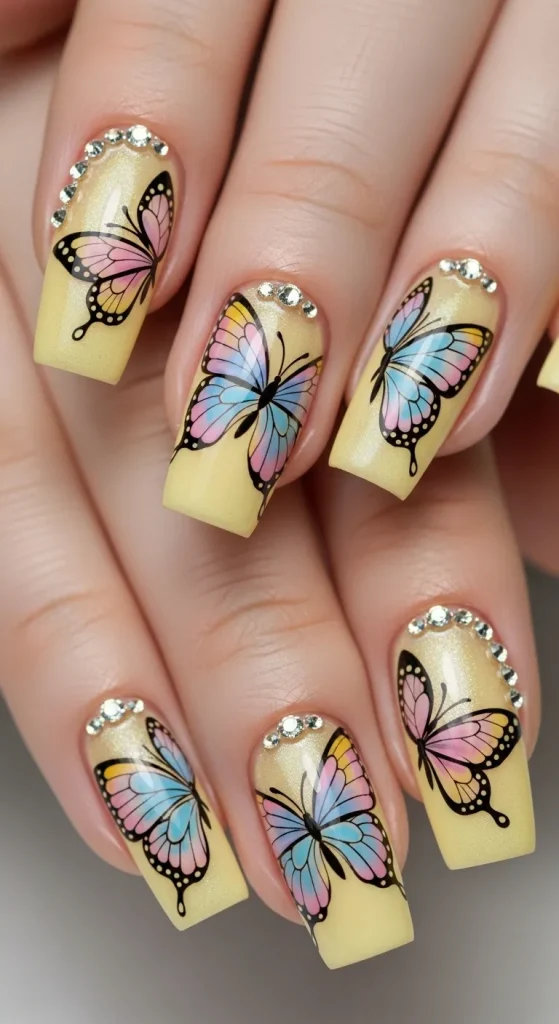
Idea 9: Rhinestone Butterfly Accents
Execution Process
This idea adds dimension by incorporating rhinestones into butterfly designs. The stones highlight specific areas such as the butterfly body or wing edges, adding subtle sparkle without overwhelming the overall design.
Apply butter yellow polish and allow it to dry. Create butterfly shapes, then place small rhinestones using nail glue at strategic points. Ensure placement is secure before applying a top coat. This design offers a slightly elevated look while remaining manageable.
Idea 10: Abstract Butterfly Nail Art
How to Create
This concept uses abstract shapes to represent butterflies rather than detailed drawings. The approach focuses on color blocks and soft lines, aligning with modern art-inspired trends. It simplifies the design while maintaining creativity.
Apply butter yellow polish as the base. Use a brush to create abstract wing shapes with contrasting soft colors. Avoid precise outlines and focus on balance. Seal with a top coat. This method is ideal for beginners exploring creative ideas without strict detailing.

Common Beginner Mistakes and How to Avoid Them
One common mistake is applying thick layers of polish, which leads to uneven drying and smudging. Thin, even coats ensure a smooth finish and improve durability. Another issue is overcrowding designs, which can make nails appear cluttered. Planning placement before starting helps maintain balance. Beginners often skip base and top coats, reducing longevity and shine. These steps are essential for protecting the design and achieving a professional look.
Using the wrong tools can also affect results. Fine brushes and dotting tools provide better control compared to improvised alternatives. Rushing the process leads to mistakes, especially when layering designs. Allow sufficient drying time between steps to prevent smearing. Careful preparation and patience significantly improve final outcomes.
Practical Tips for Better Results
Maintaining a clean workspace improves accuracy and efficiency during the process. Good lighting helps identify small details, especially when working with butterfly designs. Practicing on paper before applying designs to nails can improve control and confidence. Using high-quality tools ensures better precision, even in simple DIY projects.
Consistency in design elements such as size and placement creates a more polished appearance. Applying a final top coat not only protects the design but also enhances the overall aesthetic. Regular maintenance, such as reapplying top coat every few days, helps extend the life of the manicure. These practical adjustments lead to better and longer-lasting results.
Styling, Presentation, or Organization Ideas
Presentation plays a key role in highlighting the aesthetic value of butter yellow nails with butterfly designs. Coordinating nail colors with outfits in neutral or pastel tones enhances visual harmony. Accessories such as simple rings can complement the minimalist style without distracting from the nail art.
Organizing nail tools and materials in a dedicated space improves workflow and encourages consistency in future projects. Displaying finished designs in photos with clean backgrounds enhances their appeal for Pinterest sharing. Attention to styling and presentation ensures the design looks refined and visually appealing.
Budget or Time Planning
This project is cost-effective and suitable for budget ideas, as it requires only basic materials that can be reused. Planning ahead by gathering all tools before starting reduces interruptions and improves efficiency. Simple designs can be completed within a short time, while more detailed patterns may require additional effort.
Breaking the process into stages, such as preparation, base application, and detailing, helps manage time effectively. Allowing proper drying time prevents errors and reduces the need for corrections. Efficient planning ensures the project remains manageable and enjoyable.
Creative Expansion and Advanced Inspiration
Once basic techniques are mastered, designs can be expanded with additional elements such as layered textures, mixed finishes, or seasonal variations. Experimenting with color combinations beyond butter yellow allows for personalized adaptations while maintaining the butterfly theme.
Advanced inspiration includes incorporating 3D elements, combining abstract and detailed art, or exploring different nail shapes. These variations encourage creativity and continuous improvement. Expanding on foundational ideas allows for more complex and unique nail designs while maintaining a cohesive aesthetic.


Leave a Reply