Introduction
Yellow blueberry nails combine soft pastel tones with fruit-inspired details to create a fresh and visually balanced manicure style. This design approach blends color contrast with simple illustration techniques. Readers will learn structured Pinterest ideas, practical DIY methods, and step by step processes to create beginner friendly nail designs using accessible materials and clear planning.
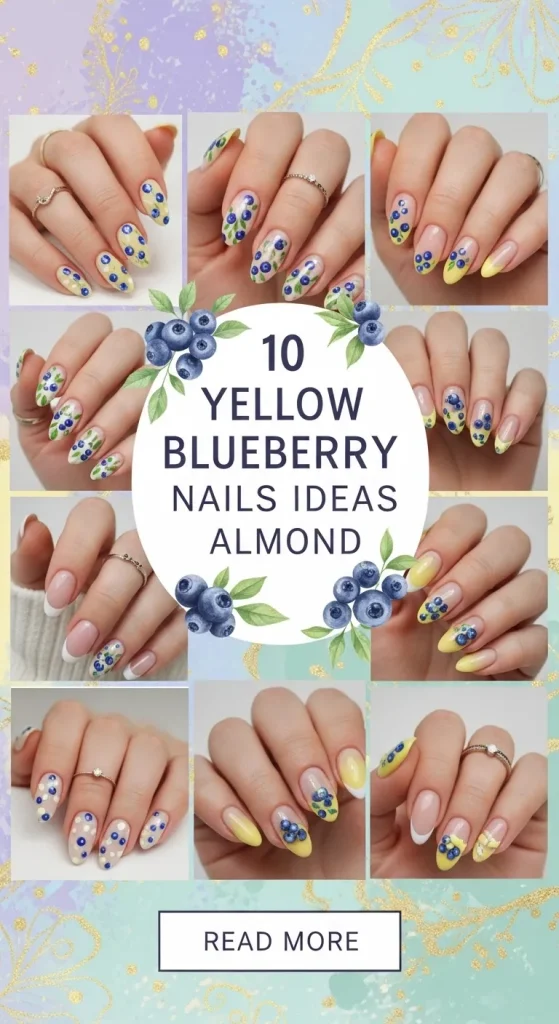
This topic is useful for individuals exploring creative ideas in home decor aesthetics applied to personal style. Yellow blueberry nails offer an easy project with strong visual impact. The article explains materials, preparation, and execution in a clear tutorial format, helping readers build consistent results while maintaining a clean, modern design suitable for everyday wear.
Why This Idea Is Trending or Useful
Yellow blueberry nails are trending due to their strong visual contrast and seasonal versatility. The combination of soft yellow tones with deep blue accents creates a balanced aesthetic that fits both minimalist style and detailed decorative preferences. Pinterest ideas often focus on designs that are visually distinct yet easy to recreate, and this concept aligns with that demand. The fruit-inspired theme adds a recognizable element while still allowing variation in patterns, placement, and finishes.
The practical value of this style lies in its adaptability. It works across different nail shapes, especially almond nails, which provide a smooth surface for both solid colors and detailed artwork. The DIY appeal is high because the designs can be achieved with basic tools such as dotting tools, thin brushes, and standard nail polish. Beginners can start with simple patterns and gradually add detail. This accessibility, combined with strong aesthetic results, makes yellow blueberry nails a reliable creative project for both casual users and those exploring advanced nail decoration techniques.
Materials and Preparation
Preparing for yellow blueberry nails requires a clear understanding of materials and workspace organization. Basic materials include a base coat, yellow nail polish, blue nail polish, white polish for detailing, and a top coat for sealing the design. Additional tools such as a dotting tool, fine nail art brush, and nail file are essential for precision and shaping. Cotton pads, remover, and cuticle tools are also necessary for clean application. Selecting high-quality materials ensures smooth application and long-lasting results.
Preparation begins with shaping the nails into an almond form, which involves filing the sides evenly and tapering the tip. The nail surface should be cleaned and lightly buffed to remove oil and create better polish adhesion. Planning the design in advance helps maintain consistency across all nails. It is useful to decide which nails will feature blueberry patterns and which will remain solid yellow. This planning stage reduces errors during the process and ensures a balanced final look. Proper lighting and a stable workspace further improve control during detailed work.
Idea 1: Soft Yellow Base with Blueberry Accent Nails
How to Create
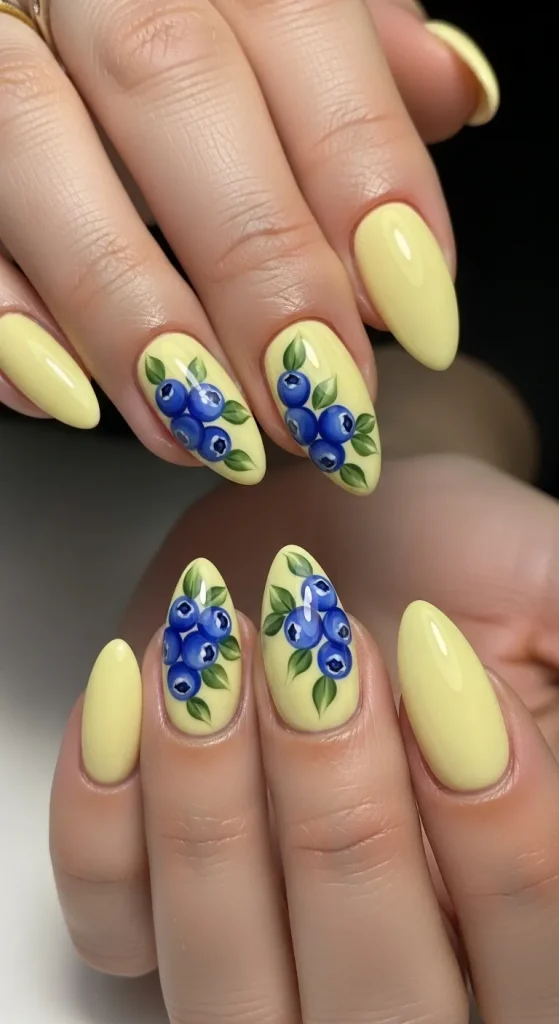
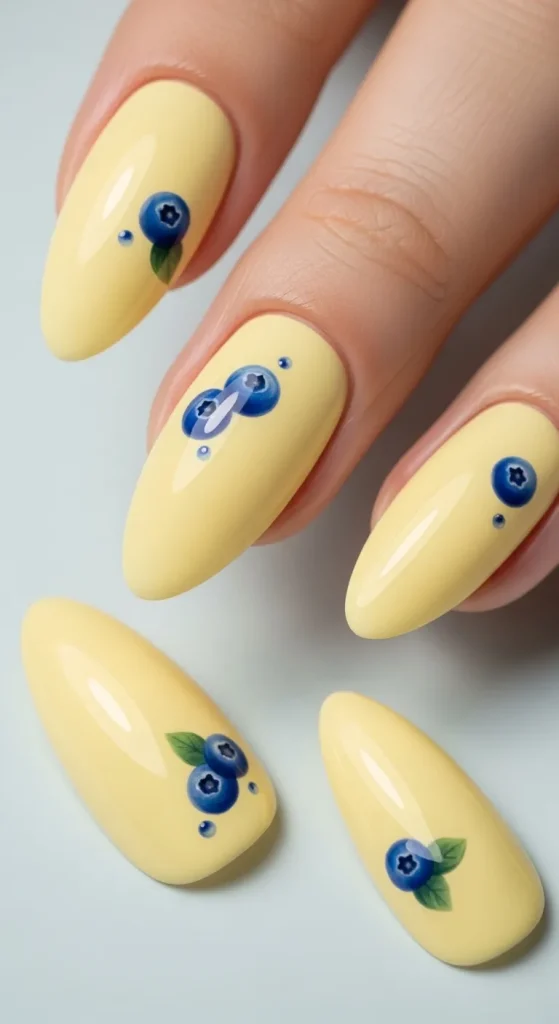
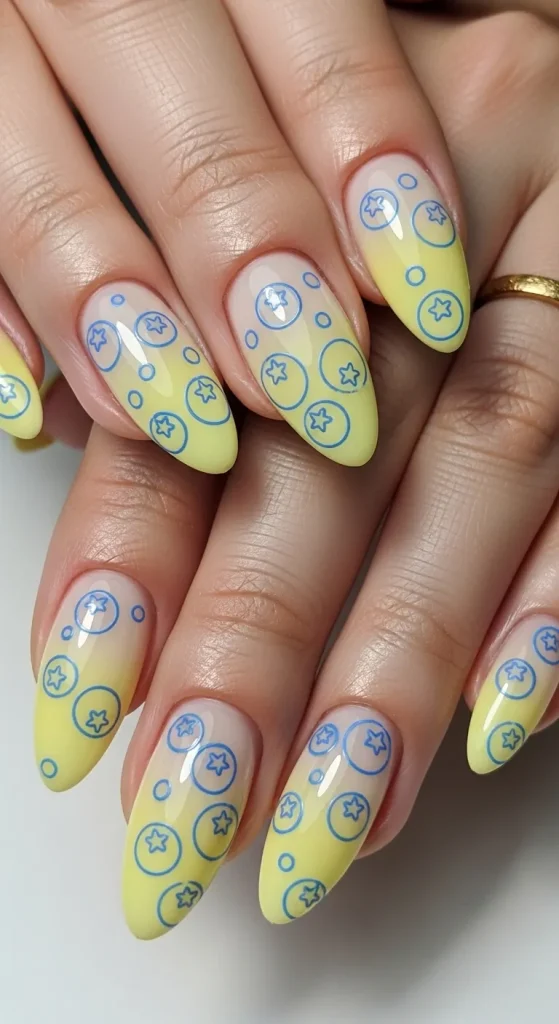
This design focuses on maintaining a clean yellow base across most nails while dedicating one or two nails to detailed blueberry artwork. The contrast between solid color and detailed illustration creates a structured aesthetic often seen in trending ideas. The almond shape enhances the smooth flow of the design, allowing the blueberry elements to stand out without overcrowding the nail surface. This approach is ideal for beginners who want to explore nail art without committing to complex designs on every nail.
To create this look, start by applying a base coat followed by two layers of soft yellow polish on all nails. Select one or two nails as accent nails and apply a neutral or slightly lighter yellow base for contrast. Using a dotting tool, create small blue circles to represent blueberries. Add subtle white highlights to create dimension and finish with tiny green strokes for leaves. Seal the entire design with a top coat. This step by step method ensures a clean and polished result suitable for everyday wear.
Idea 2: Yellow Gradient with Scattered Blueberry Details
Step-by-Step Guide
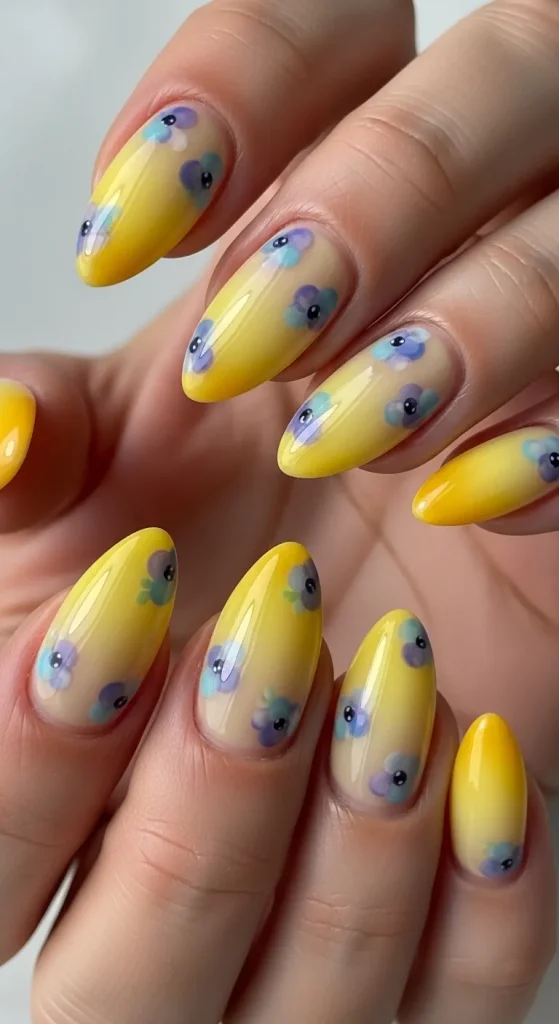
A yellow gradient base introduces depth and variation while maintaining a cohesive color palette. This design blends light and slightly darker yellow shades to create a soft transition across the nail surface. Blueberry details are added sparingly, creating a scattered effect that feels balanced and intentional. This technique aligns with minimalist style principles while still incorporating decorative elements.
Begin by applying a base coat and a light yellow base. Use a sponge to dab a slightly darker yellow near the tip, blending it downward to create a gradient. Allow the gradient to dry completely before adding details. Use a fine brush to paint small blueberry clusters in selected areas. Keep spacing consistent to avoid overcrowding. Add white highlights and green leaves for detail. Finish with a top coat to smooth the gradient and seal the artwork.
Idea 3: Matte Yellow Nails with Glossy Blueberry Art
How to Make
This idea combines texture contrast by pairing a matte yellow background with glossy blueberry designs. The matte finish reduces shine, allowing the glossy blueberries to stand out more prominently. This technique creates a modern design effect often featured in Pinterest inspiration boards. It is particularly effective for those seeking a subtle yet visually interesting manicure.
Start with a base coat and apply two layers of yellow polish. Once dry, apply a matte top coat to all nails. Using a glossy blue polish, paint small blueberry shapes on selected nails. Add white highlights and minimal green accents. The glossy finish of the blueberries will naturally contrast with the matte background. Seal only the blueberry areas with a thin layer of top coat if needed to maintain texture contrast.
Idea 4: Minimalist Yellow Nails with Single Blueberry Detail
Execution Process
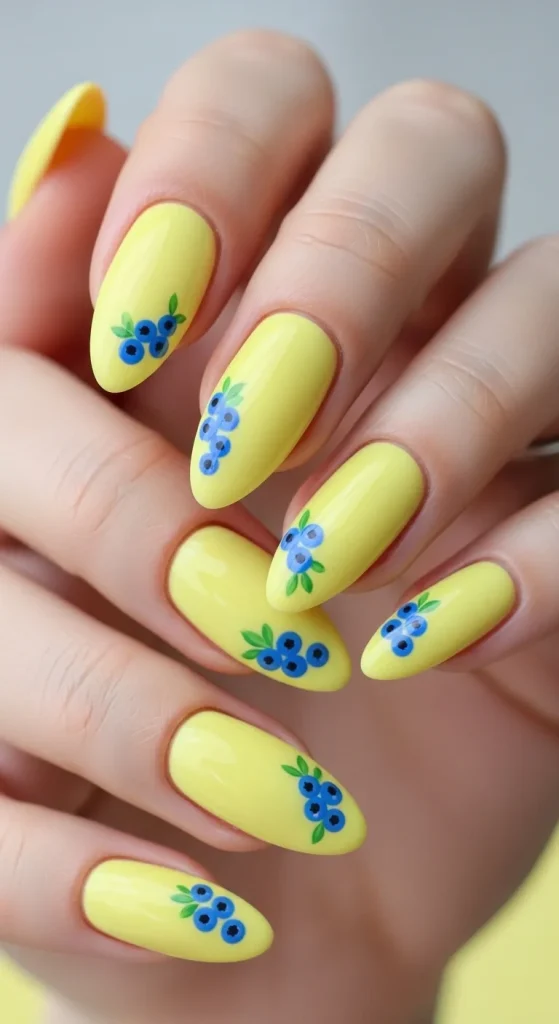
This design focuses on simplicity by placing a single blueberry element on each nail. The minimalist style emphasizes clean lines and controlled placement. This approach is ideal for beginners looking for an easy project with a refined aesthetic. The almond shape supports this design by providing a smooth surface for centered placement.
Apply a base coat followed by two layers of yellow polish. Once dry, use a dotting tool to place a single blue dot near the center or edge of each nail. Add a tiny white highlight and a small green leaf detail. Keep all elements small and consistent in size. Finish with a top coat to seal the design. This method ensures uniformity and a polished final result.
Idea 5: Yellow French Tips with Blueberry Edges
How to Create
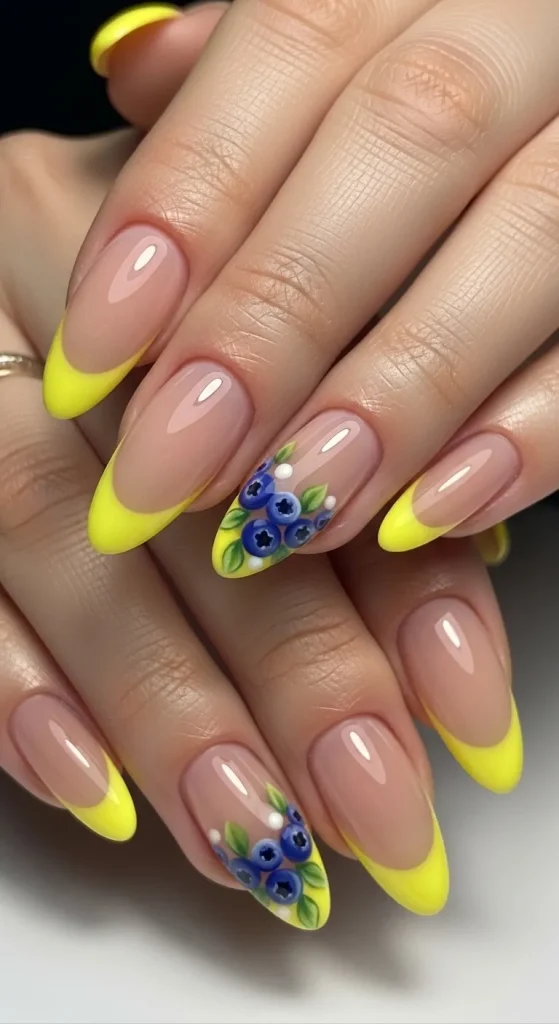
This design adapts the traditional French tip by replacing white tips with yellow and adding blueberry accents along the edge. The structure remains clean while introducing decorative elements. This variation maintains a balanced look while incorporating creative ideas into a familiar format.
Begin with a clear or nude base coat. Use a fine brush to paint yellow tips along the edge of each nail. Allow the tips to dry before adding small blueberry details along the border line. Use a dotting tool for precision and add minimal leaf accents. Seal with a top coat. This step by step approach ensures clean lines and controlled detailing.
Idea 6: Yellow and Blueberry Pattern Mix Nails
Step-by-Step Guide
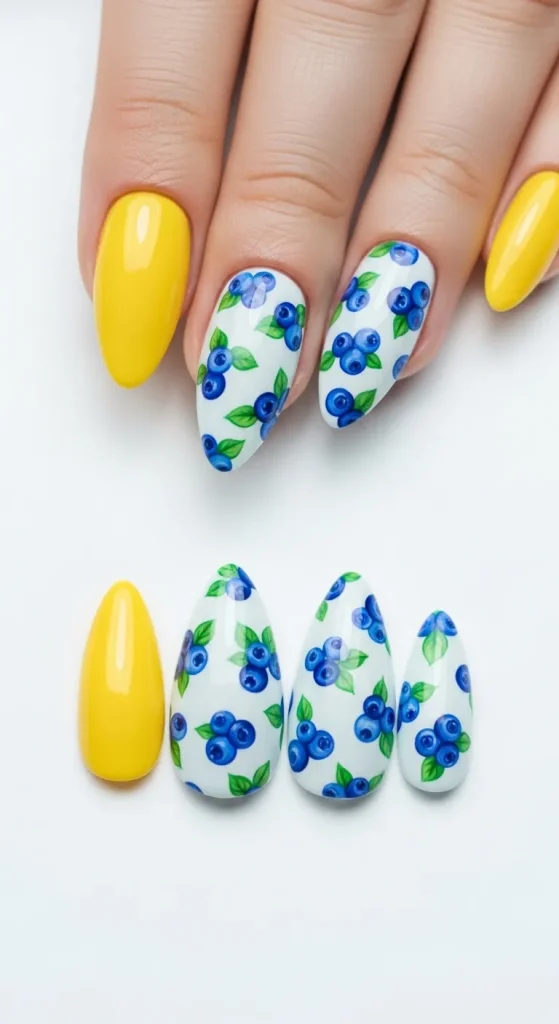
This design alternates between solid yellow nails and patterned blueberry nails. The contrast between simplicity and detail creates a dynamic yet organized appearance. This method is commonly used in Pinterest ideas for balanced nail sets.
Apply yellow polish to half the nails and a neutral base to the others. On the neutral nails, create repeated blueberry patterns using a dotting tool. Keep spacing even to maintain consistency. Add highlights and leaf details. Finish all nails with a top coat. This structured approach ensures visual balance.
Idea 7: Pastel Yellow Base with Detailed Blueberry Clusters
How to Make
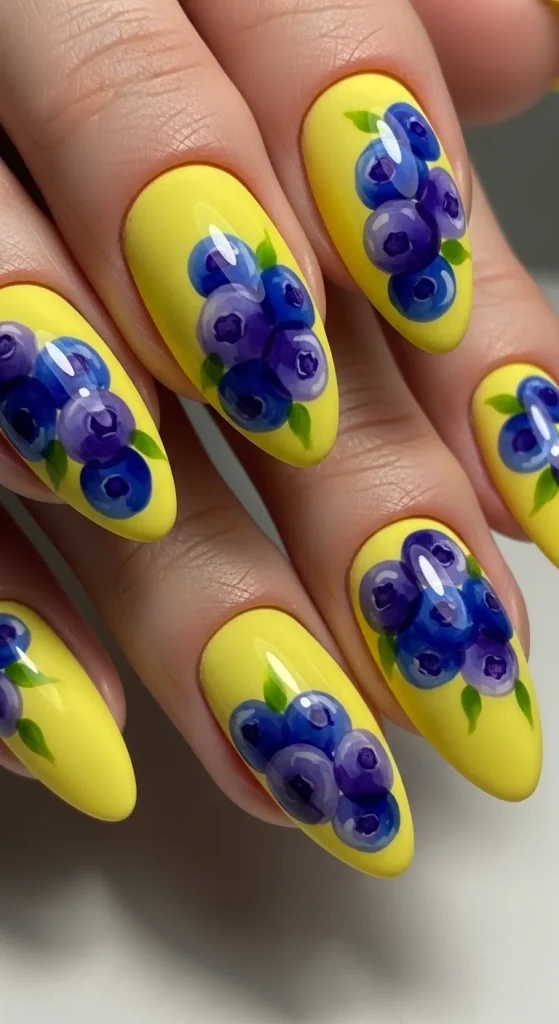
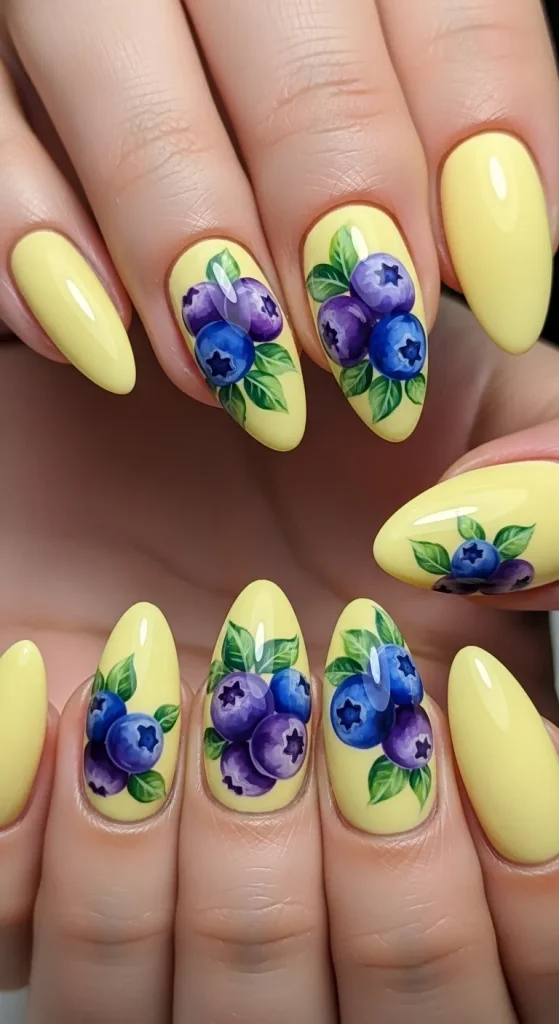
This idea focuses on detailed clusters of blueberries placed over a soft pastel yellow base. The clusters create focal points while the pastel background maintains a gentle aesthetic. This design suits those interested in slightly more advanced DIY techniques.
Apply a pastel yellow base and allow it to dry completely. Use a fine brush to paint multiple small blue circles grouped together. Add depth by varying sizes and adding highlights. Include small green leaves around clusters. Seal with a top coat for durability.
Idea 8: Yellow Ombre with Blueberry Outline Art
Execution Process
This design combines ombre blending with outline-style blueberry drawings. Instead of filled shapes, blueberries are outlined, creating a lighter visual effect. This technique aligns with modern design trends.
Create a yellow ombre base using two shades. Once dry, use a thin brush to draw circular outlines in blue. Add minimal interior detail and small leaves. Keep lines clean and consistent. Finish with a top coat to preserve the design.
Idea 9: Bright Yellow Nails with Blueberry Corner Details
How to Create
This design places blueberry details in the corners of each nail, leaving most of the surface clean. The placement creates a structured and organized look while maintaining simplicity.
Apply bright yellow polish to all nails. Use a dotting tool to place small blueberry shapes in one corner of each nail. Add highlights and leaves. Ensure consistent placement across all nails. Seal with a top coat for a smooth finish.
Idea 10: Yellow Base with Abstract Blueberry Swirls
Step-by-Step Guide
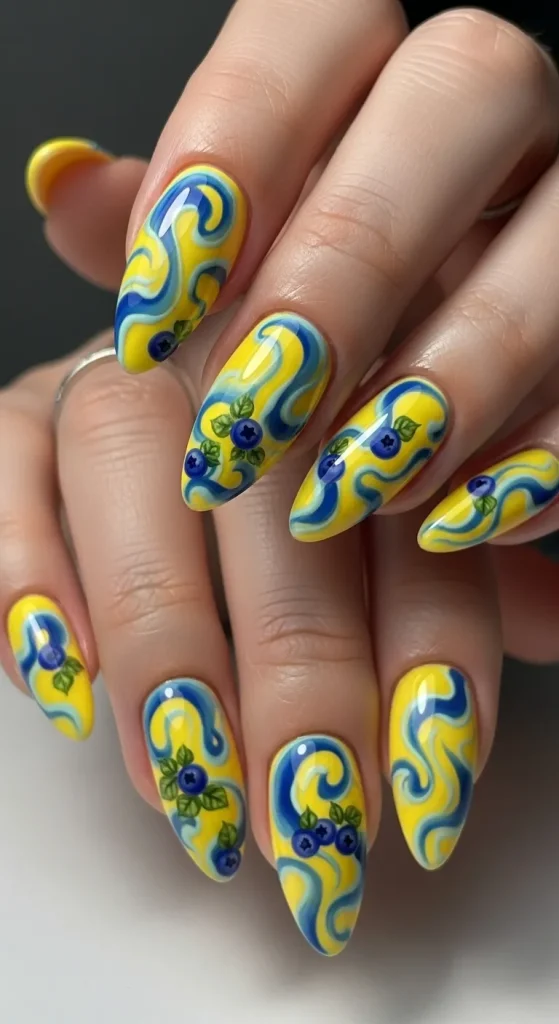
This idea introduces abstract swirls combined with blueberry elements. The design moves away from strict patterns and focuses on fluid shapes while maintaining recognizable elements.
Apply a yellow base and allow it to dry. Use a thin brush to create blue swirl lines across the nail. Add small blueberry shapes along the swirls. Include minimal highlights and leaves. Seal with a top coat. This method allows creative flexibility while maintaining structure.
Common Beginner Mistakes and How to Avoid Them
A common mistake in DIY nail projects is applying thick layers of polish, which leads to uneven drying and smudging. Thin, even layers ensure better control and durability. Another issue is poor spacing of design elements, which can make nails look cluttered. Planning the layout before starting helps maintain balance. Beginners also often skip proper nail preparation, leading to weak adhesion. Cleaning and buffing the nail surface improves results significantly. Using the correct tools, such as fine brushes and dotting tools, prevents irregular shapes and enhances precision.
Practical Tips for Better Results
Maintaining consistency across all nails improves the overall appearance. Use reference points to align designs evenly. Allow each layer to dry completely before adding details to prevent smudging. Working in good lighting improves accuracy during detailed steps. Practicing simple patterns before attempting complex designs helps build control. Using a steady hand and resting fingers on a stable surface reduces errors. Applying a high-quality top coat seals the design and adds durability, ensuring the manicure lasts longer without chipping.
Styling, Presentation, or Organization Ideas
Presentation plays a key role in showcasing nail designs effectively. Coordinating nail colors with outfits enhances the overall aesthetic. Neutral clothing tones allow the yellow and blue contrast to stand out. Photographing nails in natural light highlights details and improves visual clarity. Keeping nails well-shaped and clean enhances the final presentation. Organizing tools and materials before starting ensures a smooth workflow. Displaying finished designs in a consistent format helps build a cohesive visual style for sharing on Pinterest.
Budget or Time Planning
This project can be completed within a reasonable time frame by planning each step in advance. Basic materials are reusable, making it a cost-effective creative project. Limiting the number of detailed accent nails reduces time without affecting the final look. Preparing all tools beforehand avoids interruptions during the process. Working in stages, such as applying base colors first and adding details later, improves efficiency. This structured approach ensures the project remains manageable even for beginners.
Creative Expansion and Advanced Inspiration
Once basic techniques are mastered, designs can be expanded by experimenting with additional elements such as glitter accents, layered patterns, or mixed finishes. Combining yellow blueberry nails with other fruit-inspired themes creates new variations. Advanced users can explore hand-painted shading techniques to add depth to blueberry designs. Incorporating geometric patterns alongside organic shapes introduces contrast. Exploring different color intensities and finishes allows further customization while maintaining the core aesthetic of the design.


Leave a Reply