Introduction
Concrete slab patios often appear plain and underutilized, yet they offer a strong foundation for creative transformation. This article explores practical Pinterest ideas that convert basic concrete surfaces into functional and visually appealing outdoor spaces using simple DIY methods and thoughtful design planning for long-lasting results.
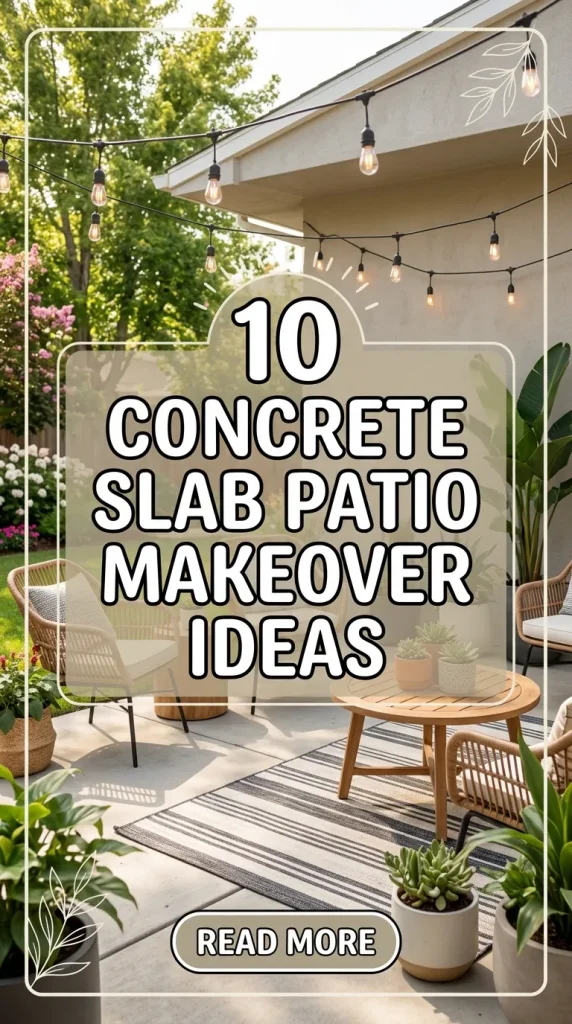
Readers will learn how to apply beginner friendly techniques, select appropriate materials, and follow step by step processes to upgrade patios efficiently. Each concept focuses on realistic execution, modern design appeal, and budget ideas, helping transform a simple slab into a purposeful and aesthetic outdoor extension.
Why This Idea Is Trending or Useful
Concrete slab patio makeovers are trending because they combine affordability with high visual impact, making them ideal for homeowners seeking practical home decor upgrades without complex construction. Many Pinterest ideas highlight how an existing slab can be redesigned using paint, overlays, textures, and modular elements, eliminating the need for demolition. This approach reduces cost, simplifies planning, and allows gradual improvements over time, which appeals to both beginners and experienced DIY enthusiasts.
The popularity also comes from the flexibility these projects offer in terms of style and function. A concrete slab can be adapted into a minimalist style lounge, a dining area, or an organized outdoor workspace using creative ideas and simple materials. The accessibility of tools and tutorials has made these projects widely achievable, even for those with limited experience. Additionally, the ability to customize colors, textures, and layouts ensures that each makeover reflects personal aesthetic preferences while maintaining a modern design approach suitable for various outdoor environments.
Materials and Preparation
Before starting a concrete slab patio makeover, proper preparation ensures durability and a professional finish. Begin by cleaning the surface thoroughly using a pressure washer or stiff brush to remove dirt, stains, and debris. Any cracks or uneven sections should be repaired using a concrete patching compound to create a smooth and stable base. This step is essential for achieving consistent results, especially when applying coatings or overlays.
Common materials include outdoor paint, concrete stain, stencils, sealers, adhesive tiles, wood decking panels, gravel, and outdoor rugs. Basic tools such as rollers, brushes, measuring tape, level, and protective gear are also required. Planning plays a critical role in the success of the project, so measure the area accurately and decide on a layout before purchasing materials. Consider drainage, sun exposure, and furniture placement during the planning phase. This preparation ensures that each step of the DIY tutorial proceeds efficiently and helps avoid unnecessary adjustments during the execution process.
Idea 1: Painted Geometric Pattern Patio
How to Create
A painted geometric pattern is a simple yet impactful way to transform a plain concrete slab into a visually engaging outdoor surface. This approach uses shapes such as triangles, diamonds, or hexagons to create a modern design that enhances the aesthetic appeal of the space. The concept focuses on contrast and repetition, allowing the pattern to act as a focal point within the patio. Neutral tones provide a minimalist style, while bold colors create a vibrant and dynamic atmosphere. This idea is widely used in Pinterest inspiration due to its adaptability and strong visual outcome without requiring structural changes.
To execute this project, start by cleaning and priming the concrete surface to ensure proper paint adhesion. Use painter’s tape and a measuring guide to outline the geometric shapes accurately. Apply outdoor concrete paint using a roller or brush, working in sections to maintain clean edges. Allow each layer to dry before removing the tape or applying additional colors. Finish with a weather-resistant sealer to protect the design from fading and moisture. This step by step method ensures a durable and professional finish suitable for long-term outdoor use.

Idea 2: Outdoor Rug Style Painted Design
Step-by-Step Guide
This idea replicates the appearance of a decorative outdoor rug directly onto the concrete slab, offering a permanent and low-maintenance solution. The design often includes intricate borders, symmetrical patterns, and layered colors that mimic textile aesthetics. This approach is popular among creative project enthusiasts because it combines artistic expression with practical functionality. It is particularly effective for defining seating or dining areas within a patio, adding structure and organization to the layout.
Begin by selecting a stencil or designing a custom pattern that fits the dimensions of the slab. After cleaning and priming the surface, apply a base color that complements the surrounding decor. Position the stencil carefully and use a stencil brush or roller to apply the pattern in layers. Maintain consistent pressure to avoid paint bleeding. Once the design is complete, seal the surface to protect it from weather exposure. This DIY tutorial allows beginners to achieve a high-end decorative look using simple materials and clear execution steps.
Idea 3: Wood Deck Tile Overlay
How to Make
Wood deck tiles provide an effective way to cover a concrete slab while introducing warmth and texture to the outdoor space. These interlocking tiles create the appearance of a wooden deck without requiring extensive construction. The concept focuses on layering a natural material over a rigid base, resulting in a balanced combination of durability and aesthetic appeal. This method aligns with modern design trends that emphasize natural elements and clean lines in outdoor environments.
To install, ensure the concrete slab is level and clean. Lay a moisture barrier if necessary, especially in areas prone to water accumulation. Begin placing the interlocking tiles from one corner, snapping them together securely. Cut tiles as needed to fit edges and corners using a saw. Ensure proper spacing for drainage and expansion. This setup method is straightforward and beginner friendly, making it an ideal solution for quick patio upgrades. The final result is a refined and comfortable surface suitable for various outdoor activities.

Idea 4: Gravel Border and Center Slab Design
Execution Process
Combining gravel with a central concrete slab creates a visually balanced patio layout that enhances both texture and structure. This design separates the slab from its surroundings, giving it a framed appearance while improving drainage and reducing visual monotony. The contrast between smooth concrete and rough gravel adds depth and interest, making it a popular choice in Pinterest ideas focused on outdoor organization and landscaping.
Start by marking the perimeter around the slab where the gravel border will be installed. Excavate the area slightly and lay landscape fabric to prevent weed growth. Add a layer of gravel and level it evenly. The central slab can be cleaned, stained, or painted for added visual appeal. This step by step approach ensures a clean transition between materials and maintains a structured layout. The combination of elements creates a functional and aesthetic outdoor space that is easy to maintain and adaptable to various design styles.

Idea 5: Concrete Stain Transformation
How to Create
Concrete staining is a method that enhances the natural texture of the slab while adding color variation and depth. Unlike paint, stain penetrates the surface, creating a long-lasting finish that resists peeling and fading. This approach is ideal for achieving a subtle and sophisticated aesthetic, particularly in minimalist style patios where understated elegance is preferred. It also works well for blending the patio with surrounding outdoor elements.
To apply stain, clean the surface thoroughly and repair any imperfections. Use a sprayer or brush to apply the stain evenly, working in sections to maintain consistency. Multiple layers can be applied to achieve the desired intensity. Allow the stain to dry completely before applying a sealer. This process highlights the natural characteristics of the concrete while providing protection against weather and wear. The result is a refined and durable finish suitable for various outdoor settings.

Idea 6: Outdoor Tile Adhesive Upgrade
Setup Method
Applying outdoor tiles directly over a concrete slab is a practical way to achieve a high-end look without full reconstruction. This method allows for a wide range of design options, including patterns, textures, and colors that enhance the patio’s visual appeal. It is commonly used in DIY tutorials because it combines durability with design flexibility, making it suitable for both modern and traditional styles.
Begin by ensuring the slab is clean, level, and free of cracks. Apply a tile adhesive suitable for outdoor conditions and lay the tiles systematically, using spacers to maintain even gaps. Once the adhesive sets, fill the gaps with grout and clean the surface thoroughly. Seal the tiles to protect them from moisture and stains. This step by step process creates a polished and professional finish, transforming the patio into a stylish and functional outdoor area.

Idea 7: Pergola Framed Patio Upgrade
How to Create
Adding a pergola over a concrete slab enhances both functionality and visual structure, turning the patio into a defined outdoor living space. This idea focuses on vertical design elements that complement the horizontal slab, creating a balanced and cohesive environment. Pergolas are widely featured in Pinterest inspiration because they provide shade, support decorative elements, and improve the usability of outdoor areas.
To build, measure the slab and mark the positions for the pergola posts. Secure the posts using brackets anchored into the concrete. Assemble the beams and crossbars according to the design plan. Once installed, the pergola can be styled with lights, plants, or fabric for added aesthetic value. This setup method ensures stability and longevity while enhancing the overall appeal of the patio. The result is a versatile outdoor space suitable for relaxation and social gatherings.

Idea 8: Minimalist Outdoor Lounge Setup
Step-by-Step Guide
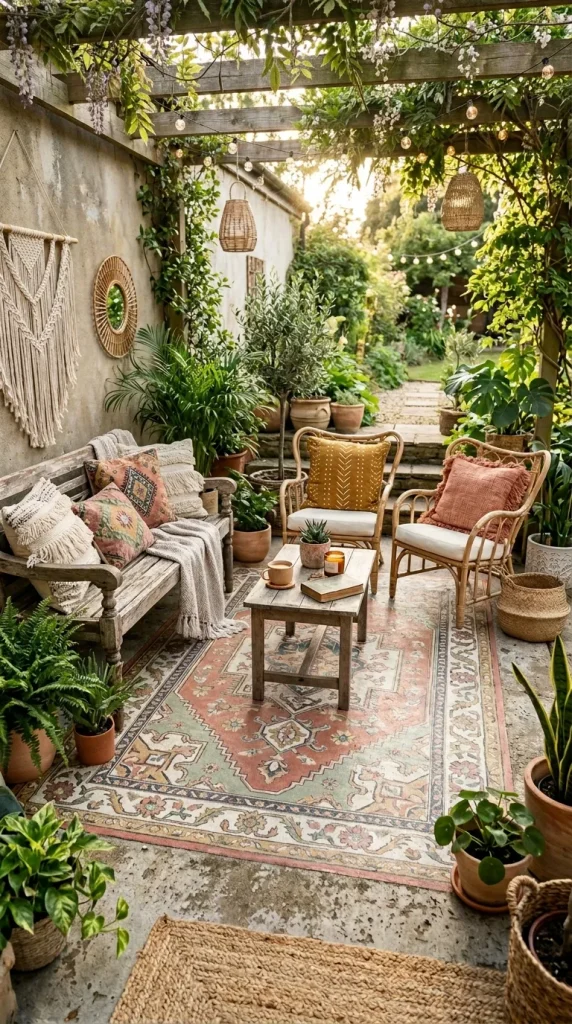
A minimalist outdoor lounge focuses on simplicity, functionality, and clean design. This approach transforms a concrete slab into a comfortable seating area using carefully selected furniture and decor. The emphasis is on reducing clutter while maintaining a cohesive aesthetic, making it a popular choice for modern home decor projects.
Start by cleaning the slab and applying a neutral finish if needed. Arrange outdoor furniture such as seating, tables, and cushions in a balanced layout. Use rugs and lighting to define the space and enhance comfort. Keep the color palette consistent to maintain a minimalist style. This execution process ensures a practical and visually appealing setup that is easy to maintain and adaptable to different outdoor environments.

Idea 9: Fire Pit Centered Patio Design
How to Make
Incorporating a fire pit into a concrete slab patio creates a central gathering point that enhances both functionality and ambiance. This idea is widely used in creative ideas for outdoor spaces, as it encourages social interaction and extends usability into cooler seasons. The design focuses on symmetry and accessibility, ensuring that seating arrangements are evenly distributed around the fire pit.
To implement, determine the center of the slab and mark the fire pit location. Install a fire pit kit or construct one using heat-resistant materials. Arrange seating around the pit, ensuring safe distances and clear pathways. Add decorative elements such as gravel or pavers to define the area. This step by step method ensures safety and visual balance, resulting in a practical and inviting outdoor feature.

Idea 10: Vertical Garden Patio Integration
How to Create
A vertical garden adds greenery to a concrete slab patio without occupying floor space, making it ideal for small or compact areas. This concept focuses on utilizing vertical surfaces to introduce natural elements, improving both aesthetics and air quality. It is a common feature in Pinterest ideas due to its space-saving benefits and visual appeal.
To build, install a vertical frame or wall-mounted planters along the edge of the slab. Select plants suitable for the local climate and arrange them in a structured layout. Ensure proper watering and drainage systems are in place. This setup method allows for easy maintenance and customization. The addition of greenery transforms the patio into a refreshing and visually dynamic environment.

Common Beginner Mistakes and How to Avoid Them
One common mistake is skipping proper surface preparation, which leads to poor adhesion and uneven finishes. Cleaning, repairing cracks, and priming are essential steps that should not be overlooked. Another issue is inaccurate measurements, resulting in wasted materials and misaligned designs. Careful planning and precise measurements ensure efficient execution. Using incorrect materials for outdoor conditions can also reduce durability, so always select weather-resistant options. Rushing the process, especially drying and curing times, often leads to substandard results. Allow each step to complete fully before moving forward. Avoid overcomplicating designs, particularly for beginners, as simpler patterns often produce more consistent outcomes. Addressing these common errors improves both the quality and longevity of the project.
Practical Tips for Better Results
Consistent results depend on careful planning and attention to detail. Always test materials on a small section before full application to ensure compatibility and desired appearance. Work in manageable sections to maintain control and accuracy during execution. Use quality tools, as they contribute to smoother finishes and reduced effort. Maintain a clean workspace to prevent debris from affecting the outcome. Consider environmental conditions such as temperature and humidity, as they influence drying times and material performance. Following a structured step by step approach ensures efficiency and reduces errors. These practical tips enhance the overall quality of the project and contribute to a professional finish.
Styling, Presentation, or Organization Ideas
Effective styling enhances the visual impact of a concrete slab patio makeover. Arrange furniture to create defined zones for seating, dining, or relaxation. Use rugs, lighting, and decorative elements to add depth and character. Maintain a consistent color palette to achieve a cohesive look. Incorporate vertical elements such as planters or lighting fixtures to balance the horizontal surface. Organization plays a key role in maintaining functionality, so ensure clear pathways and accessible layouts. These strategies improve both aesthetics and usability, creating a well-structured outdoor environment.
Budget or Time Planning
Planning helps manage both cost and time efficiently. Start by setting a clear budget and prioritizing essential elements of the project. Break the makeover into phases if necessary, allowing gradual improvements without financial strain. Choose materials that offer durability and value, avoiding frequent replacements. Allocate sufficient time for each step, including preparation, application, and drying. Avoid rushing, as this often leads to mistakes and additional expenses. Proper planning ensures a smooth and cost-effective execution process.
Creative Expansion and Advanced Inspiration
Once the basic makeover is complete, additional enhancements can further improve the patio. Consider integrating lighting systems, water features, or custom-built furniture for a more advanced setup. Experiment with layered textures and mixed materials to create a unique design. Expand the space by connecting it with surrounding landscaping elements. Advanced projects may include built-in seating, outdoor kitchens, or decorative walls. These creative ideas allow continuous improvement and personalization, transforming the patio into a fully functional and visually engaging outdoor living area.


Leave a Reply