
Introduction
DIY mirror decor with clay is a practical and creative approach to enhancing everyday home decor using simple materials. This Pinterest-inspired concept focuses on transforming basic mirrors into decorative pieces through handmade clay designs. It combines functionality with visual appeal while remaining accessible for beginners and suitable for various interior styles and spaces.
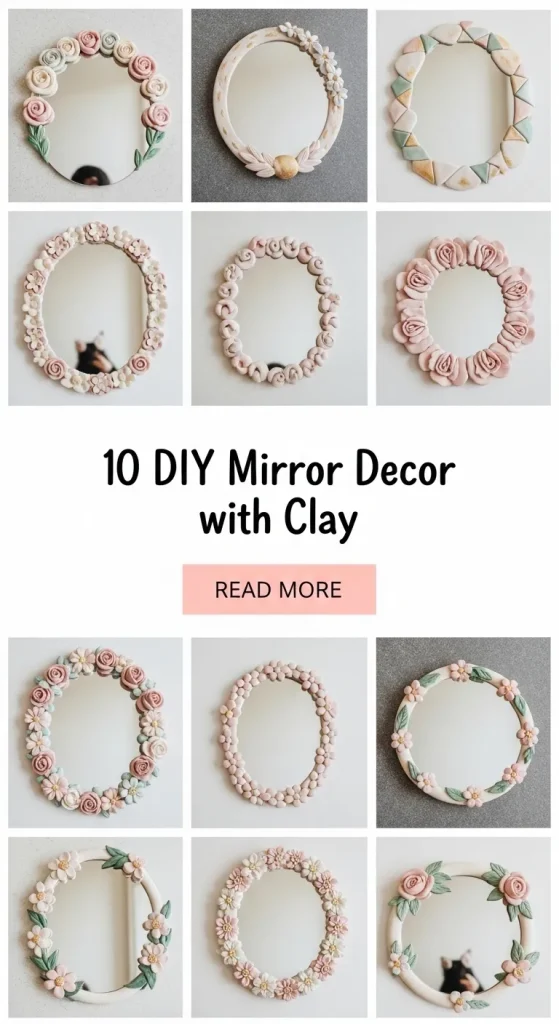
This article explains how to create clay-based mirror decor using clear methods and step-by-step guidance. It covers materials, preparation, and ten detailed creative ideas. Each idea includes practical instructions to help complete the project efficiently. Additional sections provide tips, planning strategies, and solutions to common mistakes for better results.
Why This Idea Is Trending or Useful
DIY mirror decor using clay has become a popular category within Pinterest ideas due to its balance between creativity and practicality. Mirrors are essential items in home decor, and customizing them allows users to personalize their living space without replacing functional pieces. Clay adds texture, depth, and a handmade aesthetic that aligns with modern design trends and minimalist style preferences.
This approach is useful because it requires affordable materials and basic tools, making it accessible for beginners. It also supports flexible design choices, allowing users to create shapes, patterns, or artistic frames based on personal inspiration. The DIY process encourages creativity while improving organization and planning skills. Additionally, clay-based decoration offers durability when properly prepared, making it a long-lasting decorative solution. These qualities make it a strong choice for those seeking budget ideas and easy projects with aesthetic results.
Materials and Preparation
Creating DIY mirror decor with clay begins with proper planning and preparation. The essential materials include air-dry clay or polymer clay, a clean mirror surface, adhesive suitable for glass, sculpting tools, rolling pin, sandpaper, and optional paint or sealant. A flat working surface is also required to shape clay elements accurately. For better results, ensure all materials are ready before starting the project.
Preparation involves cleaning the mirror thoroughly to remove dust and grease. This ensures proper adhesion of clay elements. Next, plan the design layout by sketching or visualizing the placement of clay decorations. This step helps maintain balance and proportion. Roll the clay evenly to achieve consistent thickness, then shape it according to the design. Allow sufficient drying or curing time depending on the type of clay used. Proper preparation improves efficiency and reduces errors during execution, making the entire process smoother and more manageable for beginners.
Idea 1: Floral Clay Frame Mirror
How to Create
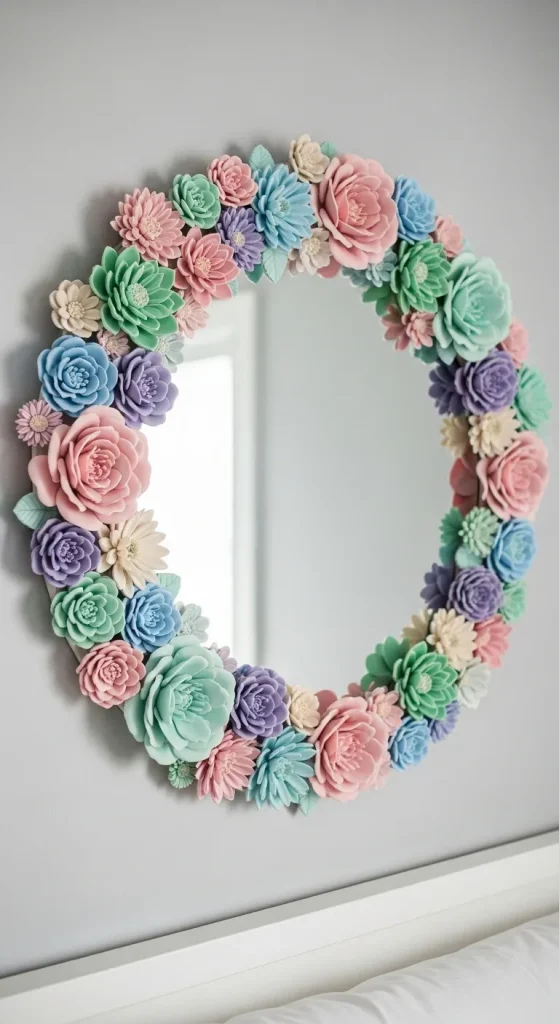
Floral clay mirror decor focuses on creating small handcrafted flowers arranged around the mirror frame. This concept is widely used in Pinterest inspiration due to its soft aesthetic and versatility in home decor. The flowers can vary in size and shape, including roses, daisies, or abstract petals. This design works well for bedrooms, vanity areas, or decorative walls. It introduces texture while maintaining a balanced and organized appearance.
To create this design, roll small portions of clay and shape petals individually using simple sculpting tools or fingers. Assemble the petals into flowers and allow them to partially dry for structure. Attach each flower to the mirror edge using adhesive. Arrange them evenly or cluster them for a layered effect. Once fully dry, optional painting can enhance detail. Seal the surface if needed for durability. This step-by-step method ensures a clean and beginner friendly execution.
Idea 2: Minimalist Geometric Clay Border
Step-by-Step Guide
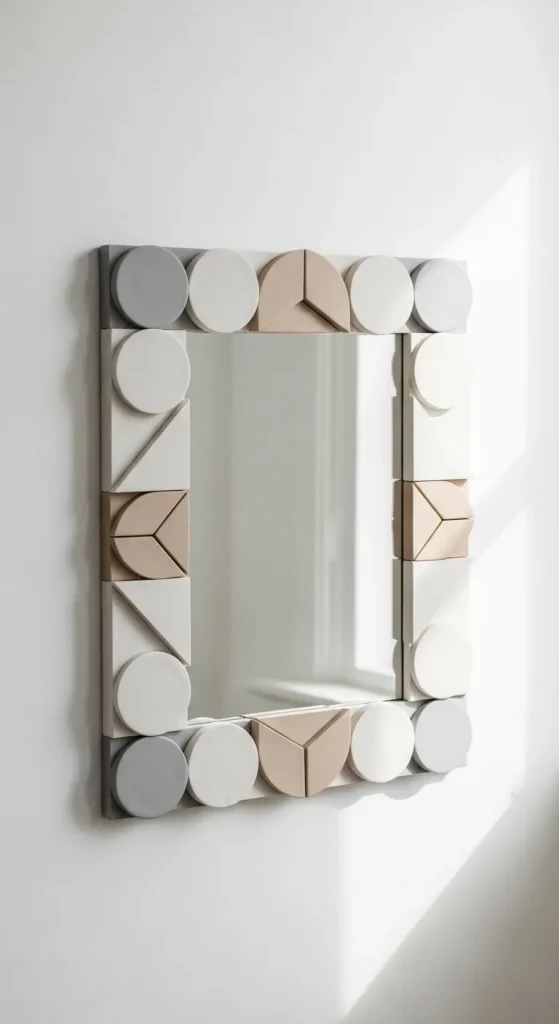
A geometric clay border creates a clean and modern design suitable for minimalist style interiors. This idea uses simple shapes such as circles, squares, or triangles arranged symmetrically around the mirror. It focuses on precision and organization rather than complex detailing, making it an ideal easy project for beginners interested in structured decoration.
Begin by rolling clay into even thickness and cutting uniform shapes using basic tools or molds. Allow the shapes to firm slightly before attaching them to maintain sharp edges. Apply adhesive and position each piece along the mirror border with consistent spacing. Ensure alignment by marking guidelines beforehand. After drying, smooth rough edges using sandpaper. This method results in a polished and modern design that complements contemporary home decor while maintaining simplicity.
Idea 3: Textured Clay Wave Design
How to Make
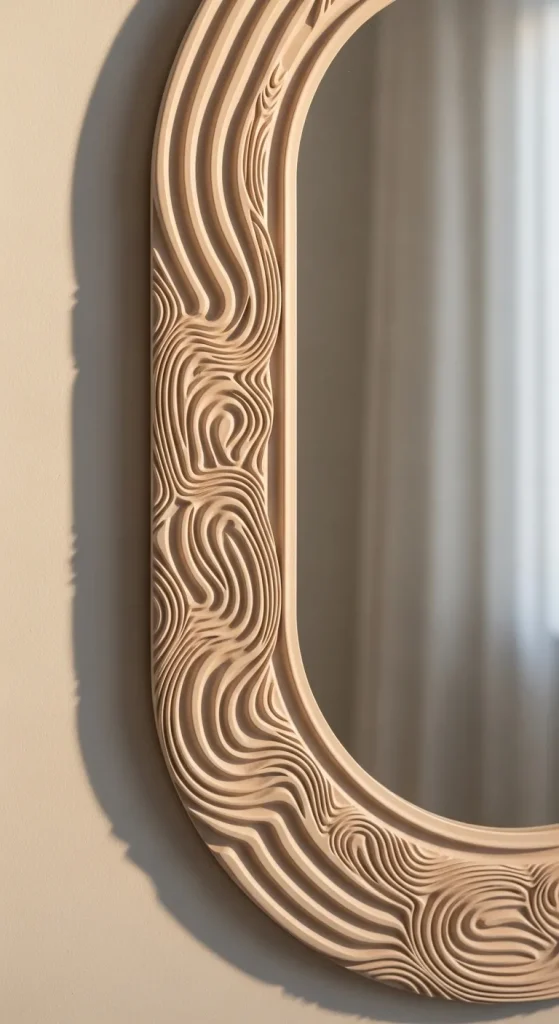
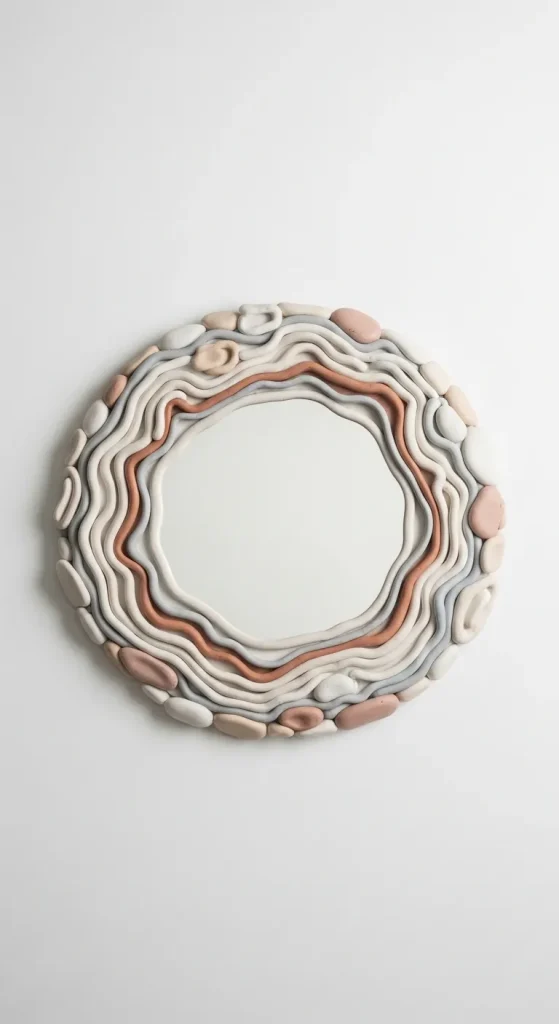
Textured wave designs introduce movement and depth to mirror decor. This idea focuses on creating flowing patterns that mimic natural shapes such as water or fabric folds. It is commonly used in aesthetic Pinterest ideas due to its organic appearance and visual interest. The design works well in living rooms or creative spaces.
To achieve this effect, roll clay into long strips and shape them into wave-like patterns. Use fingers or tools to create texture lines along the surface. Attach the strips around the mirror in a continuous or layered pattern. Ensure each piece blends smoothly into the next. Allow the clay to dry completely before applying any finishing touches. This method adds a dynamic element while remaining a manageable DIY tutorial for beginners.
Idea 4: Clay Leaf Frame Mirror
Execution Process
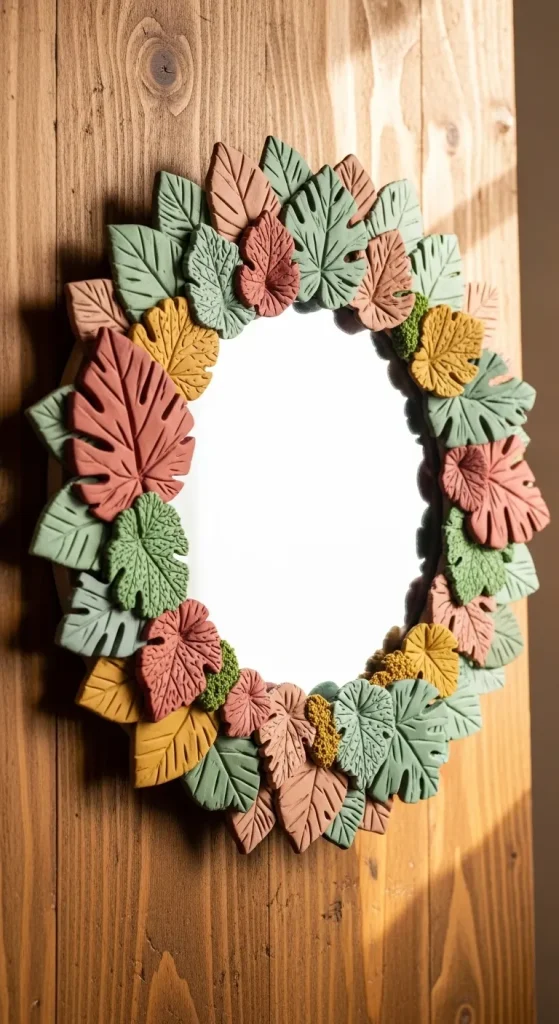
Leaf designs provide a natural and decorative look suitable for earthy home decor themes. This idea involves crafting individual leaves with visible veins and arranging them around the mirror. It reflects trending ideas that focus on nature-inspired aesthetics.
Shape clay into leaf forms using simple molds or freehand techniques. Add vein details using a pointed tool. Slightly curve each leaf for a realistic effect. Attach them to the mirror frame in a consistent pattern or alternating directions. Allow proper drying time before handling. Optional painting can enhance the natural look. This approach offers a structured yet creative project that is beginner friendly and visually appealing.
Idea 5: Abstract Clay Art Mirror
How to Create
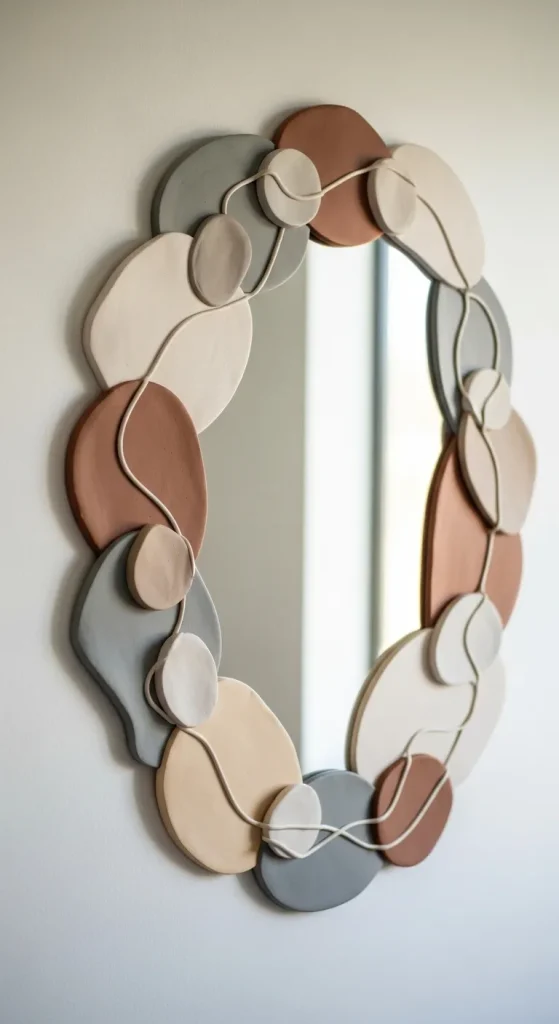
Abstract clay mirror decor allows flexibility in design without strict patterns. It focuses on freeform shapes and creative ideas that emphasize individuality. This concept fits well within artistic and modern interiors where unique decoration is preferred.
Start by shaping random forms using clay, including curves, blobs, or uneven textures. Experiment with layering to create depth. Attach each piece around the mirror in a balanced yet irregular arrangement. Maintain spacing to avoid overcrowding. Let the clay dry fully before refining edges if needed. This method encourages experimentation while remaining accessible, making it a strong option for beginners exploring creative projects.
Idea 6: Beaded Clay Edge Design
Step-by-Step Guide
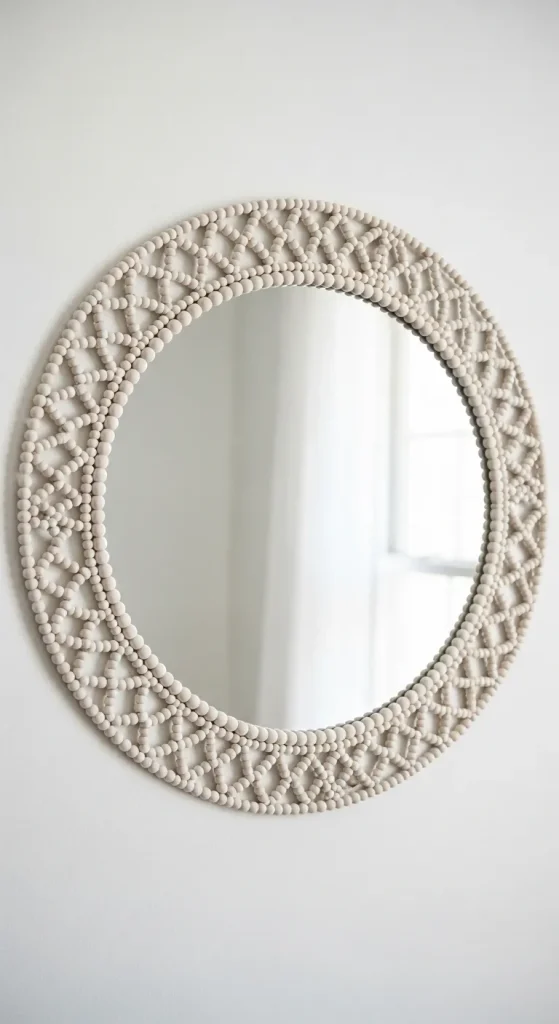
Beaded clay designs create a structured and decorative border using small rounded shapes. This idea is simple yet effective, offering a polished look suitable for various home decor styles. It aligns with organization-focused Pinterest ideas due to its repetitive and symmetrical layout.
Roll small clay balls of equal size and allow them to firm slightly. Attach each bead along the mirror edge using adhesive. Maintain consistent spacing for a clean appearance. Once placed, press gently to secure them without deforming the shape. Allow the design to dry completely before optional finishing. This easy project provides a neat and organized result.
Idea 7: Clay Rope Frame Mirror
How to Make
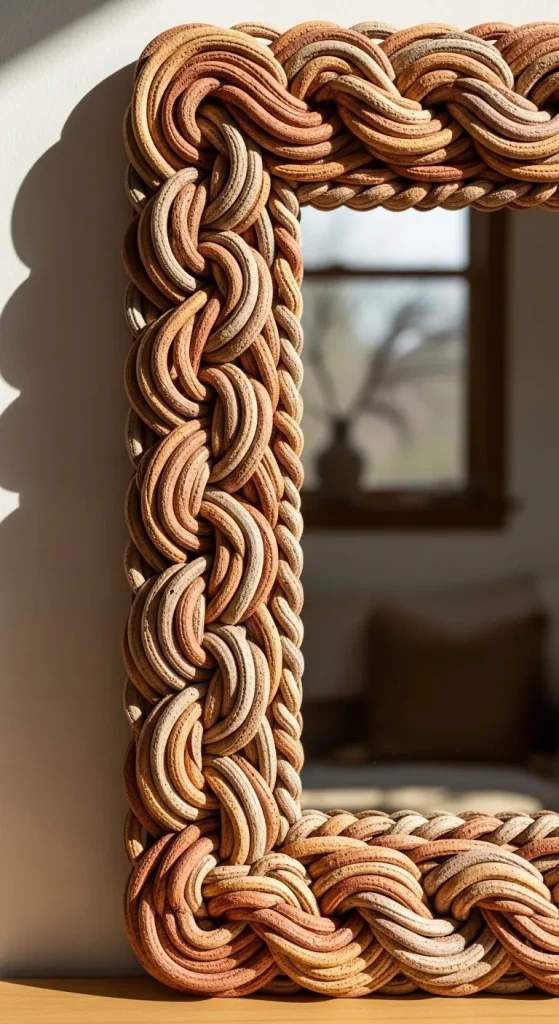
A rope-style clay frame mimics the appearance of twisted cords, adding texture and dimension. This design is often used in rustic or modern decor settings. It offers a balance between simplicity and visual interest.
Roll clay into long thin strips and twist them together to form a rope pattern. Carefully wrap the twisted clay around the mirror frame. Secure it using adhesive while maintaining even tension. Smooth the ends to create a seamless finish. Allow the clay to dry fully before handling. This method provides a structured and durable decorative border.
Idea 8: Layered Clay Frame Design
Execution Process
Layered clay frames create depth by stacking multiple shapes or patterns around the mirror. This idea enhances visual complexity while remaining manageable through step-by-step planning. It fits well within creative home decor projects.
Start by creating base shapes and attaching them around the mirror. Add additional layers on top, ensuring each layer is properly aligned. Allow partial drying between layers to maintain structure. Smooth edges where necessary. Once complete, let the entire design dry fully. This method creates a dimensional effect that enhances the overall aesthetic.
Idea 9: Clay Pattern Imprint Mirror
How to Create
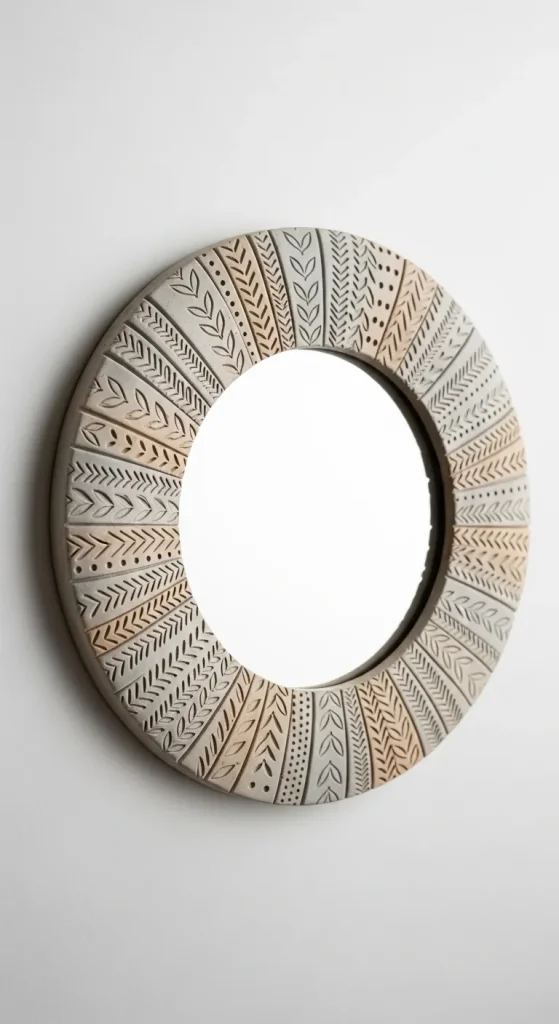
Pattern imprint designs focus on creating repeated textures using stamps or tools. This idea is widely used in Pinterest inspiration due to its clean and decorative outcome. It works well in both minimalist and detailed interiors.
Roll clay evenly and press patterns using textured tools or objects. Cut the patterned clay into strips or shapes. Attach them around the mirror with consistent alignment. Ensure patterns remain visible and undistorted. Allow proper drying time before finishing. This approach provides a refined and organized decorative effect.
Idea 10: Mixed Shape Clay Frame
Step-by-Step Guide
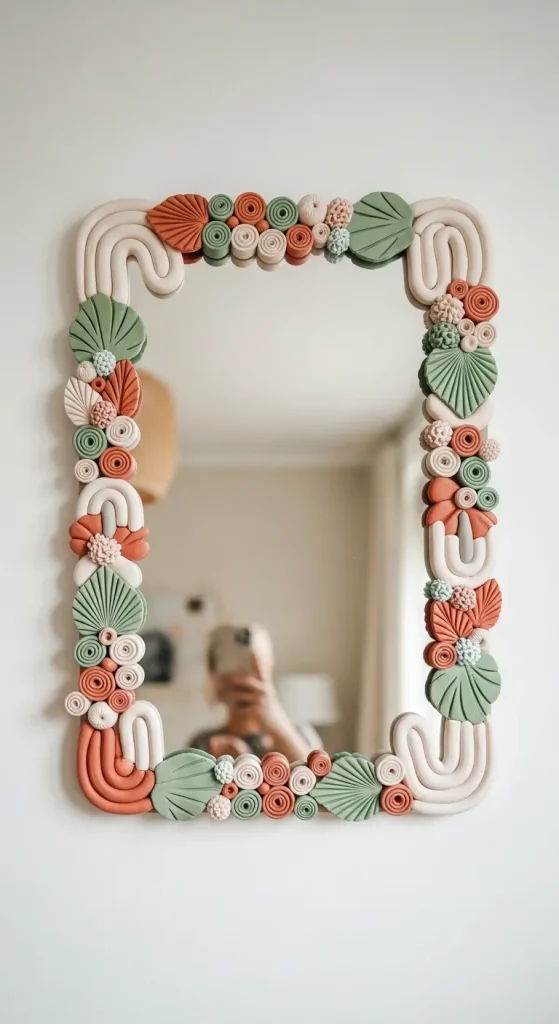
Mixed shape designs combine different clay elements such as beads, leaves, and abstract forms. This idea offers flexibility while maintaining a cohesive look through careful planning. It is suitable for those seeking diverse creative ideas.
Create various shapes and arrange them around the mirror before attaching. This helps visualize the final layout. Secure each piece with adhesive and adjust positioning as needed. Maintain balance by distributing shapes evenly. Allow the design to dry completely before handling. This method results in a unique and personalized decorative piece.
Common Beginner Mistakes and How to Avoid Them
One common mistake is applying clay to an unclean mirror surface, which reduces adhesion and causes pieces to detach over time. Always clean the surface thoroughly before starting. Another issue is uneven clay thickness, which affects both appearance and durability. Rolling clay evenly ensures consistent results. Beginners often rush the drying process, leading to cracks or deformation. Allow sufficient drying time based on the clay type used.
Overloading the design with too many elements can also reduce visual clarity. Maintaining balance and spacing improves the overall look. Using excessive adhesive may create visible residue, so apply it carefully. Planning the layout beforehand prevents alignment issues and saves time during execution. Addressing these mistakes helps achieve a more polished and durable final result.
Practical Tips for Better Results
Use simple tools such as toothpicks or knives to refine details and improve precision. Working in small sections helps maintain control and reduces errors. If cracks appear, smooth them using a small amount of water before the clay dries completely. Always test adhesive on a small area to ensure compatibility with both clay and glass.
Maintaining consistent pressure while shaping clay improves uniformity. Allow partial drying before attaching delicate pieces to prevent deformation. If painting is included, use thin layers to preserve texture details. Keeping the workspace organized also improves efficiency. These practical tips enhance both the process and final appearance of the project.
Styling, Presentation, or Organization Ideas
Clay mirror decor can be styled based on the surrounding interior design. For minimalist spaces, use neutral tones and simple shapes. For more decorative settings, combine textures and layered elements. Position the mirror in areas with good lighting to highlight the clay details.
Grouping the mirror with complementary decor items such as shelves or wall art creates a cohesive arrangement. Maintaining symmetry in placement enhances visual balance. Consider wall color and background contrast to ensure the design stands out. Organized presentation improves the overall aesthetic impact of the project.
Budget or Time Planning
DIY mirror decor with clay is a cost-effective project when planned properly. Using basic materials reduces overall expenses. Preparing all tools in advance saves time during execution. Breaking the project into stages, such as shaping, attaching, and drying, helps manage time efficiently.
Allowing proper drying time prevents rework and ensures durability. Working in small sessions can make the project more manageable for beginners. Reusing leftover clay for smaller designs reduces waste. Careful planning ensures the project remains within budget while achieving high-quality results.
Creative Expansion and Advanced Inspiration
Once basic techniques are mastered, more advanced variations can be explored. Combining clay with other materials such as wood or metal elements creates mixed-media designs. Experimenting with color gradients or layered textures enhances visual depth. Larger mirrors can incorporate multiple design styles within one frame.
Creating themed designs based on seasons or interior concepts adds variety. Exploring sculptural elements allows for more artistic expression. Advanced projects may involve custom molds or detailed carving techniques. These expansions provide continuous inspiration and help develop more complex creative projects over time.


Leave a Reply