
Introduction
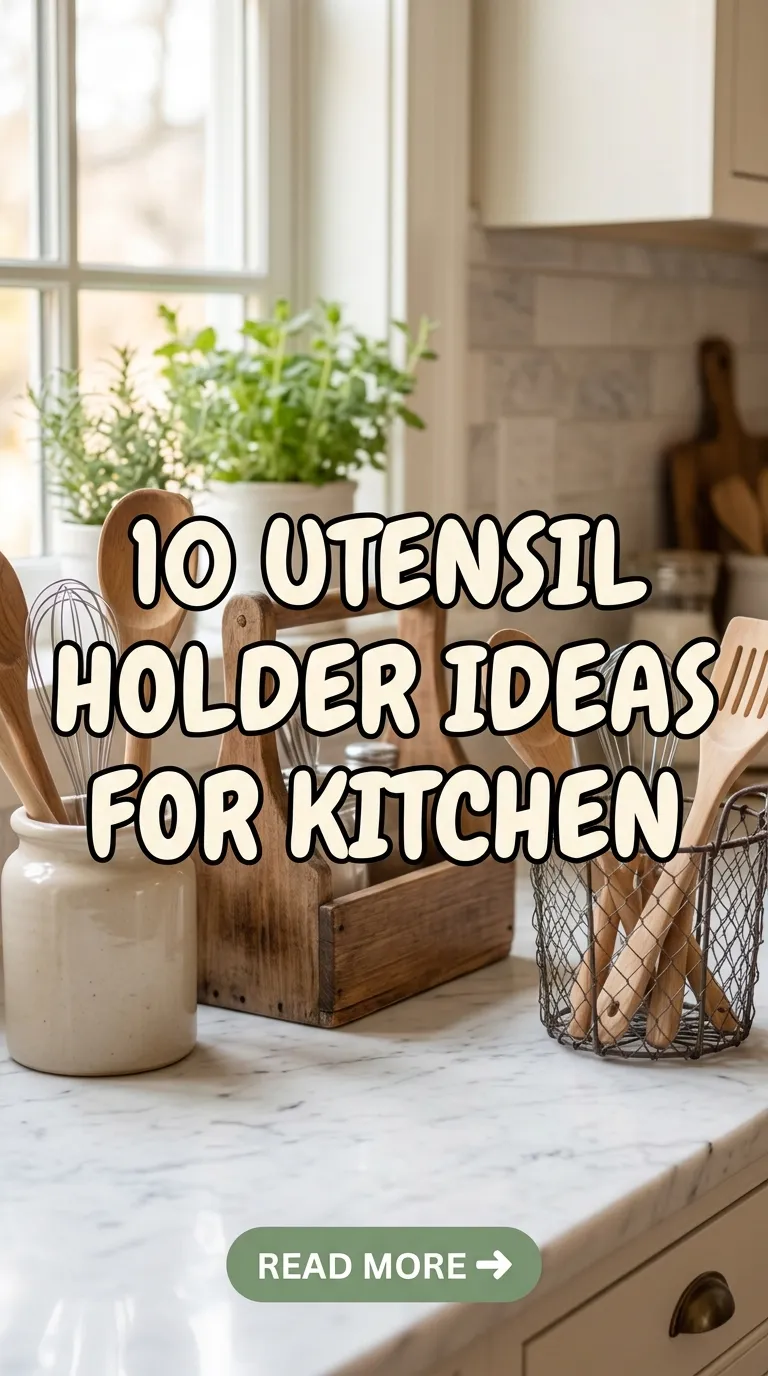
A well-organized kitchen is not only easier to use but also more beautiful and inviting. One simple accessory that can make a big difference is a utensil holder. Instead of keeping spatulas, wooden spoons, whisks, ladles, and cooking tools scattered across drawers or countertops, you can store them in attractive holders that keep everything within easy reach.
The best utensil holder ideas for kitchens combine functionality with style. Whether you prefer a modern minimalist kitchen, a cozy farmhouse interior, a rustic wooden design, or a colorful kitchen filled with personality, there is a utensil holder that can complement your space.
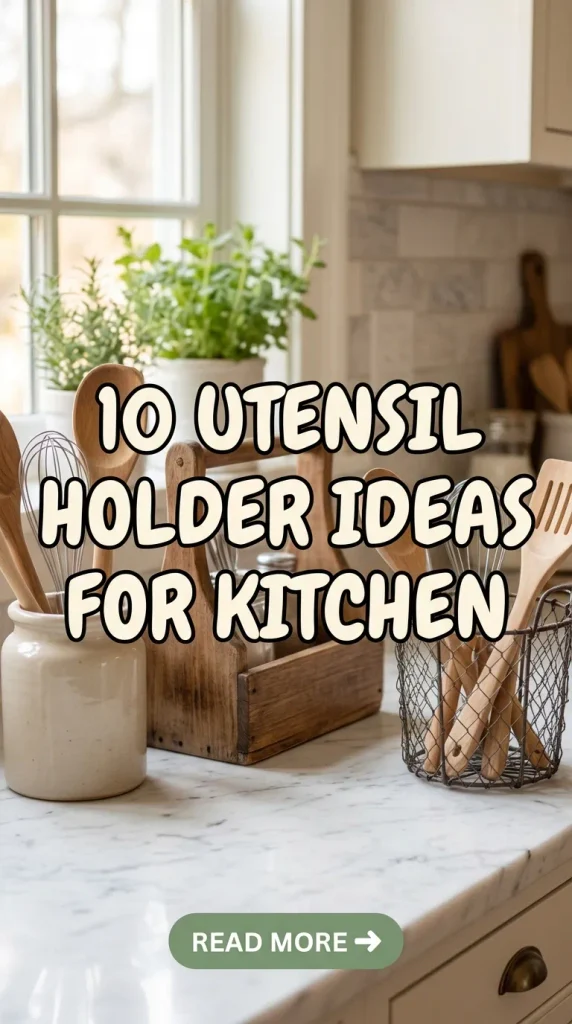
Utensil holders are available in many materials, including ceramic, stainless steel, wood, glass, concrete, and woven natural fibers. You can also create DIY versions using recycled containers, painted jars, or repurposed household items. The right option depends on your kitchen’s available counter space, the number of utensils you use, and your preferred decorating style.
In this guide, you will discover 10 utensil holder ideas for kitchens, along with materials, practical organization tips, and styling suggestions to help you create a neat and attractive cooking area.
Materials Used for Kitchen Utensil Holders
Before choosing a utensil holder, consider the material, size, stability, and ease of cleaning.
- Ceramic: Ideal for elegant, colorful, farmhouse, and modern kitchens. Ceramic holders are available in many finishes but should have a stable base.
- Stainless steel: Durable, easy to wipe clean, and suitable for contemporary kitchens.
- Wood and bamboo: Perfect for warm, natural, rustic, and Scandinavian interiors. These materials should be kept dry and cleaned according to their care requirements.
- Glass: Useful for displaying wooden spoons and colorful utensils. Choose a sturdy container with a wide base.
- Concrete: Creates an industrial, modern look and is often heavy enough to remain stable.
- Mason jars and recycled containers: Affordable options for DIY projects. Make sure containers are clean, stable, and suitable for the intended use.
- Woven baskets: Add texture and warmth, although they are generally best used for clean, dry utensils rather than tools that may drip or retain food residue.
- Wall-mounted organizers: Useful for kitchens with limited counter space.
Choose a holder that accommodates your everyday cooking tools without becoming overcrowded. Ideally, frequently used utensils should be easy to reach, and the holder should be simple to clean.
1. Ceramic Utensil Holder for an Elegant Kitchen
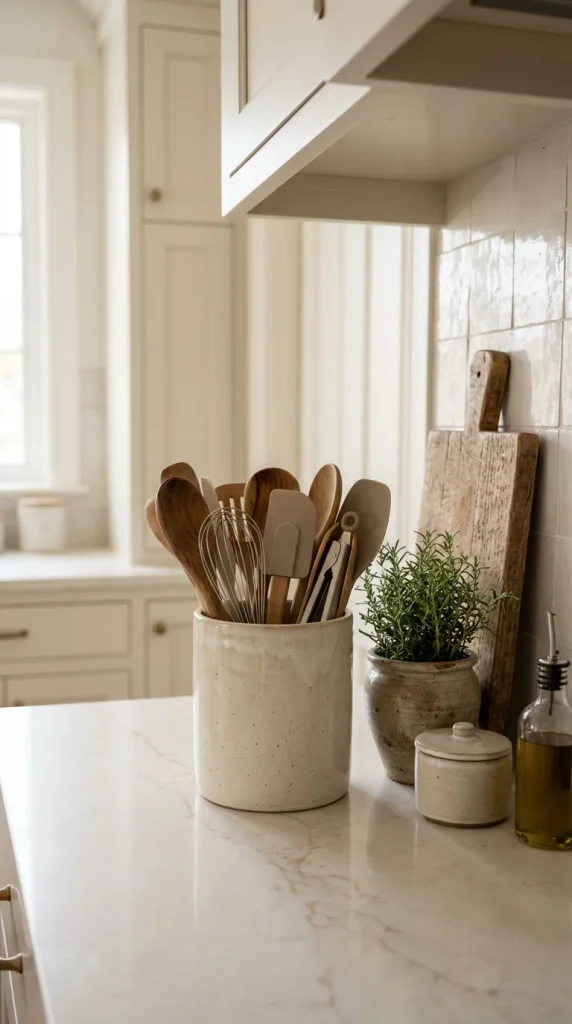
A ceramic utensil holder is one of the most versatile options for kitchen organization. It combines everyday functionality with an attractive appearance, making it suitable for both traditional and modern kitchens.
Choose a ceramic container with a wide opening and a stable base. White, cream, beige, and gray holders are excellent for neutral kitchens, while sage green, dusty blue, or terracotta can introduce a subtle pop of color.
Place wooden spoons, silicone spatulas, whisks, and other frequently used tools inside the holder. Arrange taller utensils toward the back and shorter tools toward the front so you can easily identify what you need. Avoid filling the container with every utensil in your kitchen; keeping only your most frequently used tools on the countertop creates a cleaner look.
For a farmhouse kitchen, choose a cream ceramic holder with a slightly textured finish. In a modern kitchen, a smooth matte-black or white container will look sophisticated. If your kitchen features colorful accessories, consider a patterned ceramic holder that coordinates with your existing decor.
You can also place the holder beside your stove or preparation area, provided it remains at a safe distance from open flames and hot surfaces. Keep it away from areas where grease splashes frequently occur.
Materials needed: Ceramic utensil crock, wooden spoons, spatulas, whisks, and optional matching countertop accessories.
Styling tip: Pair a neutral ceramic holder with a wooden cutting board and a small potted herb to create a balanced, attractive countertop arrangement.
2. Rustic Wooden Utensil Holder
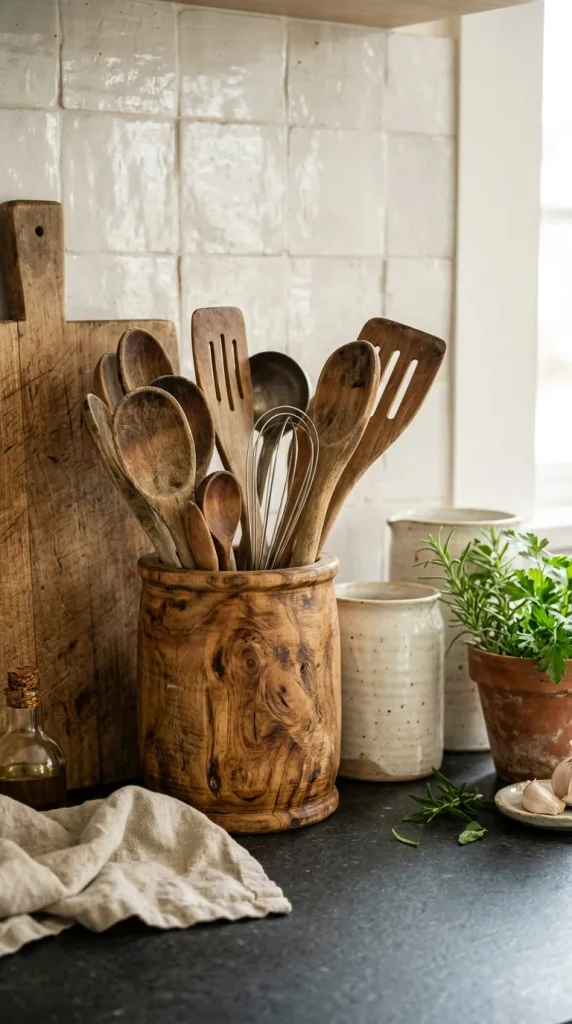
A wooden utensil holder is perfect for anyone who loves natural materials and warm kitchen decor. Its organic texture complements farmhouse, cottage, rustic, and Scandinavian interiors.
You can choose a ready-made wooden utensil crock or create a DIY version using a suitable wooden container. Bamboo and untreated hardwood can work well, provided the item is designed for this purpose and properly finished where appropriate.
Arrange wooden spoons, spatulas, rolling tools, and other cooking accessories inside the holder. The natural wood tones of the container look especially attractive when paired with wooden utensils, creating a coordinated appearance.
For a rustic look, choose a holder with visible wood grain, natural edges, or a distressed finish. If you prefer a more modern style, select a simple cylindrical container with smooth sides and a light natural finish.
Position the holder on a countertop near your main food preparation area. If you have enough space, place it beside a wooden cutting board or a small tray to create a dedicated cooking station.
Wooden holders require a little more care than some nonporous materials. Keep them dry, avoid prolonged soaking, and follow the manufacturer’s cleaning instructions. Do not store wet utensils inside, as trapped moisture can damage the wood and encourage unwanted microbial growth.
Materials needed: Wooden or bamboo utensil holder, wooden spoons, spatulas, and a suitable countertop tray.
Styling tip: Combine natural wood with cream-colored containers, linen textiles, and green herbs for a cozy farmhouse kitchen aesthetic.
3. Stainless Steel Utensil Holder for a Modern Kitchen
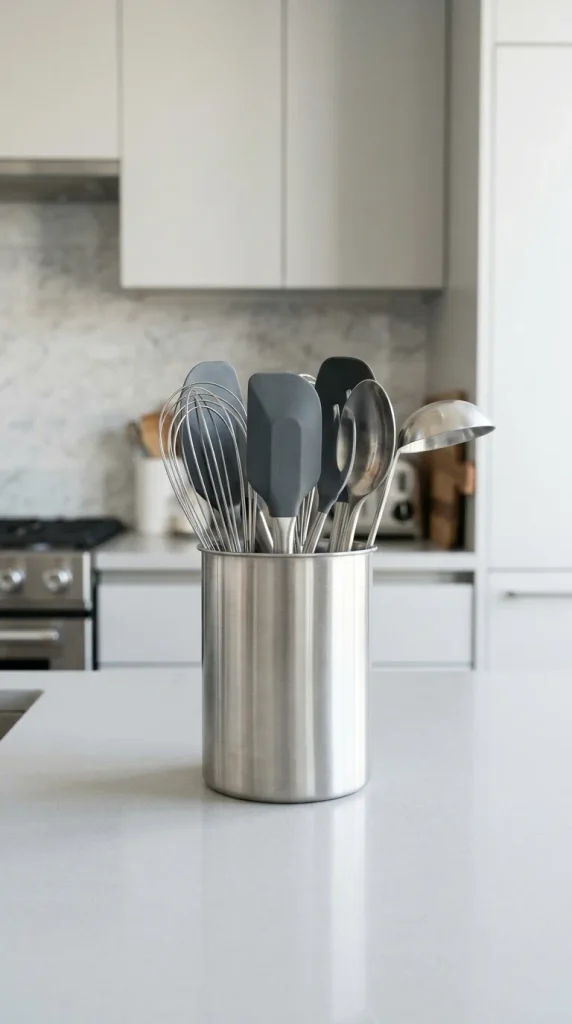
If you prefer a clean, contemporary kitchen, a stainless steel utensil holder is an excellent choice. Its simple metallic finish works well with modern appliances, stainless steel sinks, and minimalist countertops.
Choose a holder with a wide opening and enough capacity for your essential cooking tools. Some designs feature perforated sides, while others have a smooth polished or brushed-metal finish. Brushed stainless steel is particularly useful if you want a subtle appearance that coordinates easily with other appliances.
Place heat-resistant spatulas, metal whisks, ladles, and frequently used utensils inside. If you use wooden or silicone tools, they can also be stored in the same container, provided they are clean and dry.
For efficient organization, divide your utensils by type. Keep cooking spoons and spatulas together, while placing measuring tools and less frequently used accessories in a separate drawer. This prevents the holder from becoming crowded.
Stainless steel is generally easy to wipe clean, but fingerprints and water spots can be visible on some finishes. Choose a design that is easy to empty and wash thoroughly. A removable drip tray can be useful if the product includes one, although utensils should be dried before storage.
Materials needed: Stainless steel utensil holder, cooking spoons, spatulas, whisks, and optional matching canisters.
Styling tip: Pair the holder with stainless steel appliances, a neutral countertop, and a simple soap dispenser for a coordinated modern look.
4. Mason Jar Utensil Holder for a DIY Kitchen
A mason jar utensil holder is an affordable DIY solution that works particularly well in farmhouse, cottage, and country-style kitchens. It is also a great way to reuse a clean, sturdy glass jar rather than purchasing a new organizer.
Choose a wide-mouth jar that has a stable base and enough room for your utensils. Wash it thoroughly, remove any labels, and dry it completely before use. If the jar is lightweight or narrow, avoid placing too many heavy tools inside, as it may tip over.
You can leave the glass transparent for a simple look or decorate the exterior with paint. Cream, sage green, soft blue, and matte black are attractive options. If you paint the jar, keep the rim and interior free from unsuitable coatings, and use a paint product compatible with the glass surface. Allow the finish to cure fully according to the manufacturer’s instructions.
Fill the jar with wooden spoons, silicone spatulas, and small cooking tools. If you have several jars, use one for spatulas, another for wooden spoons, and a third for whisks or measuring tools.
Place the jar on a kitchen counter or inside a stable tray to keep the area organized. Avoid putting glass containers where they can easily be knocked against hard surfaces.
Materials needed: Wide-mouth glass jar, acrylic paint if desired, suitable primer if required, paintbrushes, and cooking utensils.
Styling tip: Use two or three matching jars on a wooden tray with a small herb pot to create an inexpensive, coordinated farmhouse arrangement.
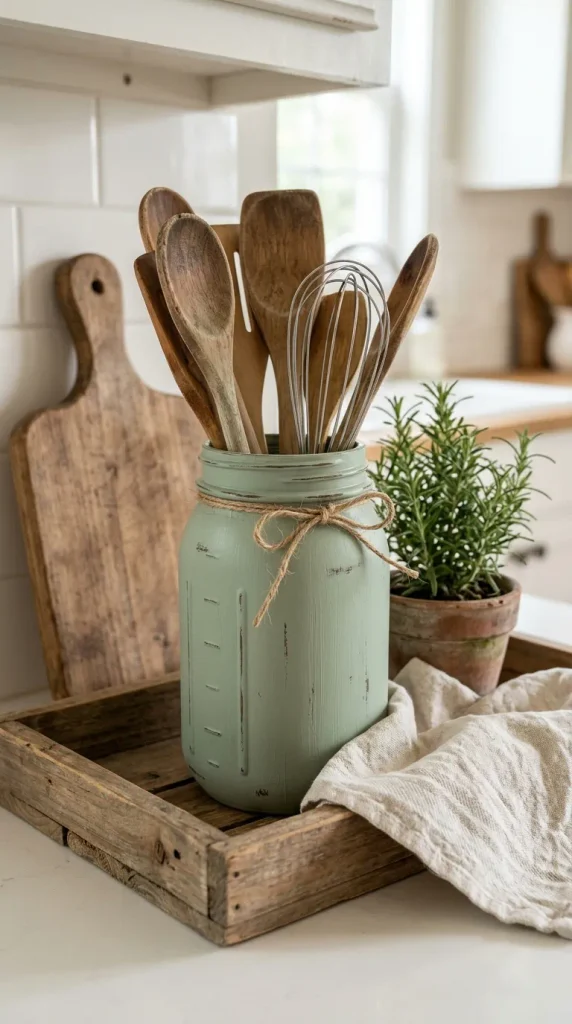
5. Wall-Mounted Utensil Holder for Small Kitchens
When countertop space is limited, a wall-mounted utensil organizer can help keep cooking tools accessible without occupying valuable preparation space.
Choose a wall rail with hooks, a mounted holder with compartments, or a purpose-designed utensil rack. Select a finish that complements your kitchen, such as stainless steel for a contemporary interior, black metal for an industrial look, or wood for a warm and natural style.
Install the organizer in a convenient location near your food preparation area. Make sure it is mounted securely using fixings suitable for your wall material and the weight of the utensils. Avoid placing it directly above open flames or where utensils could touch hot cookware.
Use hooks for ladles, spatulas with hanging holes, whisks, and other compatible tools. If your organizer includes cups or containers, use these for smaller utensils that cannot hang safely.
The main advantage of this design is that it frees up counter space and allows utensils to dry more easily after washing. However, exposed tools may collect dust or grease, especially near the stove, so clean them and the organizer regularly.
For a visually appealing result, hang utensils with similar finishes or group them by type. Avoid overcrowding the rail, as this makes tools harder to remove.
Materials needed: Wall-mounted utensil rail or rack, suitable mounting hardware, hooks, and compatible cooking utensils.
Styling tip: Install the rail above a clear section of countertop and arrange the utensils neatly to create a practical, professional-style cooking zone.
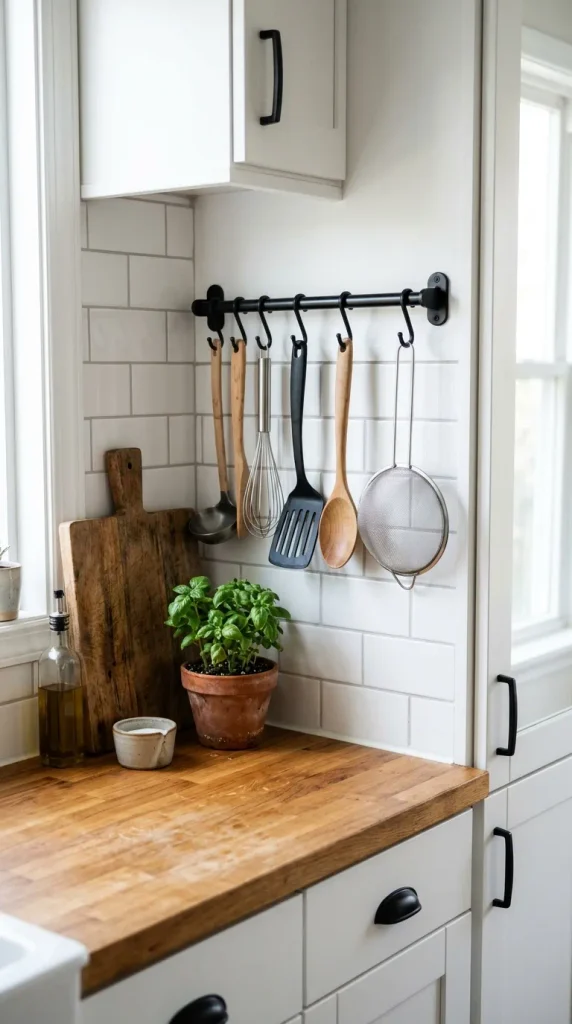
6. Rotating Utensil Holder for Easy Access
A rotating utensil holder is an excellent choice for busy kitchens where quick access to cooking tools matters. Its turning base allows you to reach different utensils without lifting or moving the entire container.
Choose a rotating organizer with a stable base and enough compartments for the tools you use most frequently. Some designs feature a central cylinder, while others have separate sections that help keep spatulas, spoons, and whisks organized.
Place your most frequently used utensils in the easiest-to-reach compartments. Keep longer tools upright and avoid placing too many heavy items on one side. If the holder rotates unevenly or feels unstable, remove some utensils and check that the base is positioned on a level surface.
A rotating holder is particularly useful on a kitchen island or in a household where several people prepare meals. Instead of searching through a drawer, everyone can quickly find a spoon, spatula, or whisk.
Choose a material that suits your kitchen style. Stainless steel and matte plastic create a contemporary look, while bamboo and wood finishes feel warmer and more traditional.
Remember that the rotating mechanism may collect crumbs or grease over time. Select a model that can be disassembled or cleaned easily, and follow the manufacturer’s care instructions.
Materials needed: Rotating utensil organizer, cooking utensils, and optional removable compartment inserts.
Styling tip: Keep the organizer close to your main preparation zone but away from the edge of the counter to reduce the risk of it being knocked over.
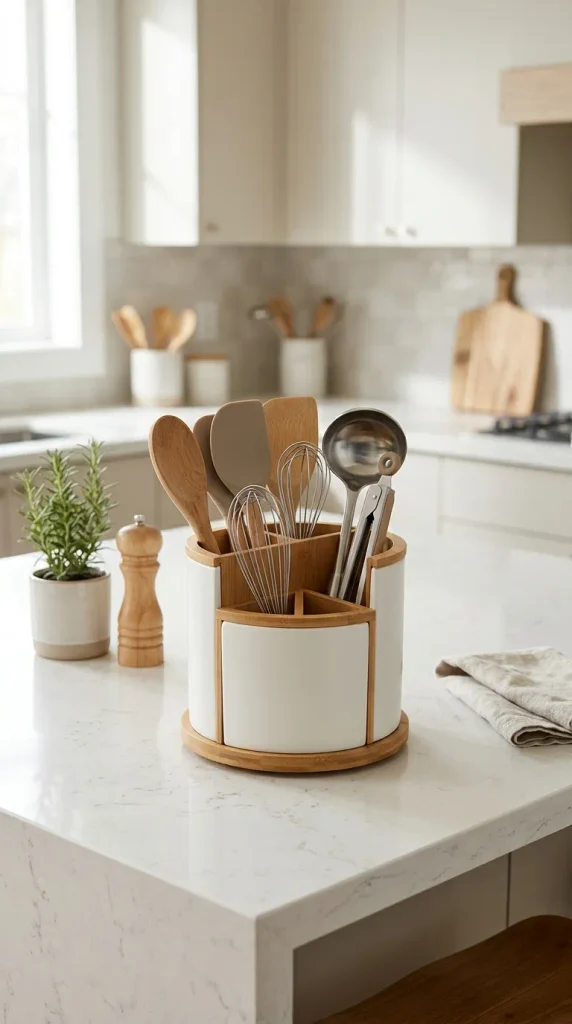
7. Colorful Painted Utensil Holder for a Cheerful Kitchen
A colorful utensil holder is a simple way to introduce personality into your kitchen. This idea works especially well in eclectic, maximalist, retro, and playful interiors.
Start with a plain ceramic, wooden, or suitable craft-ready holder. Select one or two colors that complement your kitchen accessories. Pastel pink, butter yellow, sage green, dusty blue, and terracotta can all create beautiful results.
If you are using a paintable wooden or ceramic craft holder, prepare the surface according to the paint manufacturer’s instructions. Apply a thin base coat and allow it to dry before adding decorative details.
You can create stripes, polka dots, abstract arches, tiny flowers, or simple geometric patterns. For a minimalist look, paint only a small section of the holder. For a bolder style, use several complementary colors across the exterior.
Make sure the paint and finish are appropriate for the material and intended use. Keep painted surfaces fully cured before handling, and avoid using coatings on surfaces that contact food unless the product is explicitly suitable for that purpose.
Once finished, fill the holder with everyday utensils and place it somewhere visible. This small accessory can become a colorful focal point without requiring a major kitchen makeover.
Materials needed: Paintable utensil holder, compatible paints, suitable primer if needed, paintbrushes, painter’s tape, and optional protective finish.
Styling tip: Repeat one color from your holder in a nearby tea towel, planter, or decorative bowl to make the design feel coordinated.
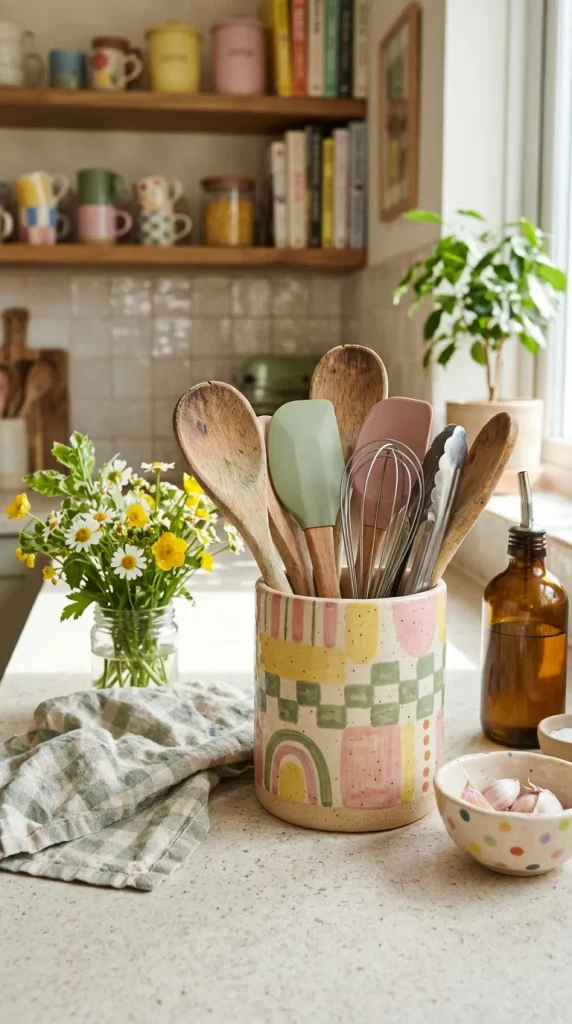
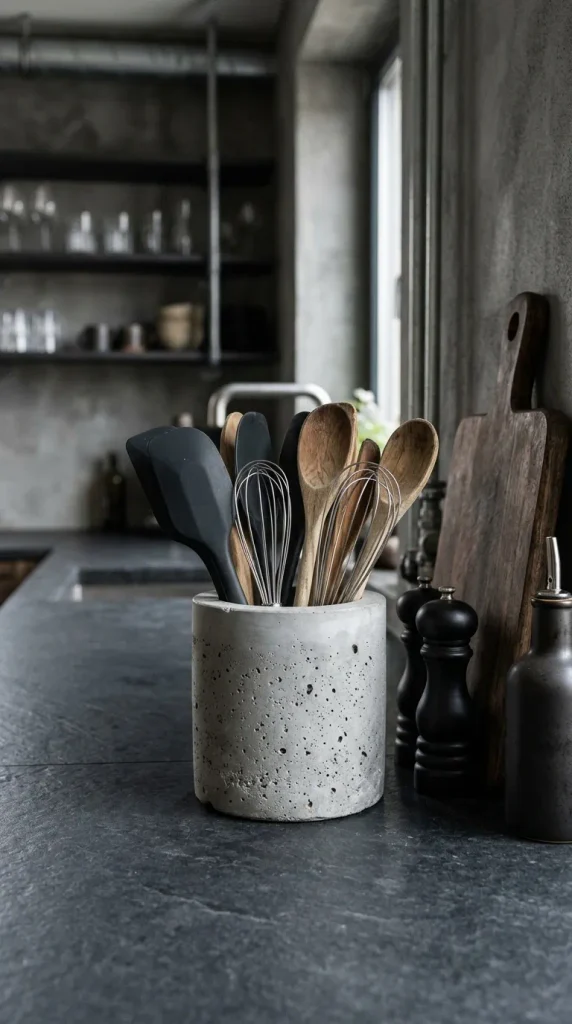
8. Concrete Utensil Holder for an Industrial Kitchen
A concrete utensil holder is a stylish option for industrial, modern, and minimalist kitchens. Its solid appearance and textured surface create a striking contrast with smooth countertops, metal appliances, and wooden accessories.
Choose a ready-made concrete holder with a smooth interior and a stable base. You can also make a DIY version using a suitable craft concrete mix and a mold, provided you follow the product’s safety instructions and allow the material to cure fully.
A natural gray finish looks understated and contemporary. For a softer appearance, choose a pale concrete shade or a design with a subtle cream finish. Some holders combine concrete with wood or metal accents, which can help them fit into different kitchen styles.
Because concrete can be heavy, position the holder on a stable countertop away from edges. Add wooden spoons, black silicone spatulas, metal whisks, or other frequently used tools. The contrast between gray concrete and different utensil materials creates visual interest.
Choose a holder with a smooth, cleanable interior. If you make your own, ensure that the finished container is suitable for storing kitchen tools and does not have loose particles, sharp edges, or an unsuitable coating.
Materials needed: Concrete utensil holder, wooden spoons, silicone spatulas, and optional wood or metal accessories.
Styling tip: Pair the holder with dark metal fixtures, a wooden cutting board, and neutral countertops for an attractive industrial kitchen arrangement.
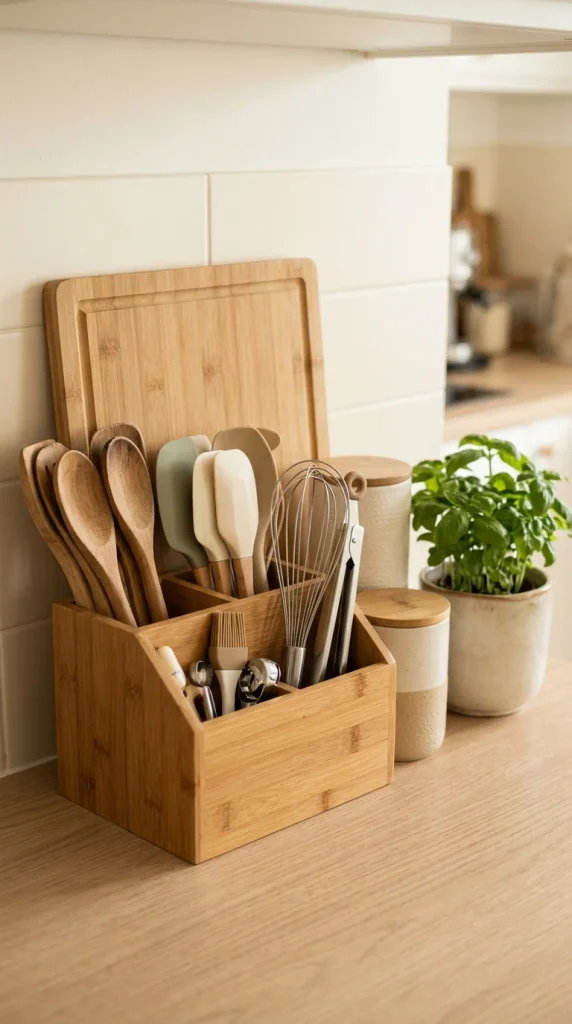
9. Bamboo Utensil Holder with Divided Compartments
A bamboo utensil holder is a practical choice for anyone who wants to organize kitchen tools while maintaining a natural, eco-inspired aesthetic.
Unlike a single open container, a divided utensil holder allows you to separate different tools. Depending on the design, you may have dedicated sections for wooden spoons, spatulas, whisks, tongs, and other frequently used accessories.
Choose a holder with compartments large enough for your utensils. Place tall tools in the larger sections and shorter accessories in the smaller ones. This helps prevent utensils from becoming tangled or difficult to remove.
Bamboo’s light color complements white cabinets, neutral countertops, natural wood, and green plants. A simple rectangular organizer works well in a contemporary kitchen, while a rounded bamboo container can create a softer, more traditional appearance.
Place the holder near your preparation area so that frequently used tools are easy to reach. If your design includes a removable insert, take it out periodically to clean crumbs and residue from the base.
Keep bamboo dry and avoid prolonged soaking. Clean it according to the manufacturer’s instructions, and make sure utensils are dry before returning them to the holder.
Materials needed: Bamboo utensil holder with compartments, cooking spoons, spatulas, whisks, and tongs.
Styling tip: Combine the bamboo holder with a wooden chopping board, neutral ceramic containers, and a small herb plant to create a fresh, natural kitchen aesthetic.
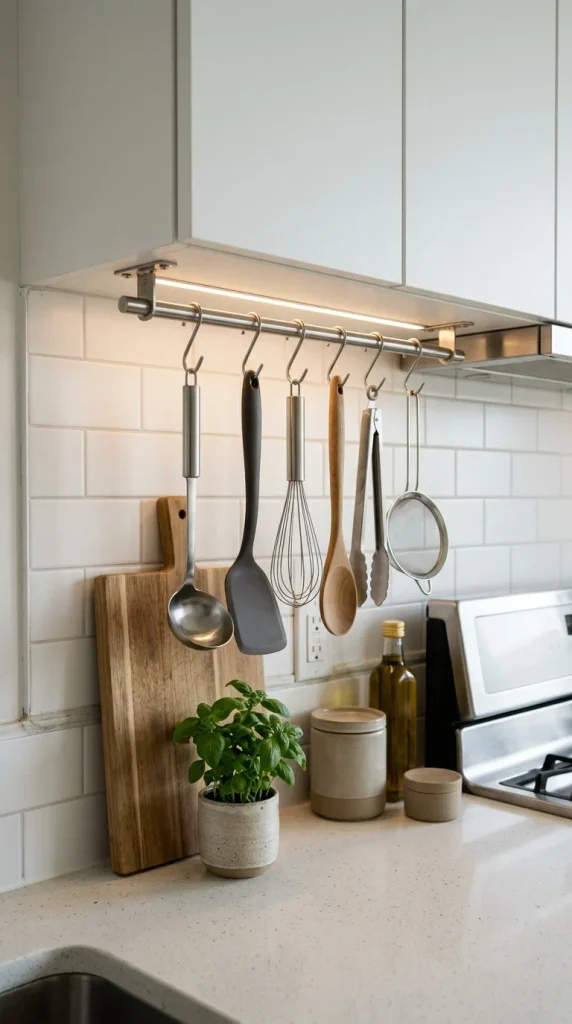
10. Under-Cabinet Utensil Organizer for Maximum Counter Space
An under-cabinet utensil organizer is an excellent solution for kitchens where every inch of countertop matters. By using available space beneath cabinets or shelves, you can keep utensils organized while maintaining a clean preparation surface.
Choose a purpose-built under-cabinet rack, hanging rail, or compact organizer designed to hold kitchen tools. Some models use hooks, while others include small containers or baskets.
Before installing the organizer, check the clearance beneath your cabinets. Make sure hanging utensils will not interfere with food preparation, appliances, or nearby cookware. Use appropriate mounting hardware and follow the product’s installation instructions.
Hang tools with suitable handles, such as ladles, spatulas, and whisks. Keep the heaviest items close to secure mounting points, and avoid loading the rack beyond its recommended capacity.
If you prefer not to drill holes, look for a product specifically designed for adhesive or tension mounting. Check its weight limit and make sure the mounting method is suitable for your cabinet material and kitchen conditions.
This setup works particularly well in small apartments, compact kitchens, and busy cooking spaces. It can also help keep frequently used utensils visible without filling a countertop crock.
Materials needed: Under-cabinet utensil rack, suitable mounting hardware, hooks or containers, and compatible kitchen utensils.
Styling tip: Arrange utensils by size and function, leaving a little space between them so each tool can be removed without disturbing the others.
Practical Tips for Choosing the Best Kitchen Utensil Holder
The right holder should make your kitchen easier to use, not simply look attractive.
1. Consider your utensil collection. Count the tools you use regularly before buying a holder. A small crock is sufficient for a few essentials, while a large collection may need multiple containers or a divided organizer.
2. Choose a stable design. Wide bases and sturdy materials help prevent tipping. This is especially important when storing long spatulas or heavy ladles.
3. Keep the holder easy to clean. Cooking areas can collect grease, crumbs, and moisture. Choose a holder that can be emptied and washed without difficulty.
4. Organize by function. Group spoons, spatulas, whisks, and tongs so you can find the right tool quickly.
5. Protect your countertop space. If your kitchen is small, consider a wall-mounted or under-cabinet organizer rather than a large countertop container.
6. Match your kitchen style. Ceramic suits classic interiors, stainless steel complements modern spaces, bamboo works well with natural decor, and colorful painted holders add personality.
7. Keep utensils dry. Avoid putting wet tools into enclosed containers. Drying them first helps prevent moisture buildup, odors, and residue.
8. Position the holder safely. Keep it away from open flames, hot burners, and areas where it could be knocked over during cooking.
Common Mistakes to Avoid
Even a stylish utensil holder can become inconvenient if it is poorly chosen or organized.
- Overcrowding the holder: Too many utensils make it difficult to find tools and may cause the container to tip over.
- Choosing the wrong height: A very short holder may not support long utensils properly, while an excessively tall one may be awkward to reach.
- Ignoring stability: Lightweight or narrow containers can fall over when filled with heavy tools.
- Storing wet utensils: Moisture trapped inside a holder can lead to unpleasant odors and damage certain materials.
- Placing it too close to the stove: Heat and grease can damage some materials and create safety concerns.
- Neglecting cleaning: Residue and crumbs can collect at the bottom of a utensil container. Empty and clean it regularly.
- Selecting style over function: A decorative holder is not useful if it has a narrow opening, insufficient capacity, or a difficult-to-clean interior.
- Using unsuitable DIY finishes: Paints and sealers should be compatible with the holder’s material and intended use.
Conclusion
The best utensil holder ideas for kitchens combine organization, convenience, and attractive design. Whether you choose an elegant ceramic crock, a rustic wooden container, a modern stainless steel holder, or a colorful DIY creation, the right accessory can make your countertop more functional and visually appealing.
For small kitchens, wall-mounted and under-cabinet organizers help save space. If you prefer natural decor, bamboo and wood provide warmth and texture. For a modern interior, stainless steel and concrete offer clean, contemporary finishes. A painted holder or recycled mason jar is an affordable way to personalize your kitchen.
Ultimately, choose a holder that suits your cooking habits, matches your interior style, and is easy to maintain. With thoughtful organization and a few simple styling choices, you can create a kitchen that looks beautiful while keeping your everyday cooking tools close at hand.



Leave a Reply