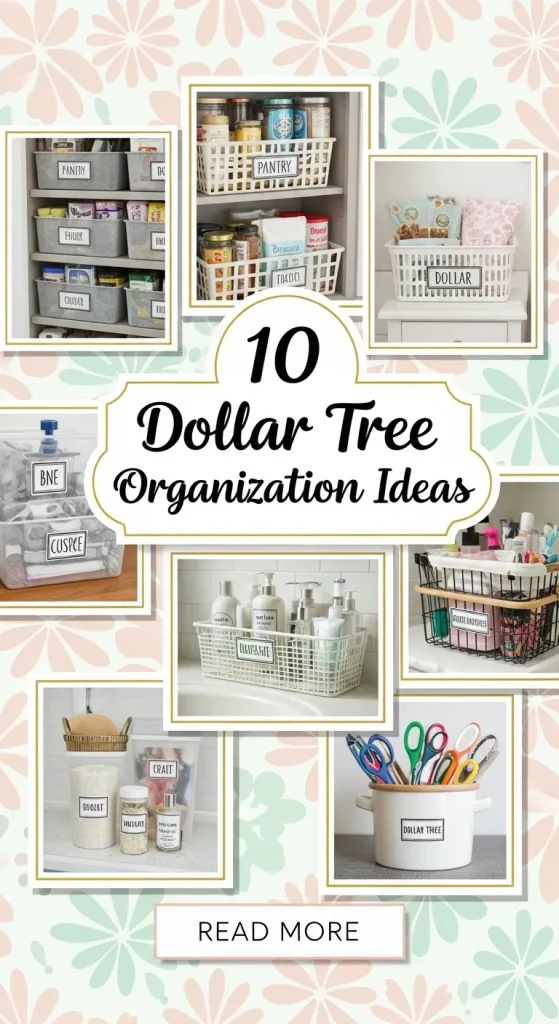
Introduction
Affordable organization solutions have become a major focus in modern living spaces, especially where functionality and aesthetics must align without increasing costs. Dollar stores provide accessible materials that can be transformed into practical storage systems through simple DIY methods. This article presents a structured collection of Pinterest ideas centered on organizing everyday items using low-cost supplies. Each idea is designed to be beginner friendly and achievable with minimal tools, making it suitable for anyone interested in improving their home decor and organization without complex processes. Readers will learn how to use common materials to create efficient storage systems for different areas of the home, including kitchens, bathrooms, closets, and workspaces. The focus remains on clear planning, step by step execution, and practical outcomes. These ideas also emphasize minimalist style and modern design, helping create clean and visually appealing spaces. Whether organizing small items or improving overall layout, these creative ideas offer a realistic approach to transforming clutter into structured, functional arrangements.
Why This Idea Is Trending or Useful
Budget-friendly organization solutions are widely popular because they combine accessibility with creativity. Many people seek ways to improve their living spaces without investing in expensive systems, which makes Dollar Tree materials a practical alternative. These ideas are trending across Pinterest due to their strong DIY appeal and adaptability to different environments. Users can easily customize designs based on available space and personal needs. The simplicity of these projects also supports beginners who may not have prior experience with crafting or organization. In addition, the focus on aesthetic presentation aligns with modern design preferences, where clean lines and minimalist layouts are prioritized. These organization methods help reduce visual clutter while improving daily efficiency. Another key factor is the flexibility of materials, allowing them to be repurposed in multiple ways. This encourages creative thinking and problem solving. Overall, these projects provide a balance between functionality and visual appeal, making them a reliable choice for anyone looking to improve organization using simple, affordable solutions.
Materials and Preparation
Before starting any organization project, it is important to gather the right materials and plan the layout carefully. Common materials include plastic bins, wire baskets, adhesive hooks, storage containers, labels, and stackable trays. Basic tools such as scissors, glue, tape, and measuring tools are also useful. Preparation begins with identifying the space that needs organization and analyzing what items will be stored. This helps determine the size and type of containers required. Cleaning the area before starting ensures better placement and long-term maintenance. Planning should include grouping similar items together and deciding whether vertical or horizontal storage will be more effective. For better results, sketching a simple layout or visualizing the final arrangement can improve efficiency during execution. Labeling systems should also be considered in advance to maintain consistency. These preparation steps reduce errors and make the process smoother. Proper planning ensures that each DIY project remains practical, organized, and aligned with the intended design and functionality.
Idea 1: Drawer Divider System
How to Create
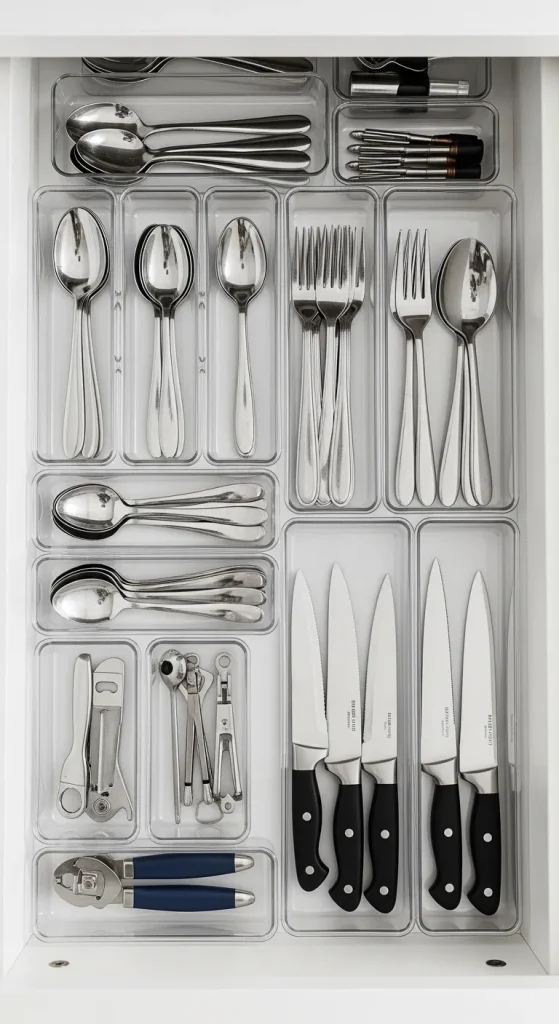
A drawer divider system helps organize small items such as utensils, office supplies, or accessories. This idea focuses on using small plastic containers or trays to separate items into categories. The concept is based on maximizing space inside drawers by creating defined sections that prevent items from mixing. This approach improves accessibility and reduces time spent searching for specific objects. It also supports a minimalist style by maintaining clean and structured layouts. Using uniform containers enhances visual consistency, which contributes to an organized aesthetic. This method is especially useful for kitchens, desks, and bathroom drawers where clutter tends to accumulate. The key principle is to assign each item a designated place. This reduces disorganization over time and supports efficient daily routines. The system can also be adjusted easily if storage needs change, making it a flexible and practical solution for various spaces.
To create this system, begin by measuring the drawer dimensions accurately. Select containers that fit within the space while allowing minimal gaps. Arrange the containers in a layout that matches the types of items being stored. Place frequently used items in easily accessible sections. Secure containers if needed using adhesive strips to prevent movement. Group similar items together and avoid overfilling each section to maintain clarity. Labels can be added for better identification, especially in shared spaces. Regular maintenance is important to ensure items remain in their assigned positions. This step by step method creates a functional and durable organization system using simple materials.
Idea 2: Vertical Pantry Storage
Step-by-Step Guide
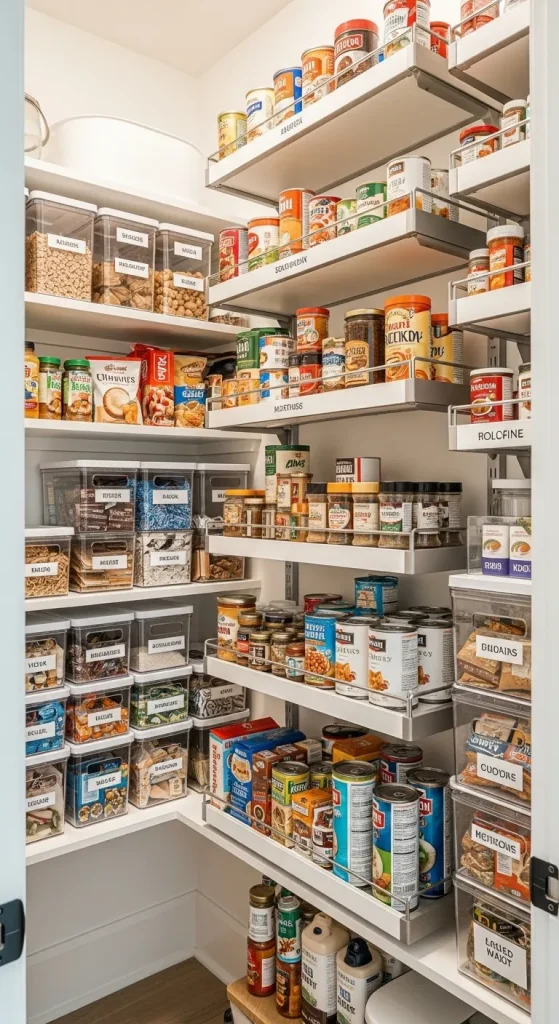
Vertical pantry storage focuses on utilizing height instead of width to maximize storage capacity. This idea involves stacking bins or using tiered shelves to organize food items efficiently. It is particularly useful in small kitchens where space is limited. By arranging items vertically, visibility improves and access becomes easier. This reduces clutter and prevents items from being forgotten or wasted. The design also supports a clean and structured appearance, which aligns with modern organization trends. Grouping items by category further enhances efficiency. This method is practical for storing snacks, canned goods, and packaged items in a way that maintains order and accessibility.
Start by clearing the pantry and sorting items into categories. Select stackable bins or shelves that fit within the available height. Place heavier items at the bottom for stability and lighter items above. Ensure that frequently used items are within easy reach. Use labels to identify each category clearly. Adjust spacing between shelves to accommodate different item sizes. Avoid overcrowding to maintain visibility. This setup method improves functionality while maintaining an aesthetic layout. Regular checks help ensure that items remain organized and accessible.
Idea 3: Bathroom Counter Organizer
How to Make
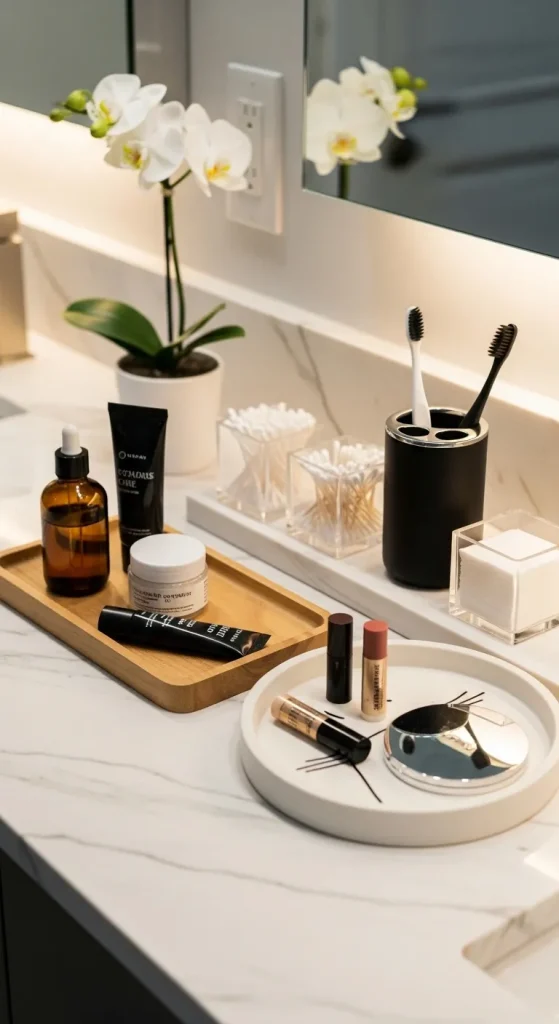
A bathroom counter organizer helps manage daily essentials such as toiletries and cosmetics. This idea uses trays and small containers to create designated sections for different items. The goal is to reduce clutter while keeping frequently used products easily accessible. This method supports a clean and minimalist aesthetic, which is important in small spaces like bathrooms. It also improves hygiene by preventing items from being scattered across surfaces. Organizing products by type ensures a structured layout and simplifies daily routines. This approach is especially useful for shared bathrooms where multiple users need organized access.
To implement this idea, begin by selecting trays that fit the counter space. Arrange containers within the trays based on item categories. Place commonly used items at the front and less frequently used items at the back. Ensure that each container is not overcrowded to maintain clarity. Clean the surface before placing the organizer to ensure stability. Labels can be used for better identification if needed. Regularly review and remove unused items to maintain efficiency. This simple setup creates a practical and visually appealing organization system.
Idea 4: Closet Bin Label System
Execution Process
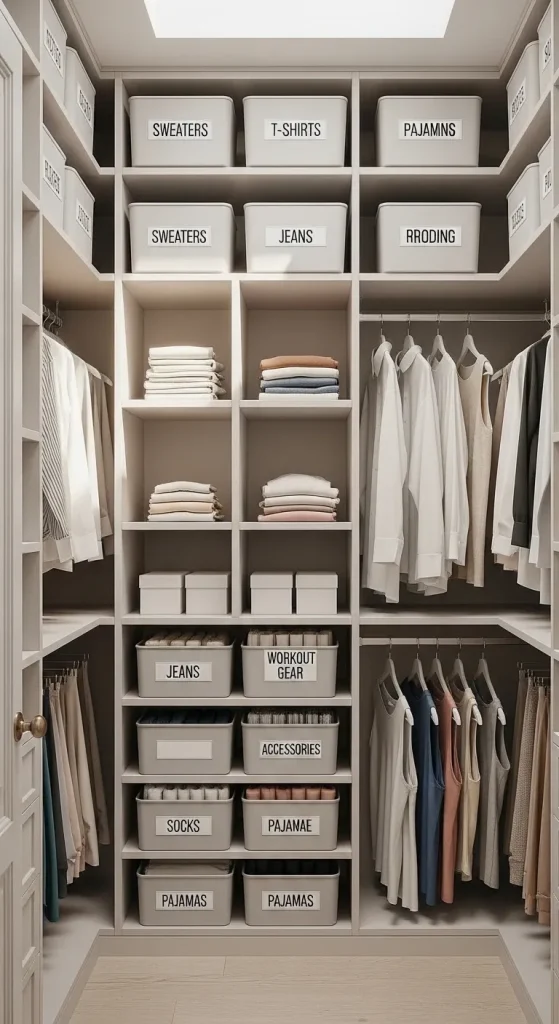
A closet bin label system helps manage clothing, accessories, and seasonal items effectively. This idea uses storage bins combined with clear labeling to create a structured organization system. It is particularly useful for maintaining order in shared or frequently used closets. Labels provide quick identification, reducing time spent searching for items. This method supports long-term organization by encouraging consistent placement of items. It also allows for easy rotation of seasonal clothing. The visual clarity created by labels contributes to a clean and organized appearance.
To create this system, start by sorting items into categories such as daily wear, seasonal clothing, and accessories. Place each category into separate bins. Attach clear labels to each bin using adhesive or tags. Arrange bins on shelves based on frequency of use. Ensure that heavier bins are placed at lower levels for safety. Maintain consistency in labeling style for better visual organization. Regularly update labels as contents change. This process creates an efficient and scalable closet organization solution.
Idea 5: Under-Sink Storage Solution
Setup Method
Under-sink areas often become cluttered due to irregular shapes and limited visibility. This idea focuses on using bins and stackable containers to create structured storage. The goal is to maximize space while maintaining accessibility. Organizing cleaning supplies and tools into designated sections prevents overcrowding. This method improves efficiency and ensures that items are easy to locate. It also supports better maintenance by keeping the area clean and structured.
Begin by removing all items and cleaning the space thoroughly. Measure the area to select appropriately sized containers. Group similar items together and assign each group a container. Place frequently used items at the front. Use stackable bins to utilize vertical space effectively. Avoid blocking plumbing components. Labels can be added for clarity. Regularly review the arrangement to maintain organization. This setup creates a practical and durable storage solution.

Idea 6: Desk Organizer Station
How to Create
A desk organizer station improves productivity by keeping essential items within reach. This idea uses small containers and trays to organize stationery and tools. The goal is to create a clean and efficient workspace. Grouping items by function reduces clutter and enhances focus. This method supports a structured and minimalist desk layout.
To create this station, arrange containers based on item categories such as writing tools, papers, and accessories. Place frequently used items in accessible positions. Use trays to group related items together. Maintain spacing between containers to avoid overcrowding. Labels can be added for clarity. Regular cleaning ensures long-term organization.

Idea 7: Refrigerator Bin Organization
Step-by-Step Guide
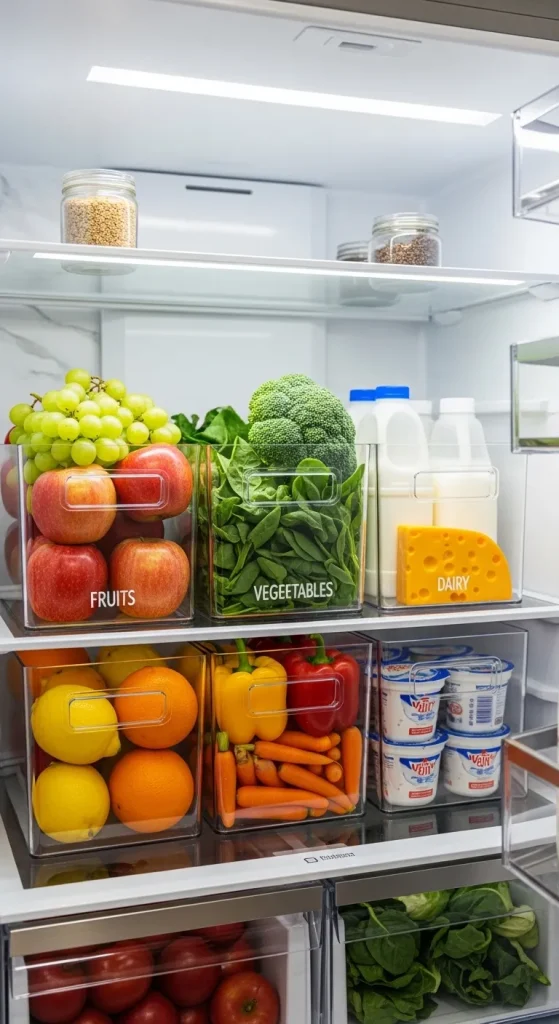
Refrigerator bin organization improves food storage and reduces waste. This idea uses clear bins to separate food categories. Visibility is enhanced, making it easier to locate items. Grouping similar foods prevents clutter and supports efficient storage.
Start by cleaning the refrigerator. Sort items into categories such as fruits, vegetables, and dairy. Place each category into separate bins. Arrange bins based on frequency of use. Avoid overcrowding to maintain airflow. Regularly check and update contents to ensure freshness.
Idea 8: Craft Supply Organizer
How to Make
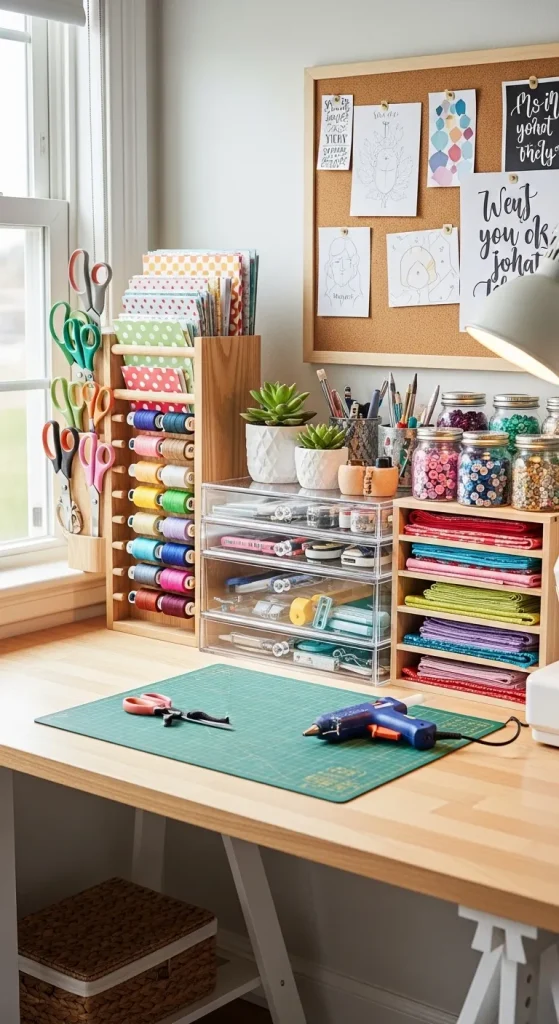
A craft supply organizer helps manage materials such as tools, paper, and accessories. This idea uses containers to create structured storage. The goal is to improve accessibility and maintain order.
Sort supplies into categories and assign containers accordingly. Arrange containers on shelves or tables. Use labels for identification. Maintain spacing to avoid clutter. Regularly review and update the system to ensure efficiency.
Idea 9: Entryway Storage Baskets
Execution Process
Entryway storage baskets provide a designated space for daily items such as keys and mail. This idea helps reduce clutter and maintain organization near entrances.
Place baskets in accessible locations. Assign each basket a specific purpose. Use labels if needed. Ensure that items are returned to their designated baskets regularly. This method improves daily organization.

Idea 10: Laundry Room Organizer
Setup Method
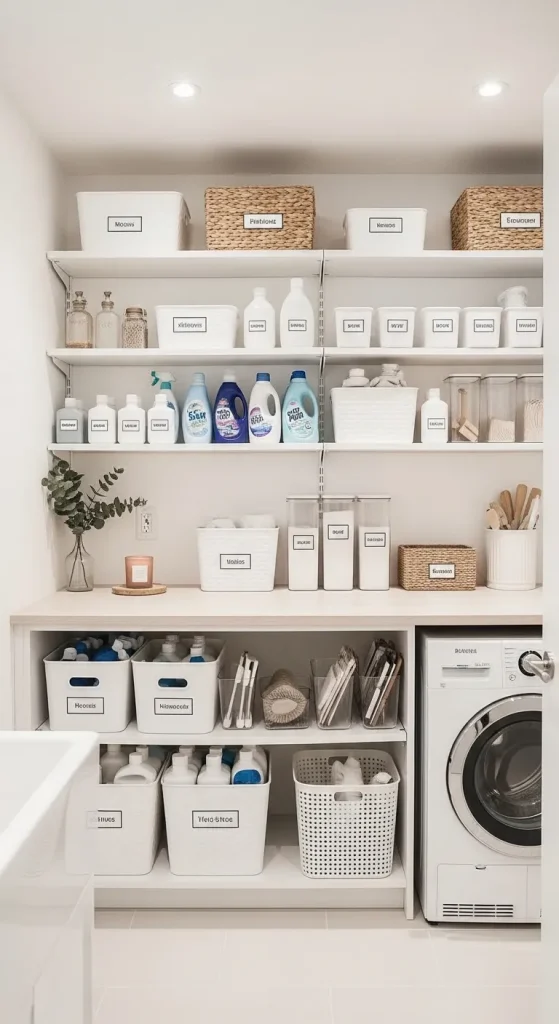
A laundry room organizer helps manage supplies such as detergents and tools. This idea uses bins and shelves to create structured storage. It improves efficiency and reduces clutter.
Sort items into categories and place them in containers. Arrange containers based on frequency of use. Use labels for clarity. Maintain spacing and avoid overcrowding. Regularly review the setup to ensure organization.
Common Beginner Mistakes and How to Avoid Them
Common mistakes include overfilling containers, lack of labeling, and poor planning. Avoid these by measuring spaces, using labels consistently, and maintaining clear categories.
Practical Tips for Better Results
Use uniform containers for consistency. Maintain spacing between items. Regularly review and adjust organization systems to match changing needs.
Styling, Presentation, or Organization Ideas
Use matching containers and neutral colors for a cohesive look. Arrange items symmetrically to enhance visual appeal.
Budget or Time Planning
Plan projects in stages to manage time efficiently. Purchase materials in advance and reuse existing items where possible.
Creative Expansion and Advanced Inspiration
Combine multiple ideas to create larger systems. Experiment with vertical storage and modular designs to expand functionality.

Leave a Reply