
Halloween is the perfect time to get creative with seasonal decorations, and window painting is a fun way to make your home look festive, spooky, and welcoming. Whether you love cute pumpkins, creepy ghosts, haunted houses, or mysterious silhouettes, Halloween window painting ideas offer endless opportunities to transform ordinary windows into eye-catching seasonal displays.
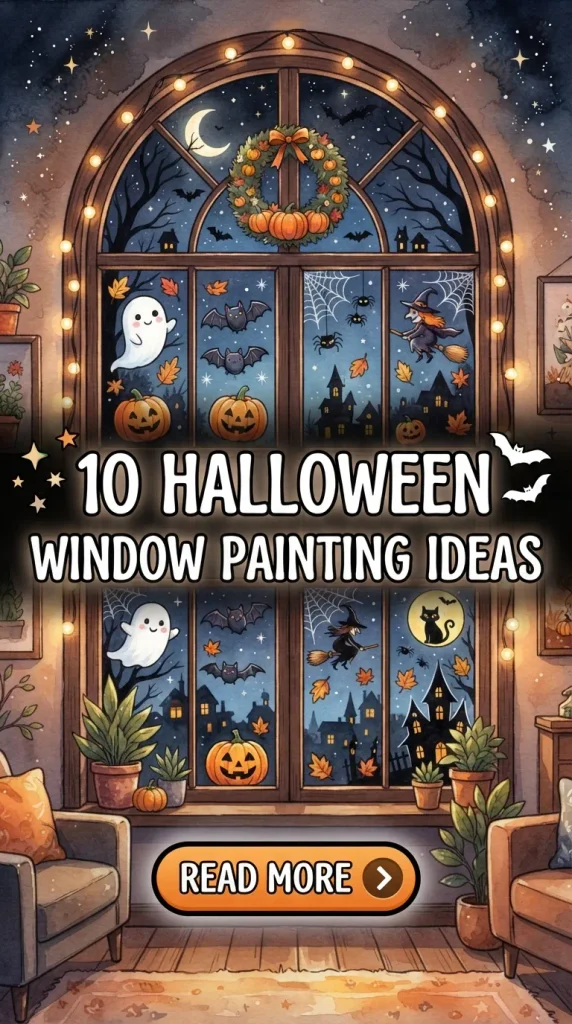
The best part is that you do not need to be a professional artist to create beautiful Halloween window art. With washable window paint, simple stencils, and a little imagination, you can decorate your windows for Halloween without committing to permanent changes. From playful designs for kids to dramatic haunted scenes, there is something for every decorating style and skill level.
In this article, you will discover 10 Halloween window painting ideas, along with helpful materials, practical painting tips, and creative ways to make each design stand out.
Materials Needed for Halloween Window Painting
Before starting your Halloween window art, gather a few basic supplies to make the process easier.
- Washable window paint or glass-safe tempera paint
- Soft paintbrushes in different sizes
- Paint markers specifically designed for glass
- Halloween stencils or printed design references
- Painter’s tape for securing stencils
- A pencil or washable glass marker for outlining
- A palette or disposable plate for mixing colors
- A microfiber cloth
- A spray bottle filled with water
- Mild glass cleaner for preparing the surface
- Paper towels for quick cleanup
Always check the paint manufacturer’s instructions to confirm that the product is suitable for glass and removable from your type of window. Avoid permanent paints unless you specifically want a lasting design.
1. Spooky Ghost Window Painting
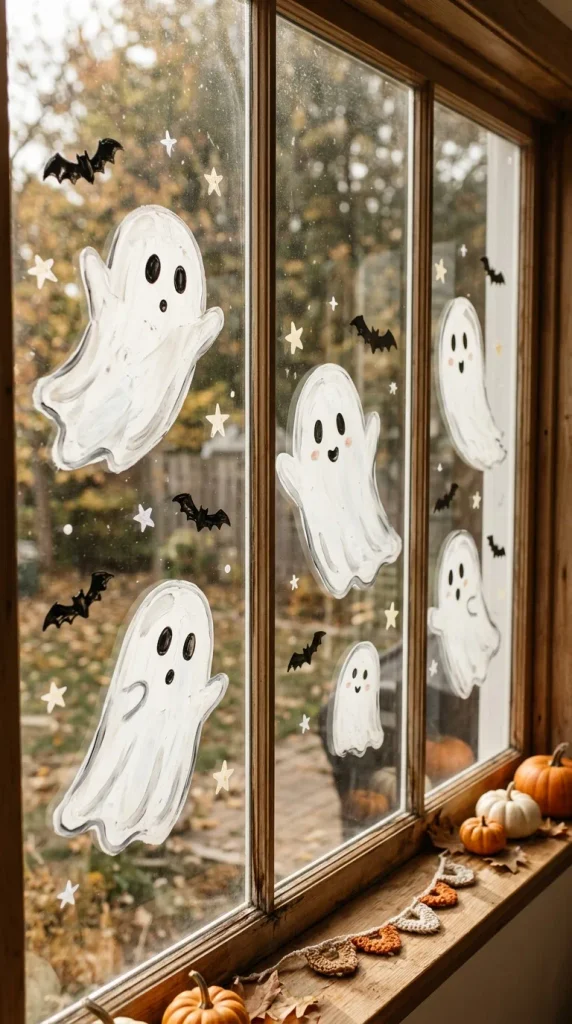
Ghosts are among the easiest and most recognizable Halloween designs. Their simple shapes make them ideal for beginners, children, and anyone who wants a charming seasonal decoration without spending hours painting.
Start by cleaning the inside surface of your window and allowing it to dry completely. Use white washable window paint to create several ghost shapes of different sizes. You can make them float across the glass, peek around the corners, or gather together in a playful little ghost family.
For a classic ghost, paint a rounded head, a flowing body, and two small black eyes. Add a tiny oval mouth for a surprised expression or curved eyes for a friendly appearance. You can also paint small arms, wavy tails, or floating stars around the ghosts to make the composition more interesting.
If you prefer a spooky atmosphere, use pale gray shadows and add a dark background with bats or bare tree branches. For a child-friendly display, give each ghost a different facial expression and arrange them around a smiling pumpkin.
White paint stands out especially well on darker backgrounds or when viewed at night from a brightly lit room. However, consider how the design looks from both inside and outside before finishing it.
Styling tip: Arrange three to five ghosts in a flowing pattern across the window rather than placing them in a straight line. This creates a more natural floating effect.
2. Pumpkin and Jack-o’-Lantern Window Art
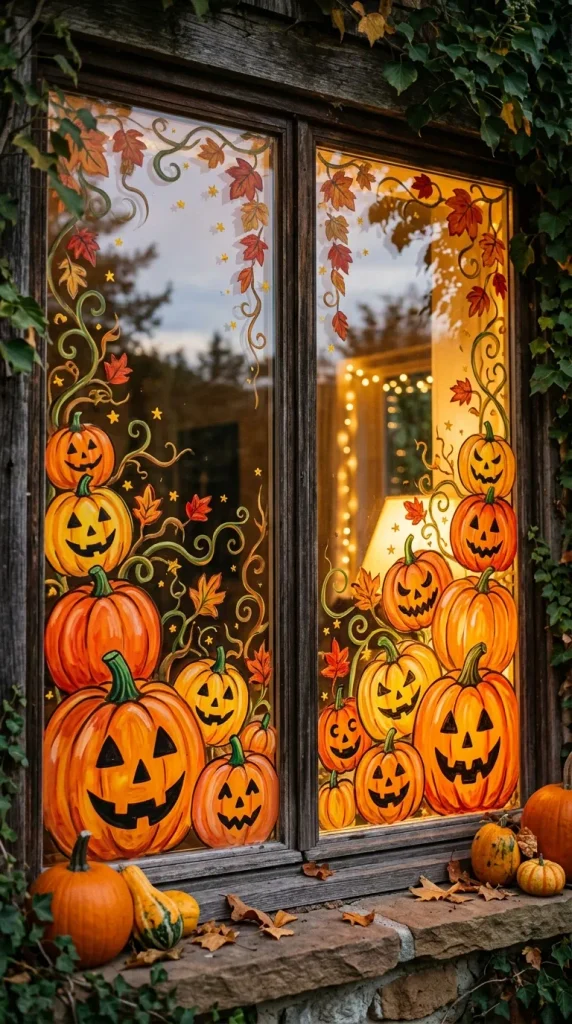
Pumpkins and jack-o’-lanterns bring classic Halloween charm to any window. Their rounded shapes and bright orange color make them easy to recognize, while different facial expressions allow you to create anything from cute seasonal art to a frightening display.
Begin by painting several orange pumpkin shapes across the lower section of the window. Use a darker orange or brown shade to add subtle curved lines that suggest the pumpkin’s natural ridges. Add small green stems and a few leaves for extra detail.
Once the pumpkin shapes are dry, paint black faces on selected pumpkins. Triangular eyes and jagged mouths create a traditional jack-o’-lantern look, while round eyes and smiling mouths give the design a friendlier appearance.
For a more detailed composition, paint a large pumpkin in the center and surround it with smaller pumpkins, autumn leaves, and curling vines. You can also add a crescent moon or tiny bats near the top of the window to connect the pumpkin display with other Halloween motifs.
If you are decorating a kitchen window, use a simple row of pumpkins along the bottom edge. For a large living room window, consider a layered scene with pumpkins in different sizes and expressions.
Styling tip: Combine bright orange pumpkins with green stems, black outlines, and a few yellow highlights to make the artwork vibrant without using too many colors.
3. Haunted House Window Painting
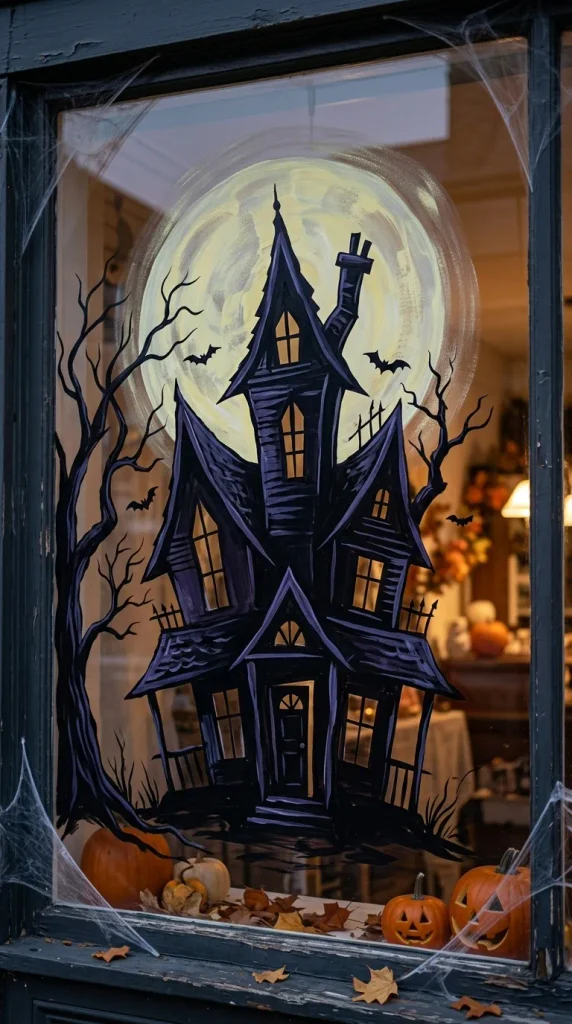
A haunted house design can turn an ordinary window into a miniature Halloween story. This idea works particularly well for larger windows because it allows room for architectural details, eerie trees, flying bats, and a dramatic moon.
Start by outlining a crooked house with a pointed roof, uneven windows, and a tall chimney. Use black or dark gray washable window paint to create the main silhouette. You do not need to include every detail; a simple outline can be just as effective as an elaborate scene.
Add yellow or pale orange windows to suggest mysterious lights inside the house. Paint a large moon behind the roof and place dark tree branches on either side. A few flying bats, a winding pathway, and a crooked fence can complete the scene.
For a more dramatic appearance, use purple and dark blue accents around the moon or in the sky. If you prefer a minimalist style, keep the background mostly clear and focus on the haunted house silhouette.
This design is especially effective when viewed from outside after dark. Test the placement of the artwork during daylight so the house remains visible without covering too much of the window.
Styling tip: Place the haunted house along the bottom half of the glass and leave some open space above it for the moon, bats, and flying clouds.
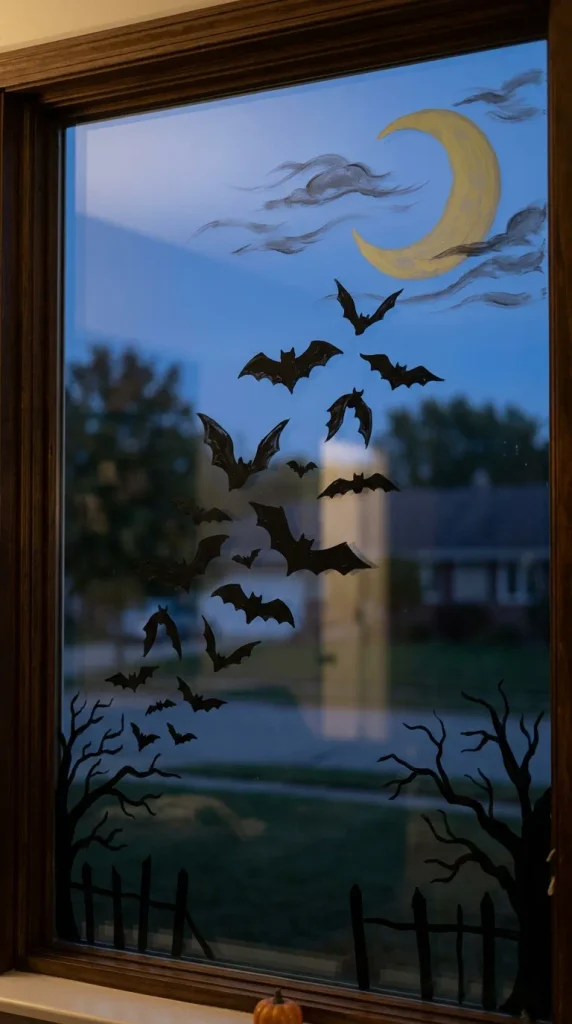
4. Flying Bats Window Painting
Flying bats are perfect for creating a spooky atmosphere with very little effort. Their recognizable silhouettes are easy to paint, and you can arrange them in countless ways to suit different window shapes and sizes.
Use black washable window paint or a glass-safe paint marker to create bats in several sizes. Each bat can be made from a small central body with two pointed wings. Vary the wing positions slightly so the bats appear to be flying rather than repeating the same shape.
Begin with a small cluster in one corner of the window, then gradually spread the bats toward the opposite side. This creates the impression of a flock moving through the air. You can also arrange them around a full moon, above a haunted house, or around the edges of a pumpkin display.
For a more dramatic design, add a few dark clouds or bare branches. If you want something simpler, paint only black bat silhouettes against clear glass.
Bats work especially well on tall windows and glass doors because their movement can follow the vertical space. Use a stencil if you want consistent shapes, or draw freehand for a more varied, natural appearance.
Styling tip: Mix small and large bats, leaving space between them. A varied pattern usually looks more dynamic than a tightly packed group.
5. Witch Silhouette and Magical Window Art
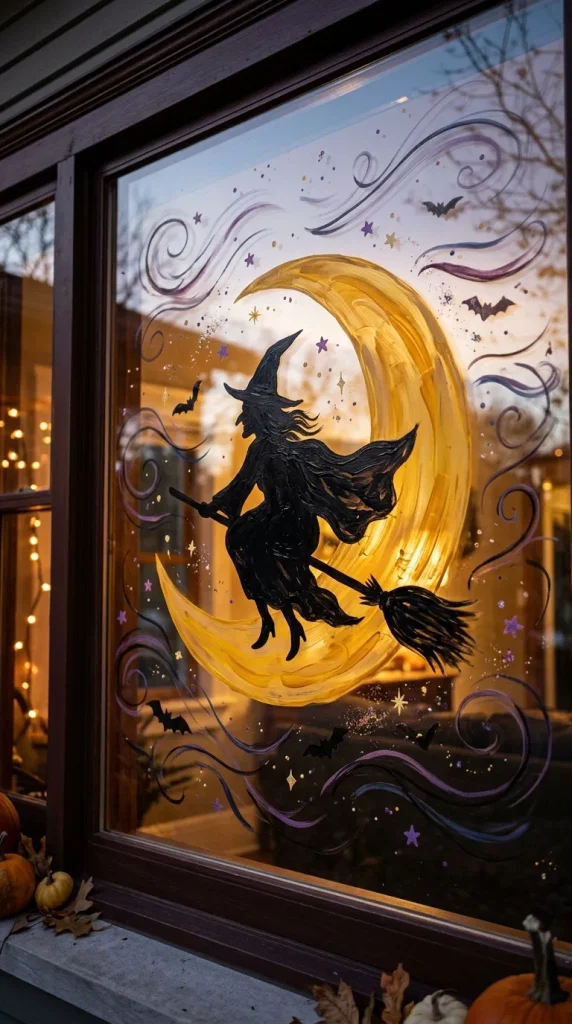
A witch silhouette adds mystery and classic Halloween atmosphere to your window. It can be playful, elegant, or spooky depending on the pose, colors, and surrounding details.
Begin by painting a black silhouette of a witch wearing a pointed hat. You can show the witch flying on a broomstick, standing beside a bubbling cauldron, or looking toward a crescent moon. For beginners, a side-profile silhouette is often the easiest option because it relies on clear, simple shapes.
Add small magical details around the main figure, such as stars, sparkles, bats, or swirling lines. Purple, green, and yellow accents can bring color to the design without overwhelming the dark silhouette.
If you want a more elaborate display, paint a large crescent moon in pale yellow and position the witch in front of it. A few wispy clouds can add depth, while tiny stars help fill empty areas.
For a cute version, give the witch a colorful hat and a friendly expression. For a traditional spooky look, keep the figure entirely black and use a few sharp, angular shapes to suggest a dramatic pose.
Styling tip: Keep the witch as the main focal point and use smaller magical symbols to frame the design rather than competing with it.
6. Spiderweb and Spider Window Painting
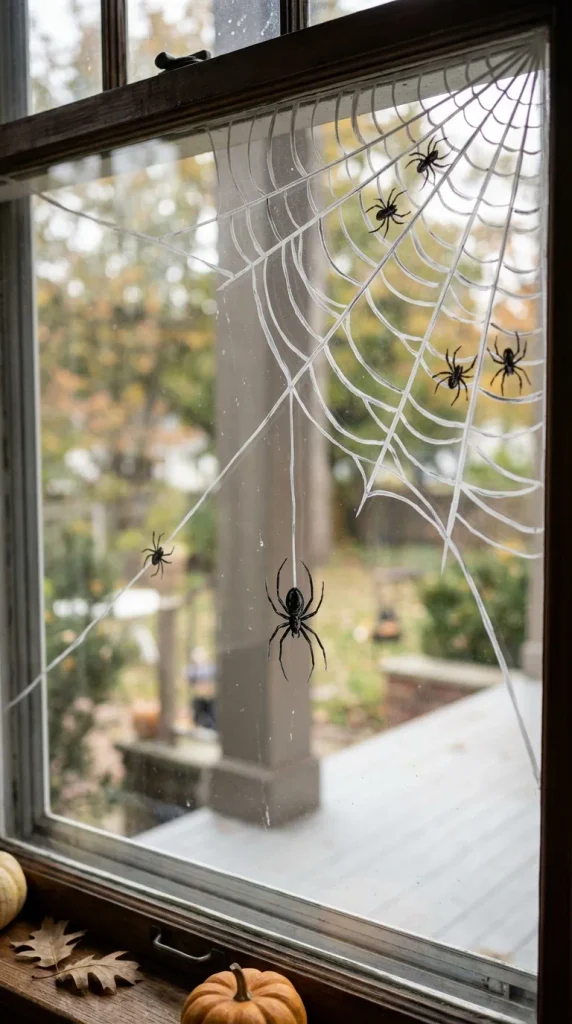
Spiderwebs are a versatile choice for Halloween window painting because they work in both minimalist and elaborate designs. A simple web in one corner can look stylish, while a larger web with spiders creates a more dramatic seasonal display.
Start by painting a small dot near one corner of the window. Draw several thin lines extending outward from that point, then connect them with curved lines to create the web pattern. Use a fine brush or glass-safe paint marker to keep the lines neat.
Once the web is complete, add one or two black spiders. Paint a small oval body, a round head, and thin legs extending outward. For a more playful look, add oversized eyes or a tiny smile.
You can paint a single web in the upper corner, create matching webs in opposite corners, or let a large web spread across one side of the window. Silver or pale gray lines can make the web look delicate, while white paint gives it a crisp appearance.
For extra detail, add tiny stars, small bats, or a crescent moon nearby. Keep the surrounding area relatively simple so the web remains easy to see.
Styling tip: Use thin lines for the web and slightly thicker outlines for the spider. This difference in line weight makes the design easier to read from a distance.
7. Black Cat Halloween Window Art
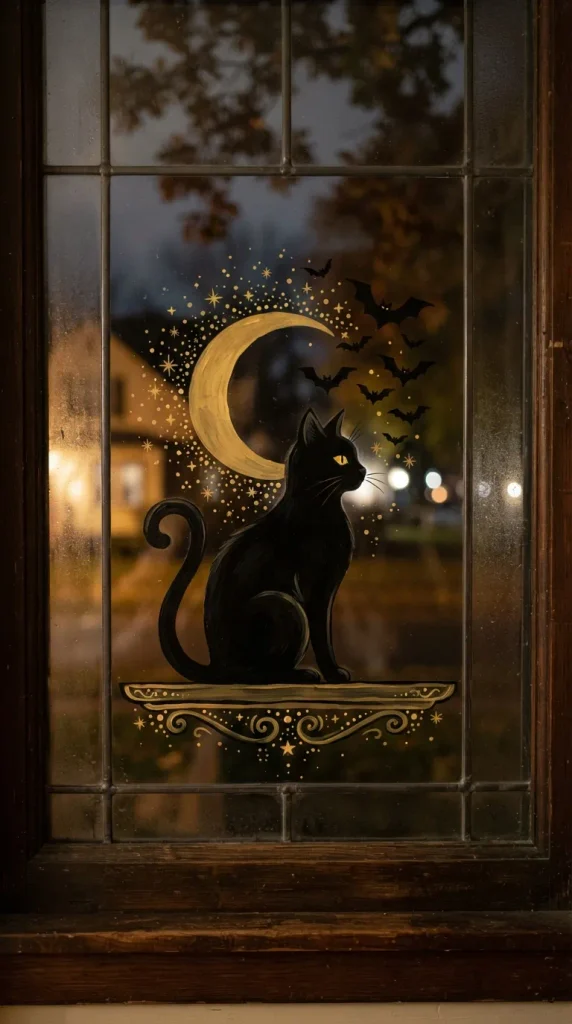
Black cats are a classic Halloween symbol and an excellent choice for window painting. Their simple silhouettes can look mysterious and elegant, while expressive eyes and playful poses make them suitable for family-friendly decorations.
Start with a black cat silhouette featuring pointed ears, a curved back, and a long tail. You can paint the cat sitting upright, arching its back, stretching across the windowsill, or looking toward a crescent moon.
Add small yellow or green eyes to create contrast against the dark body. If you want a more detailed design, paint whiskers, paws, and a thin outline around the ears. A few stars or tiny pumpkins can make the display feel more festive.
For a larger window, paint two cats facing each other with a moon between them. For a small window, a single sitting cat with a curved tail may be all you need.
You can also combine a black cat with a haunted house silhouette or flying bats. Just keep the main shapes distinct so the overall composition remains clear.
Styling tip: Use a smooth silhouette and a long curved tail to give the cat an elegant shape. Small yellow eyes provide a striking focal point.
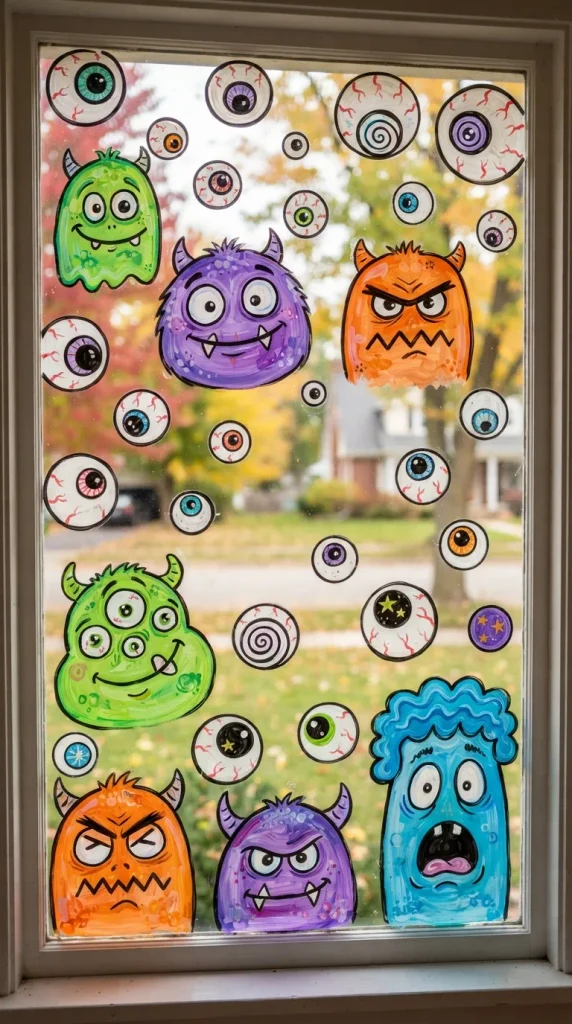
8. Creepy Eyeballs and Monster Faces
If you want something unusual and eye-catching, paint creepy eyeballs and funny monster faces across your window. This idea is especially good for children’s Halloween decorations because the expressions can be silly rather than frightening.
Paint several large white circles in different sizes, then add colored irises and dark pupils. Place the eyeballs at different heights to make them appear to be peeking out from the darkness. You can also add small eyebrows, wrinkles, or little eyelashes to create different personalities.
For monster faces, begin with simple rounded or angular shapes in green, purple, orange, or blue. Add oversized eyes, crooked teeth, horns, or messy hair. Each face can have a different expression, from surprised to grumpy to mischievous.
If you want to keep the window from looking too busy, focus on three large monster faces rather than filling the entire surface with small details. A few black stars or wavy lines can fill empty spaces.
This design is particularly effective on street-facing windows because the bright colors and exaggerated features are easy to see from a distance.
Styling tip: Use bold outlines and contrasting colors. Large eyes and expressive mouths will make the monsters recognizable even when viewed from outside.
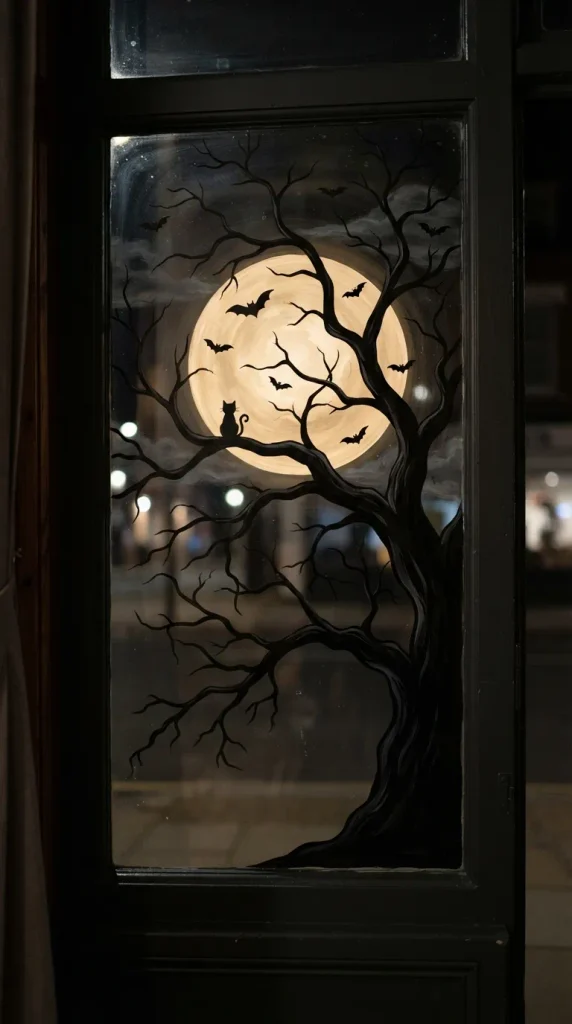
9. Full Moon and Spooky Tree Silhouette
A full moon and bare tree silhouette can create a dramatic Halloween window display without requiring complicated painting techniques. The combination of a glowing-looking moon and dark branches produces a mysterious atmosphere that works well with both modern and traditional decor.
Paint a large pale yellow, cream, or soft orange circle in the background to represent the moon. You can leave it as a simple solid shape or add subtle lighter and darker areas for a textured appearance.
Once the moon is dry, paint the silhouette of a leafless tree across part of the window. Begin with a thick trunk and gradually add thinner branches extending upward and outward. Uneven branches help create a natural, slightly eerie appearance.
Add a few bats flying across the moon or a small black cat sitting on a branch. If you prefer a minimalist design, leave out the additional details and let the moon and tree provide all the drama.
This idea works especially well on large windows where the branches have room to spread. For smaller windows, use a compact tree silhouette and a smaller moon.
Styling tip: Keep the tree dark and the moon light so the two shapes contrast clearly. Use a limited color palette for a sophisticated spooky effect.
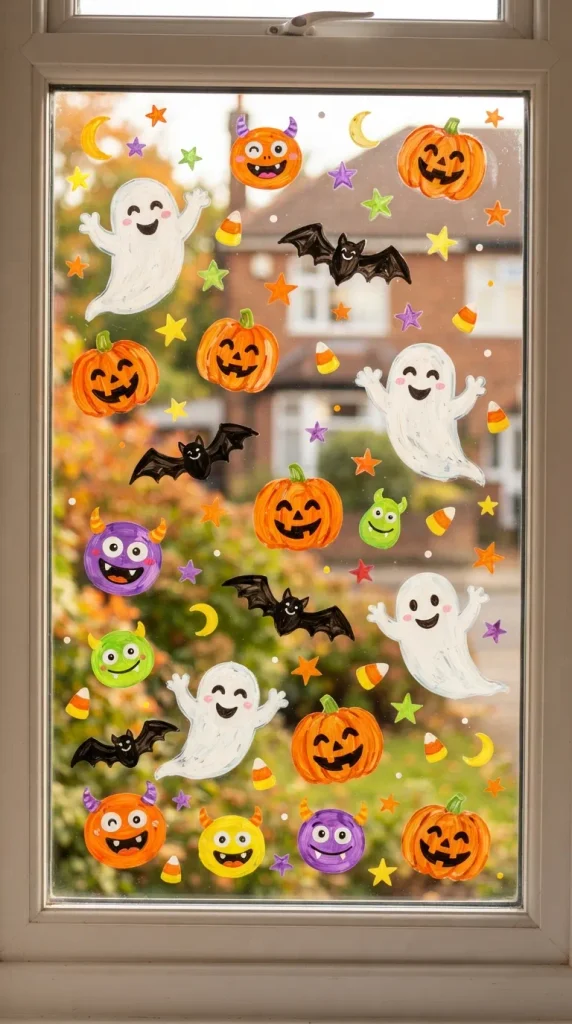
10. Cute Halloween Window Painting for Kids
Halloween window painting can be a fun family activity, and cute designs make it easy for children to participate. Instead of focusing on frightening scenes, create a cheerful display featuring smiling ghosts, happy pumpkins, friendly bats, candy corn, and colorful stars.
Begin by choosing a few simple shapes that children can recognize and help paint. Draw large outlines of pumpkins, ghosts, or bats and allow children to fill them with washable window paint. Use orange, purple, green, yellow, and white to create a bright, playful palette.
Give each character a unique expression. A ghost might have rosy cheeks, a pumpkin might wear a silly smile, and a bat might have oversized eyes. You can also paint tiny candy pieces, crescent moons, and stars between the larger shapes.
For a coordinated display, choose one theme, such as a friendly ghost family or a pumpkin patch. This helps the window look intentional while leaving room for individual creativity.
Protect nearby surfaces from drips and supervise younger children while they paint. Use only products intended for the window surface and follow the manufacturer’s instructions for application and removal.
Styling tip: Use large, simple shapes and bright colors. The designs will be easier for children to paint and more visible from outside.
How to Paint Halloween Designs on Windows
Follow these simple steps for a neat, removable Halloween window display.
- Clean the glass: Remove dust, fingerprints, and residue, then allow the window to dry completely.
- Plan your design: Sketch the layout on paper before painting. Consider how the design will look from both inside and outside.
- Choose suitable paint: Use washable window paint or another product specifically labeled as safe for your glass surface.
- Outline the shapes: Use a suitable glass marker or a light outline made with the selected paint.
- Paint larger areas first: Fill the main shapes before adding small details and outlines.
- Allow the paint to dry: Follow the manufacturer’s recommended drying time before adding another layer.
- Add finishing touches: Include eyes, shadows, stars, or other small details once the base layers are dry.
- Remove the design carefully: Follow the paint manufacturer’s removal instructions and test the method on a small area first.
Tips for Better Halloween Window Painting Results
- Work with the light: Check the window at different times of day to see how clearly the artwork appears from inside and outside.
- Keep designs balanced: Place larger elements first, then fill open areas with smaller details.
- Use stencils for precision: Stencils help beginners create consistent bats, pumpkins, stars, and other shapes.
- Avoid permanent products: Unless you want lasting artwork, choose paints that are specifically designed to be removable from glass.
- Protect the surroundings: Use painter’s tape and protective coverings to reduce accidental spills.
- Check the glass first: Make sure the paint and cleaning method are suitable for the window, especially if it has a special coating.
- Try a small test area: Confirm that the paint can be removed without leaving residue before decorating the entire window.
Conclusion
Halloween window painting is a creative and affordable way to make your home feel festive for the spooky season. From friendly ghosts and bright jack-o’-lanterns to haunted houses, flying bats, witches, and dramatic moonlit trees, these 10 Halloween window painting ideas offer inspiration for every skill level.
You can create a simple design with just a few colors or combine several motifs into a detailed Halloween scene. Choose washable products, plan your layout, and experiment with shapes that match your decorating style.
With a little creativity and a few basic supplies, your windows can become a fun Halloween feature that welcomes trick-or-treaters and brings seasonal charm to your home.

Leave a Reply